
Hook은 React 16.8부터 도입된 기능으로, 기존의 class component에서 벗어나 functional component로 상태를 관리하고 react의 다른 기능을 사용할 수 있게 한다. React를 배우거나 사용해 본 사람이라면 누구나 써봤고, 또 많이 쓰고 있을 기능일 텐데, 이 hook은 대체 어떤 원리로 동작하는 걸까? 어떻게 컴포넌트가 계속 리렌더링되고 변경되는 것과 무관하게 상태를 관리하고 가져올 수 있는 걸까?
답은 Closure에 있다.
JavaScript Closure
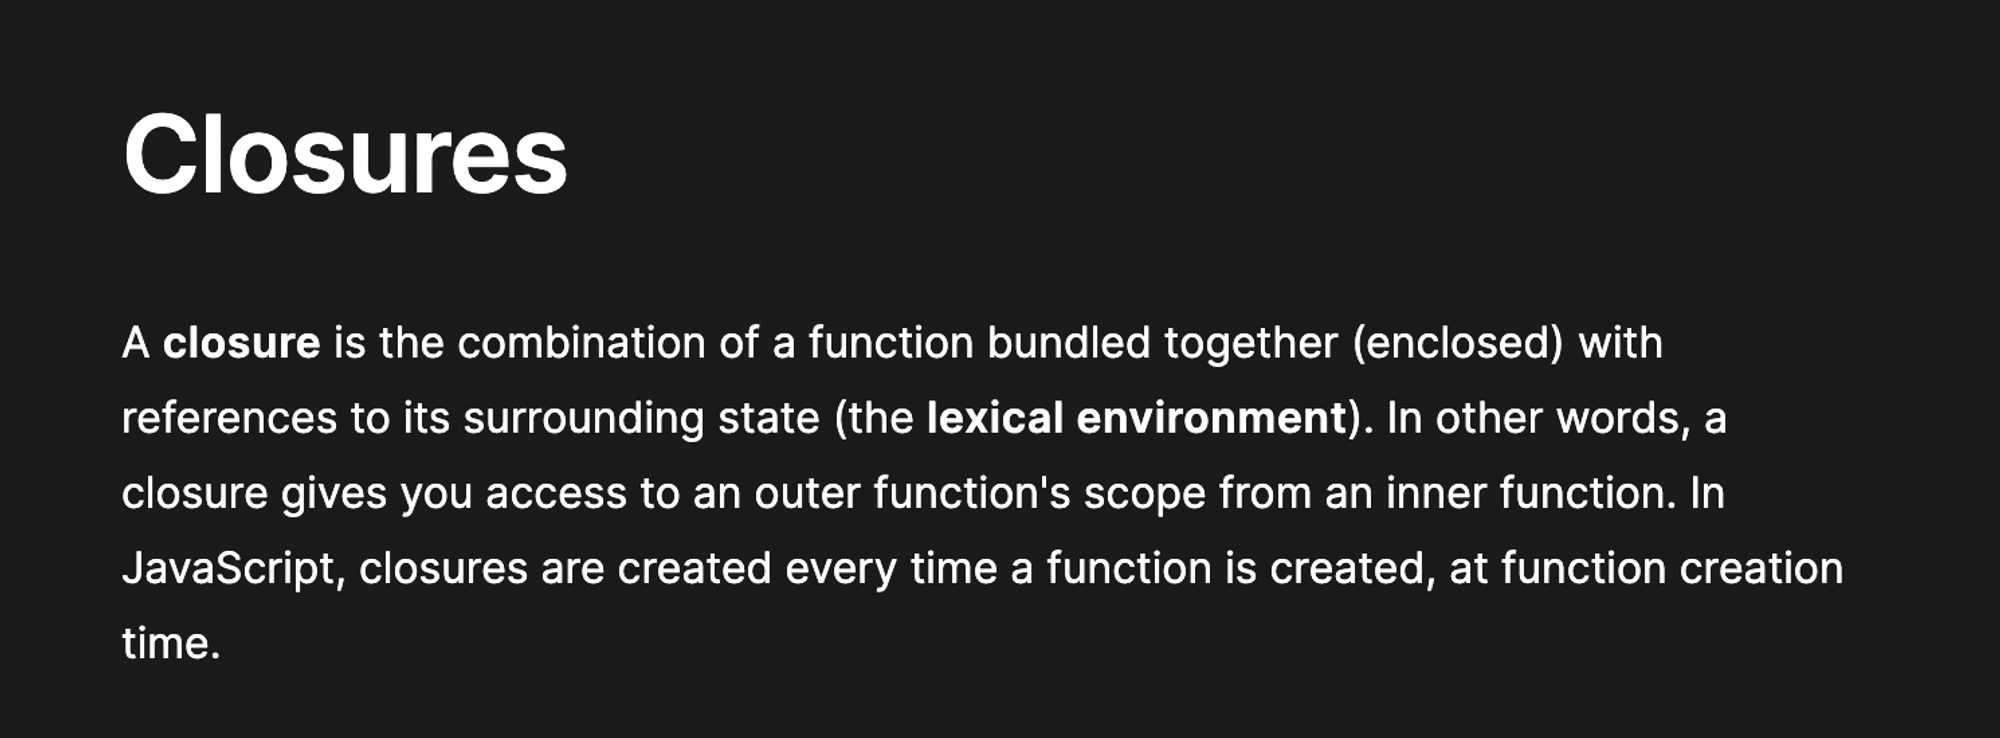
Closure는 아주 짧게 요약하자면 lexical environment와 함수의 조합이다. 함수 내부의 lexical scope에서 정의한 변수는 함수 바깥에서는 직접적으로 참조하거나 수정할 수 없는 특성을 이용한 것인데, closure에 대한 설명을 충분히 하려면 너무 길어질 것이므로 MDN과 W3Schools의 다음 두 문장을 인용하는 것으로 설명을 대체하려 한다. (이미지는 모두 Mozilla 공식 문서의 일부 캡처본)
“A closure is the combination of a function bundled together (enclosed) with references to its surrounding state (the lexical environment).”
“Closure makes it possible for a function to have ‘private’ variables.”
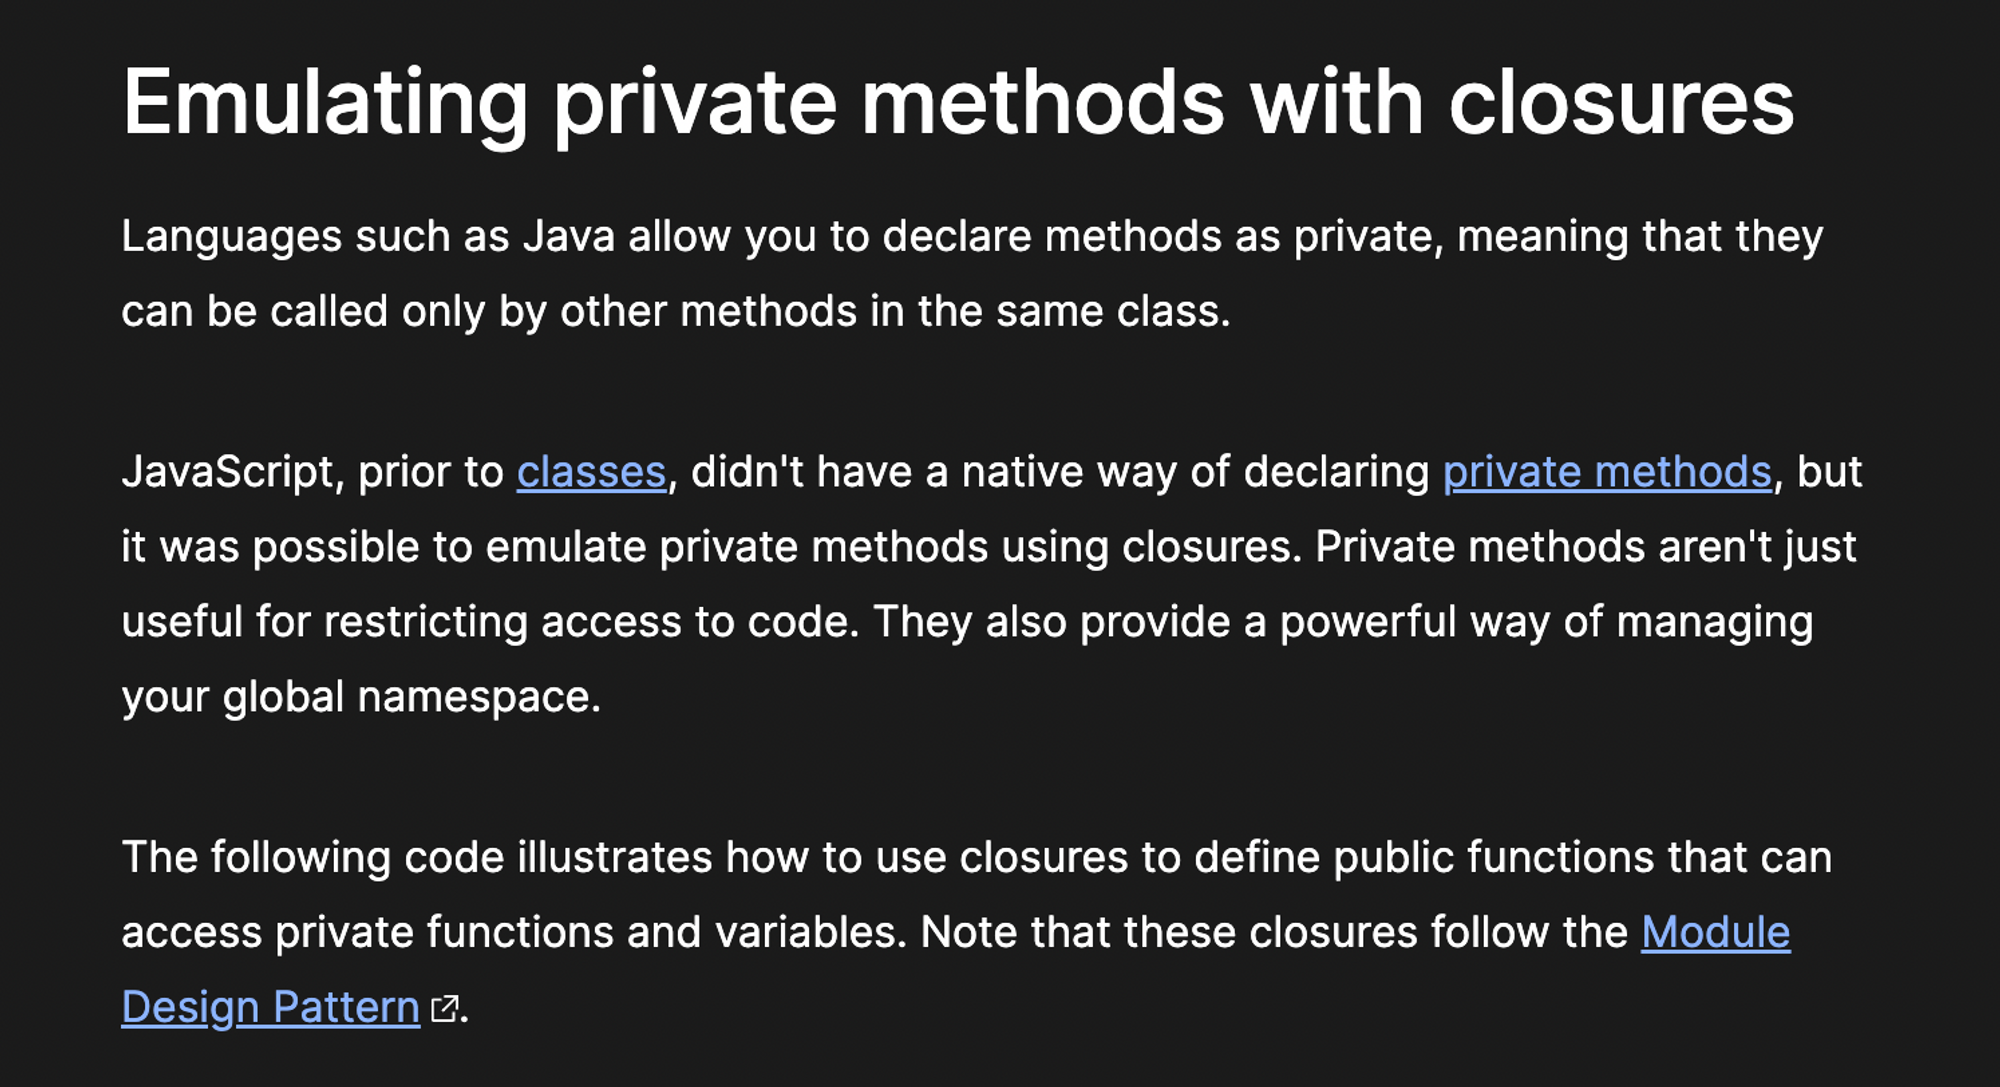
요컨대, closure를 통해 함수가 마치 private한 변수를 가지고 있는 것처럼 모사할 수 있다는 것이다.
가장 간단한 closure 예시는 다음과 같다. (MDN 문서에 써 있는 예제를 약간 변형)
function makeFunction() {
  let name = 'Velog';
  function displayName() {
    console.log(name);
  }
  function changeName(newName) {
    name = newName;
  }
  return { displayName, changeName };
}

console.log(name);
// >>> undefined
const myFunctions = makeFunction();
myFunctions.displayName();
// >>> Velog
myFunctions.changeName("Velog.io");
myFunctions.displayName();
// >>> Velog.io;
React Hooks
가장 기본이 되는 useState와 useEffect, 그리고 useMemo까지 Vanilla JavaScript에서 어떻게 구현할 수 있는지 살펴 보자. Closure의 원리를 사용하는 부분은 비슷하기 때문에 하나만 적용해 보면 다른 것들은 금방 파악할 수 있다.
useState
기본적인 구조는 useState를 사용하는 컴포넌트의 바깥에서(외부 스코프에서) 모든 상태 변수를 정의하고 관리하여 특정 상태 값을 유지하고 변경할 수 있도록 하는 것이다.
React를 하나의 큰 함수로 본다면, React라는 함수의 lexical scope 안에서 state에 대한 변수를 선언하고, 이 state에 대한 변수를 참조하거나 변경할 수 있는 useState 함수를 React로부터 제공받아 state를 관리할 수 있다.
단 하나의 state만을 관리한다면 다음과 같은 식으로 간단하게 짤 수 있을 것이다.
function React() {
  let _state; // 관리하고자 하는 상태

  function render() {
    // render 함수는 이미 정의되어 있다고 가정하자
  }

  function useState(initialValue) {
    // 현재 state 값이 있다면 현재 값을, 아니라면 초기 값을 반환
    const state = _state || initialValue;

    // state를 변경할 수 있는 setState 함수
    const setState = (newValue) => {
      // setState 호출 시 newValue로 변경
      _state = newValue;
      // state가 변경될 때마다 re-render
      render();
    };

    return [state, setState];
  }

  return { render, useState };
}
하지만 우리는 보통 state를 단 하나만 관리하지는 않는다. 여러 개의 state를 들고 있기 위해서는 배열로 관리해야 한다.
간단히 states라는 배열을 하나 두고, 새로운 state를 선언할 때마다 해당 배열 내에 추가하면 될 것 같다. currentStateIndex를 두어 현재 어디까지 state를 추가했는지 확인하고 관리할 수 있게 하면 다음과 같이 짜면 될 것 같다.
function React() {
  let states = []; // 여러 개의 상태를 관리
  let currentStateIndex = 0; // 다음 상태를 추가할 위치(index)

  function render() { ... }

  function useState(initialValue) {
    // 현재 state의 위치
    const _index = currentStateIndex;
    // 현재 위치에 state 값이 있다면 해당 값을, 아니라면 초기값을 반환
    const state = states[_index] || initialValue;

    const setState = (newValue) {
      // 현재 위치에 해당하는 state 값을 수정
      states[_index] = newValue;
      render();
    }

    // 다음에 추가할 state는 이 다음 위치에서 정의
    currentStateIndex++;

    return [state, setState];
  }

  return { render, useState };
}
하지만 이대로 코드를 작성해서 실행해보면, 실제로는 setState로 state가 변경된 이후에 다시 render되어도 useState 함수는 계속 변경된 위치의 currentStateIndex를 바라보게 된다. 때문에 render 시마다 currentStateIndex를 초기화할 필요가 있다.
function React() {
  let states = [];
  let currentStateIndex = 0;

  function render() {
    ...
    // render 시마다 currentStateIndex를 초기화해서
    // 기존의 state를 계속 바라볼 수 있게 함
    currentStateIndex = 0;
  }

  function useState(initialValue) {
    const _index = currentStateIndex;
    const state = states[_index] || initialValue;
    const setState = (newValue) => {
      states[_index] = newValue;
      render();
    }
    currentStateIndex++;
    return [state, setState];
  }

  return { render, useState };
}
이렇게 해서 간단하게 useState를 Vanilla JavaScript로 구현해냈다.
추가적으로, setState 함수 내에서 newValue가 현재 값과 다를 때에만 값 변경 후 리렌더링하도록 수정하거나, 동시에 값이 수정되면 불필요한 렌더링이 중복해서 발생하는 비효율이 있는 부분을 debounce로 수정하는 등의 최적화가 가능할 것이다.
function React() {
  let states = [];
  let currentStateIndex = 0;

  const render = debounce(() => { ... });

  function useState(initialValue) {
    const _index = currentStateIndex;
    const state = states[_index] || initialValue;
    const setState = (newValue) => {
      if (Object.is(states[_index], newValue)) {
        return;
      }
      states[_index] = newValue;
      render();
    }
    currentStateIndex++;
    return [state, setState];
  }

  return { render, useState };
}
useEffect
useEffect를 구현하는 것도 같은 원리를 이용하면 쉽다. 다만 useState와의 차이점은, useEffect에서는 state 대신 useEffect가 필요로 하는 dependency를 저장하고 관리해야 한다는 점이다.
기존에 선언해두었던 states 배열에서 마찬가지로 dependency를 관리한다고 가정하면, 다음과 같이 코드를 작성할 수 있다.
function useEffect(callback, dependencies) {
  const _index = currentStateIndex;
  // 현재 위치에 저장되어 있는 값이 기존의 dependency이다
  // 최초 실행 시에는 이 값은 undefined일 것이다
  const oldDependencies = states[_index];

  // useEffect 최초 실행 시에는 무조건 callback을 실행하므로 default 값은 true로 설정
  let hasChanged = true;

  // oldDependencies가 존재한다면 현재 받은 dependencies와 비교
  if (oldDependencies) {
    // Array.some 함수를 사용하여 조건을 만족하는 값이 존재하는지 확인
    hasChanged = dependencies.some(
      // 조건: 하나라도 동일하지 않은 값이 있는지
      (dep, i) => !Object.is(dep, oldDependencies[i])
    );
  }

  // 최초 실행, 또는 dependencies 중 변경된 값이 있다면 callback 실행
  if (hasChanged) {
    callback();
    // 현재의 dependency를 다시 현재 위치에 저장
    states[_index] = dependencies;
  }

  currentStateIndex++;
}
useMemo
useMemo의 경우 useEffect와 거의 흡사하다. dependency와 함께 callback을 실행한 결과 값을 관리하고, memoized된 callback 결과 값을 return하면 된다.
마찬가지로 기존에 선언해둔 states 배열에서 관리하되, 이번에는 [dependencies, callback-result] 꼴로 관리하도록 작성해 보자.
function useMemo(callback, dependencies) {
  const _index = currentStateIndex;
  // 현재 위치에 저장되어 있는 값은 기존의 값, 또는 undefined일 것이다
  // 기존의 dependency와, 기존의 callback 결과값
  const [oldDependencies, oldMemoValue] = [states[_index]];

  // 최초 실행 시에는 무조건 callback을 실행하므로 default는 true
  let hasChanged = true;
  // return할 결과 값에 대한 선언
  let memoValue = oldMemoValue;

  // oldDependencies가 존재한다면 현재 받은 dependencies와 비교
  if (oldDependencies) {
    // Array.some 함수를 사용하여 조건을 만족하는 값이 존재하는지 확인
    hasChanged = dependencies.some((dep, i) => !Object.is(dep, oldDependencies[i]));
  }

  // 최초 실행, 또는 dependencies 중 변경된 값이 있다면 callback 실행
  if (hasChanged) {
    // callback의 결과 값을 memoValue에 반영
    memoValue = callback();
    // 현재의 dependency를 다시 현재 위치에 저장
    states[_index] = [dependencies, memoValue];
  }

  currentStateIndex++;

  // 기존의 값, 또는 새로운 callback 결과 값을 return
  return memoValue;
}
Rules of Hooks
위에서 직접 구현해 본 useState에서 currentStateIndex가 어떻게 사용되었는가를 생각해 보면, Hook을 사용할 때의 규칙이 왜 존재하는지 조금 더 쉽게 이해할 수 있게 된다.
Top Level에서만 Hook을 호출해야 한다
❌ 반복문, 조건문 혹은 중첩된 함수 내에서 Hook을 호출해서는 안 된다
✅ Early return이 실행되기 전, 항상 React 함수의 최상위(at the top level)에서 Hook을 호출해야 한다
오직 React 함수 내에서 Hook을 호출해야 한다
❌ 일반적인 JavaScript 함수에서 호출할 수 없다
✅ React 함수 컴포넌트에서 Hook을 호출할 수 있다
✅ Custom Hook에서는 Hook을 호출할 수 있다
이 중, Top Level에서만 Hook을 호출할 수 있다는 규칙은, 컴포넌트가 다시 렌더링될 때에 항상 동일한 순서로 Hook이 호출되는 것을 보장하기 위함이다.
만약, 렌더링 때마다 Hook이 호출되는 순서가 달라지거나 특정 Hook은 호출되지 않는다면, Hook이 관리하고 있는 state에 대한 index 자체가 꼬이게 되어 기존에 참조하고 있던 state가 이후에도 같은 state를 가리킬 것임을 보장할 수 없게 될 것이다.
마무리
Code Sandbox에서 React hook을 간단하게 mocking해 본 예제에서 전체 코드를 확인할 수 있다. (처음부터 직접 모사해 보기를 원한다면 /src/react/index.js를 export * from "./my-react";로 수정한 후, my-react.js파일을 수정하면 된다.)
References
- Closures - JavaScript | MDN
- Vanilla Javascript로 React UseState Hook 만들기 | 개발자 황준일
- 자바스크립트 클로저로 Hooks구현하기
- Can Swyx recreate React Hooks and useState in under 30 min? - JSConf.Asia
다음 두 링크는 closure와 react hook에 대한 직접적인 참고 자료는 아닌데, 같이 보면 좋을 자료라 함께 첨부해 본다.
- 로컬에서 CORS policy 관련 에러가 발생하는 이유: 로컬에서 간단하게 테스트해보고 띄우려고 했다가 결국엔 Code Sandbox를 사용하게 된 계기
- useEffect 완벽 가이드: React 입문자라면, Hook에 대해 잘 알고 싶다면 반드시 읽어봐야 한다고 생각하는 가이드