앱센터에서 Azure Application Insights로 내보내기 & 깃허브에 자동으로 이슈 등록하기
AppCenter export to Application insights
1. Azure에서 서비스 생성하기
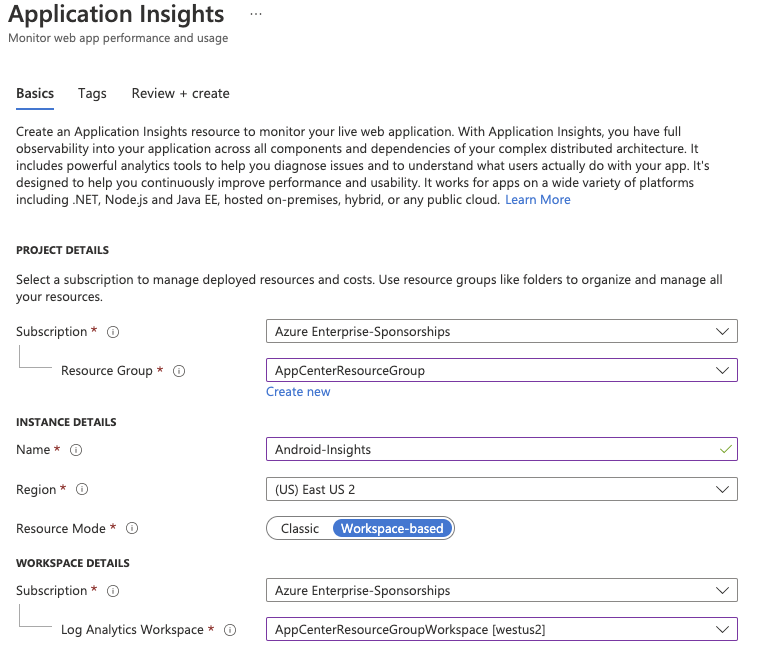
- Azure에 ResourceGroup, Workspace 를 먼저 생성한다
- Name을 입력하고 ResourceGroup, Workspace 을 선택하여 Application Insights 를 생성한다
- 생성이 완료되면 Overview 화면 상단에 있는 Instrumentation Key 를 복사한다

2. AppCenter에서 Export 설정하기
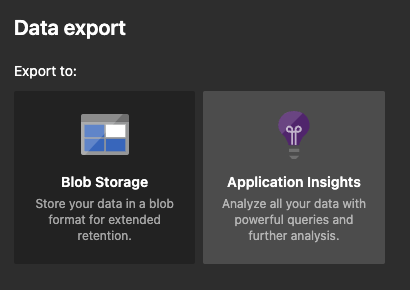
- AppCenter의 [Settings - Export - New Export] 메뉴를 통해 Application Insight를 custom 으로 등록한다.
- 위에서 복사한 Instrumentation 키를 붙여넣어 Create를 완료한다.

Application insights Work item integration with GitHub
1. Application Insights Work Items 에서 Template 만들기
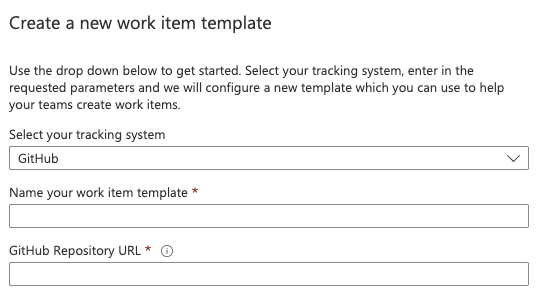
- GitHub를 tracking system으로 등록한다.
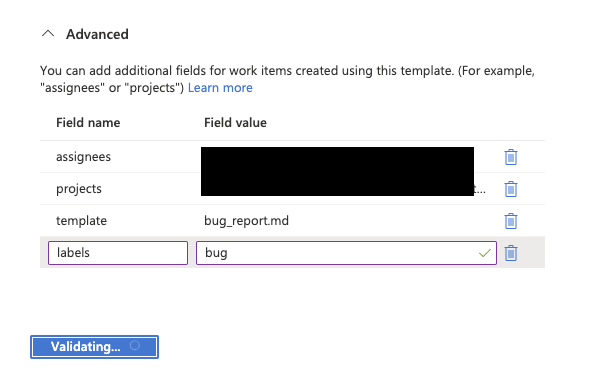
- Advanced setting을 통해 Assignee, Project, Template, Milestone 등을 지정할 수 있다
- template을 적용 할때는 템플릿의 이름이 아닌 (Bug Report) 실제 파일명을 (bug_report.md) 적어야 한다.
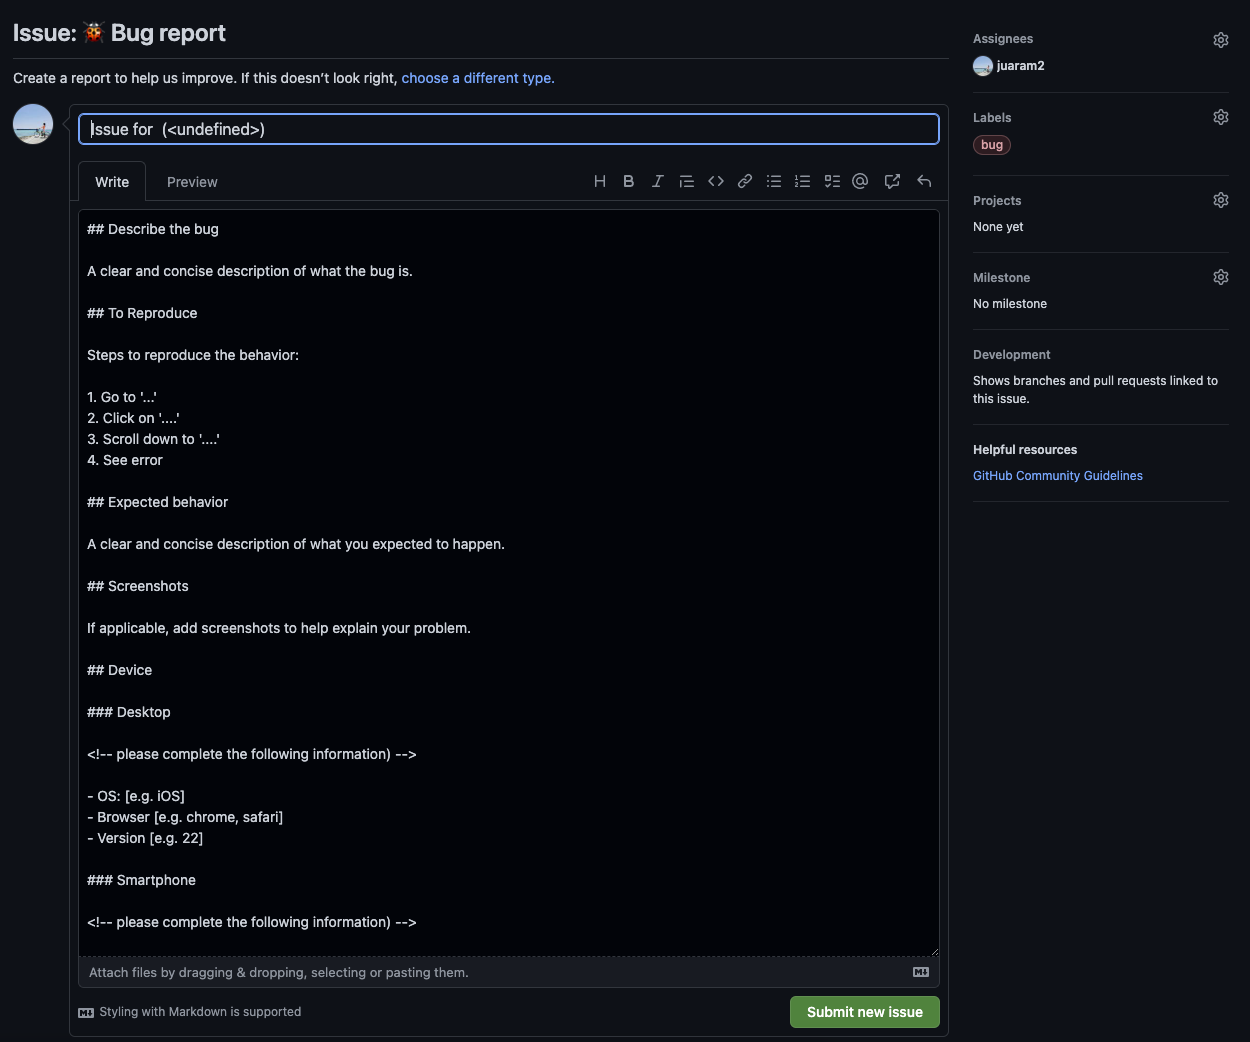
2. 결과 화면
- Template, Assignee, Labels가 잘 적용되었다.
- 그러나 Project 설정은 여러가지 서치와 시도를 해보았으나 아직 적용을 못하였다.