FileOutputStream으로 이미지속에 이미지 숨기기
셀레니움으로 이미지 자동으로 캡쳐하기를 만들다가 우연찮게 흥미로운 내용을찾았다. 바로 이미지파일에 다른 이미지를 덮어씌우는 것이다. 덮어씌운 이미지의 크기만 알 수 있다면 숨은 이미지를 찾아낼 수 있다.
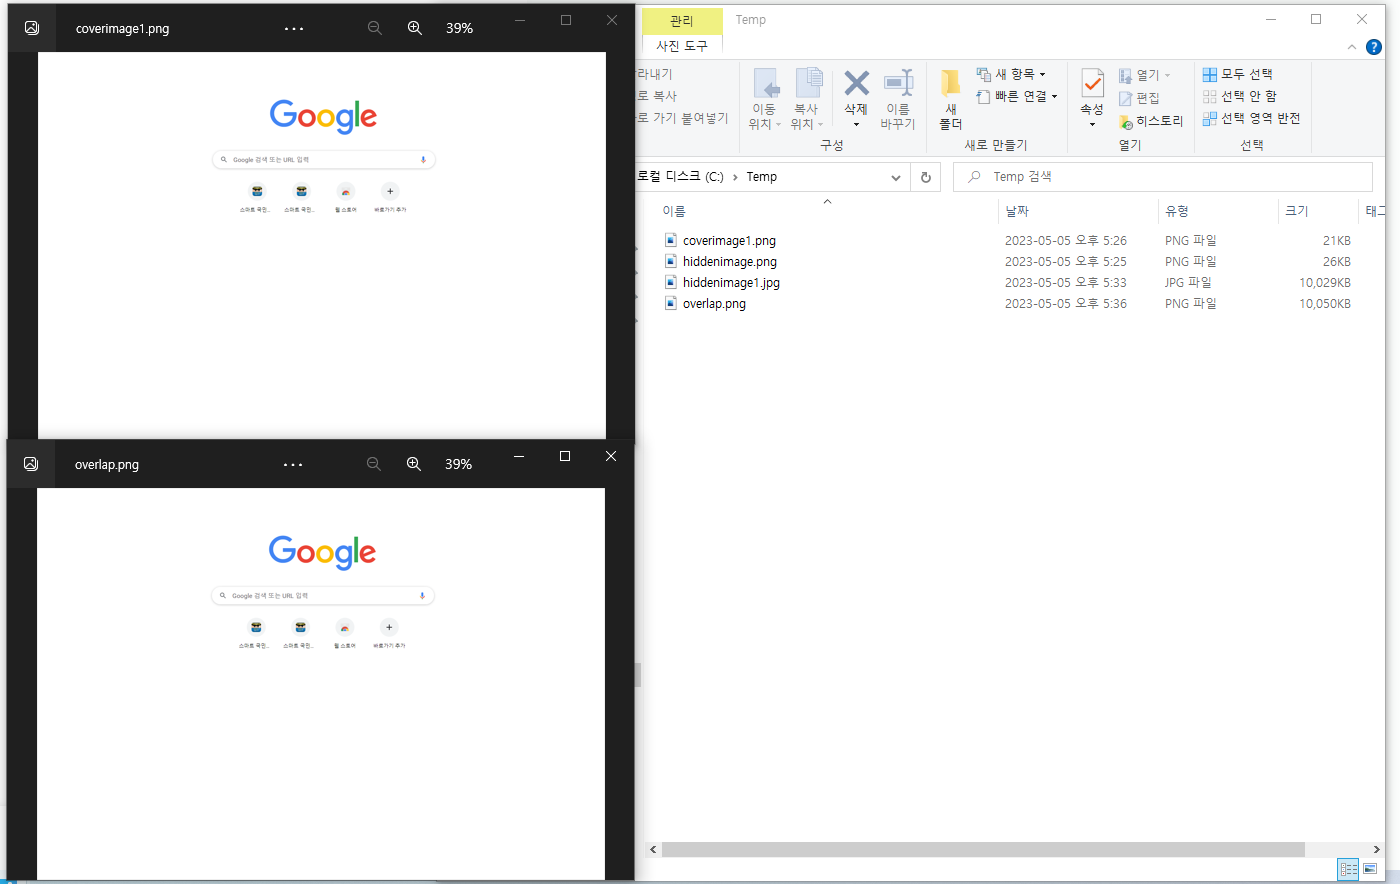
coverimage1.png와 overlap.png를 열어보면 똑같이 구글의 메인페이지이다. 하지만 파일시스템에서 용량을 보면 10,000kb의 차이가 난다. coverimage1으로 hiddenimage1을 덮어썼기 때문이다.
아래는 이미지 파일을 덮어쓰는 코드다.
	public void fileConnet(File[] origin, File to) throws Exception {
		FileInputStream[] input = new FileInputStream[origin.length];
		FileOutputStream oss = new FileOutputStream(to);

		System.out.println("file size ");
		for (int i = 0; i < origin.length; i++) {
			input[i] = new FileInputStream(origin[i]);
			System.out.println(input[i].getChannel().size()); // origin[i].length()와 동일
		}
		// 3. 한번에 read하고, write할 사이즈 지정
		byte[] buf = new byte[1024];

		// 4. buf 사이즈만큼 input에서 데이터를 읽어서, output에 쓴다.
		int readData = 0;
		int bytes = 0;
		for (int i = 0; i < input.length; i++) {
			while ((readData = input[i].read(buf)) > 0) {
				oss.write(buf, 0, readData);
			}
			input[i].close();
		}
		// 5. Stream close
		oss.close();
	}
결과 파일에는 origin의 첫번째 파일만 보이고 크기는 합쳐지게 된다.
그렇게 덮어씌워진 파일은 아래 메소드를 통해 복원할 수 있다.
	public void uncoverFile(File origin, File to, long remove) {
		try {
			FileInputStream input = new FileInputStream(origin);
			FileOutputStream oss = new FileOutputStream(to);

			System.out.println("origin length " + origin.length());
			System.out.println("input length " + input.getChannel().size());
			byte[] buf = new byte[1024];

			// 덢어씌워진 파일 크기만큼 output에 작성하지 않고 빼낸다.
			int readData;
			for (int j = 0; j < remove; j++) {
				input.read();
			}
			System.out.println("-----------------");
			while ((readData = input.read(buf)) > 0) {
				oss.write(buf, 0, readData);
			}

			// 5. Stream close
			input.close();
			oss.close();

		} catch (Exception e) {
			e.printStackTrace();
			// TODO: handle exception
		}
	}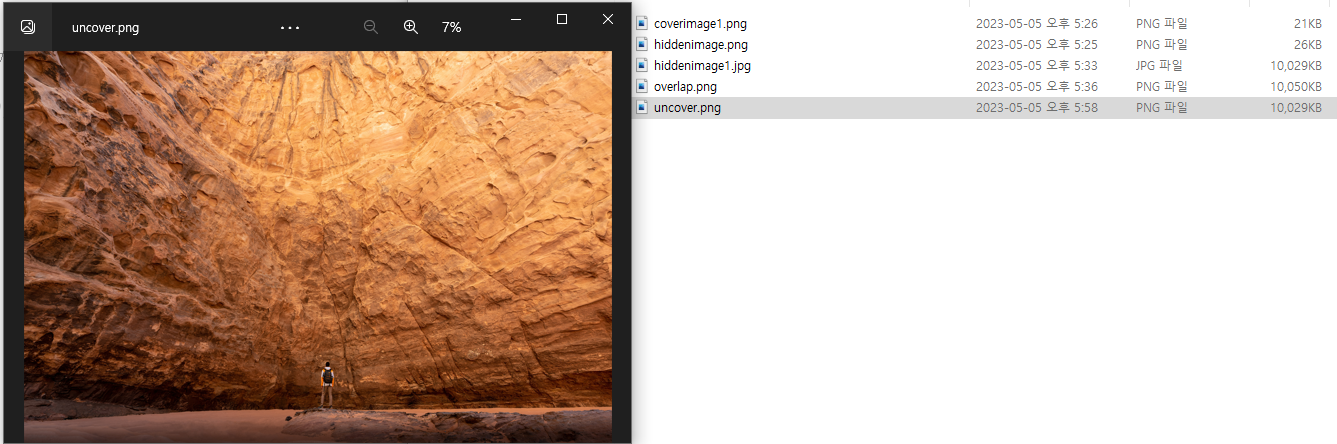
파일시스템에서 확인해보면 hiddenimage1의 크기와 동일해진 결과파일이 생긴걸 확인할 수 있다.
전체 소스는 git에 올려두었다. 깃에 테스트용 이미지 파일(overlaptest.png)을 올려두었다. 해당 소스를 통해 숨겨진 이미지를 보실 수 있다.

청포도루이보스민트티