
드디어 기업 개인 과제가 시작되었다 🥶
준혁님이 린터설정을 엄청나게 강조하셔서 오늘은 프로젝트 초기세팅과 린터설정을 했다. 준혁님이 만들어주신거 가져다가 쓸까 하다가 혼자 설정을 한번 해보고 싶어서 직접 설정을 해보았다.
이번에 개인 과제에서 사용할 기술들은
JavaScript, TypeScript, Styled-Component, Recoil 로 정했다.
패키지 관리 툴은 yarn을 사용했다.
1. CRA 초기세팅 (with TypeScript)
npx create-react-app my-app --template typescript
or
yarn create react-app 프로젝트명 --template typescript
만약 기존 존재하는 프로젝트에 타입스크립트를 추가하고 싶다면 이렇게!
npm install --save typescript @types/node @types/react @types/react-dom @types/jest
or
yarn add typescript @types/node @types/react @types/react-dom @types/jest
2. React Router 설치
프로젝트에서 없어서는 안될 Router를 설치하자. 작년에 버전 6으로 업그레이드가 되었기 때문에 6버전을 써준다.
npm install react-router-dom@6
or
yarn add react-router-dom@6
import * as React from "react";
import { Routes, Route, Link } from "react-router-dom";
import "./App.css";
function App() {
return (
<div className="App">
<h1>Welcome to React Router!</h1>
<Routes>
<Route path="/" element={<Home />} />
<Route path="about" element={<About />} />
</Routes>
</div>
);
}이런식으로 써주면 됨!
3. Styled-Component 설치
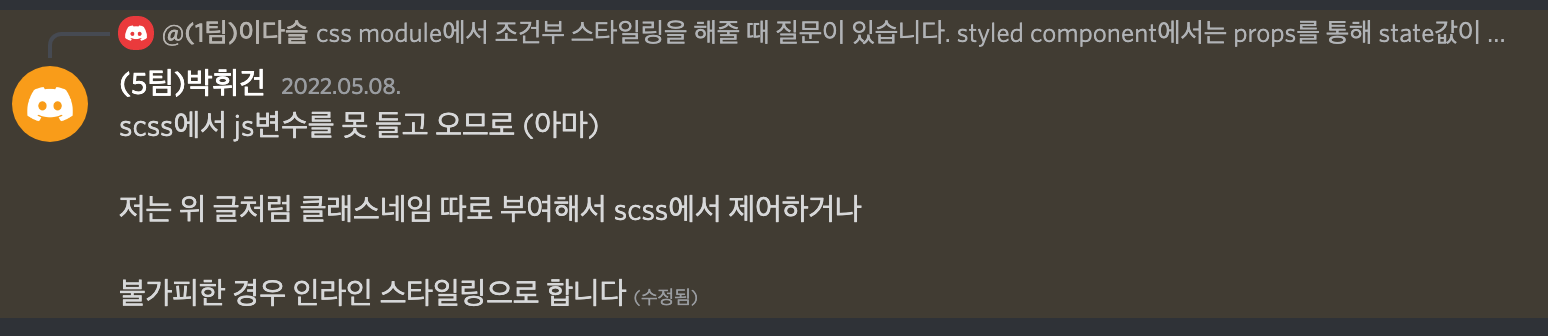
나는 아직 css module보다는 Styled-component가 좋다... 조건부 스타일링을 할때 스타일 값안에 자바스크립트의 변수를 쓸 수 있는게 훨씬 편리하다.. (className으로 조건부 스타일링을 하는 게 미숙해서 그럴수도 😂😂)
styled-component로 만들었던 프로젝트를 css module로 바꾸면서 겪었던 어려움을 디스코드에 올렸었다.
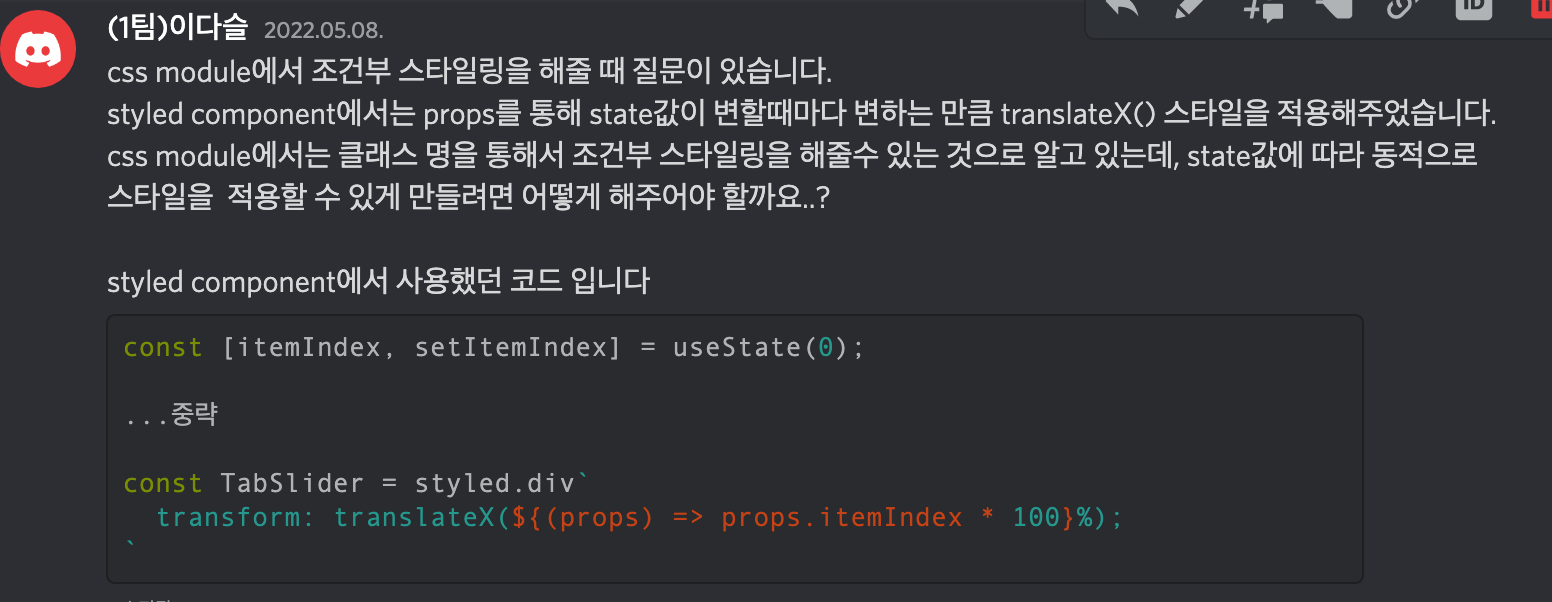

😭.....
state값을 스타일의 값으로 사용하는 방법말고 다른 방법을 사용했었으면, 다른 방법이 있었을 것이다.
준혁님이 Styled-component를 선호하지 않는 이유가 HTML의 시멘틱한 태그들을 안쓰게 되어서 HTML이 약해짐이었는데 이 부분을 좀 더 보완해서 신경쓰면서 styled-component를 사용해야겠다.
어쨌든 설치
npm install --save styled-components
or
yarn add styled-components
typeScript를 사용하는 경우라면,
npm install --save @types/styled-components
or
yarn add -D @types/styled-components
GlobalStyle을 위해 styled-reset 도 설치해주었다.
npm install styled-reset
or
yarn add styled-reset
4. ESlint 설정
npm install eslint --save-dev
or
yarn add eslint --dev
ESlint 환경설정 파일이 생성되어 있지 않으므로 초기화를 해야한다.
npm init @eslint/config
or
yarn create @eslint/config
이렇게 해주면 config 파일이 생길 것이다. 여기서 내가 설정해주고 싶은대로 플러그인을 설치하거나 rules를 설정하면 된다.
나는 rule이 꽤 빡세다는 airbnb config를 설정해주었다.
npm install eslint-config-airbnb
or
yarn add eslint-config-airbnb
설치 후 .eslintrc 파일 extends에 "airbnb", "airbnb/hooks"를 추가해준다. 역시 airbnb를 적용했더니 너무 warning이 많이 떠서 필요없는건 준혁님 foundation 파일을 보면서 꺼주었다. (너무 warning이 많아서 프로젝트 시작 못할뻔..)
{
 {
  "extends": ["airbnb", "airbnb/hooks", "react-app", "prettier"],
  "env": {
    "browser": true,
    "jasmine": true,
    "jest": true
  },
  "settings": {
    "import/extensions": [".js", ".jsx", ".ts", ".tsx"],
    "import/resolver": {
      "node": {
        "extensions": [".js", ".jsx", ".ts", ".tsx"]
      }
    },
    "react": {
      "pragma": "React",
      "version": "detect"
    }
  },
  "rules": {
    "arrow-body-style": "off",
    "react/function-component-definition": ["warn", { "namedComponents": "arrow-function" }],
    "react/jsx-one-expression-per-line": "off",
    "react/jsx-filename-extension": ["error", { "extensions": [".js", ".jsx", ".ts", ".tsx"] }],
    "react/jsx-indent": "warn",
    "react/jsx-props-no-spreading": "off",
    "react/no-array-index-key": "warn",
    "react/require-default-props": "off",
    "react/jsx-wrap-multilines": "off",
    "react/jsx-uses-react": "off",
    "react/react-in-jsx-scope": "off",
    "import/prefer-default-export": "off",
    "import/no-unresolved": "off",
    "import/order": "off",
    "import/no-anonymous-default-export": "off",
    "import/no-extraneous-dependencies": [
      "error",
      {
        "devDependencies": [".storybook/**", "src/stories/**"]
      }
    ],
    // "max-lines": ["warn", 150],
    "no-param-reassign": ["error", { "props": false }],
    "no-use-before-define": "off",
    "@typescript-eslint/no-use-before-define": ["error"],

    "no-shadow": "off",
    "no-unused-expressions": ["warn"],
    "@typescript-eslint/no-shadow": ["error"],
    "@typescript-eslint/camelcase": "off",
    "@typescript-eslint/unbound-method": "off",
    "@typescript-eslint/no-non-null-assertion": "off",
    "@typescript-eslint/no-unsafe-member-access": "off",
    "@typescript-eslint/no-unsafe-assignment": "off",
    "@typescript-eslint/no-unused-vars": ["warn", { "argsIgnorePattern": "^_" }],
    "prefer-const": ["warn"],
    "prefer-destructuring": ["error", { "object": true, "array": false }],
    "lines-between-class-members": "off",
    "jsx-a11y/click-events-have-key-events": "off",
    "jsx-a11y/label-has-associated-control": [
      "error",
      {
        "labelComponents": ["label"],
        "labelAttributes": ["htmlFor"],
        "controlComponents": ["input"]
      }
    ],
    "import/extensions": [
      "error",
      "ignorePackages",
      {
        "js": "never",
        "jsx": "never",
        "ts": "never",
        "tsx": "never"
      }
    ]
  }
}
5. Stylelint 설정
styled-component 공식문서의 이곳을 참고했다.
npm install --save-dev \
  stylelint \
  stylelint-processor-styled-components \
  stylelint-config-styled-components \
  stylelint-config-recommended

or

yarn add \
 stylelint \
  stylelint-processor-styled-components \
  stylelint-config-styled-components \
  stylelint-config-recommended
6. Prettier 설정
prettier 설치
npm install --save-dev --save-exact prettier
or
yarn add --dev --exact prettier
prettier eslint 플러그인 및 설정 패키지 설치
npm install -D eslint-config-prettier eslint-plugin-prettier
or
yarn add -D eslint-config-prettier eslint-plugin-prettiereslint-plugin-prettier: prettier 규칙을 생성하는 eslint 플러그인eslint-config-prettier: eslint와 prettier간 충돌나는 규칙을 비활성화해주는 eslint 설정
.prettierrc.json 파일 생성 후 규칙 추가
{
  "jsxSingleQuote": false,
  "semi": true,
  "printWidth": 120,
  "singleQuote": false,
  "htmlWhitespaceSensitivity": "css",
  "endOfLine": "lf"
}
7. Recoil 설치
npm install recoil
or
yarn add recoil
초기세팅이랑 린터설정에 생각보다 시간을 많이 썼다. 그치만 초기세팅과 린터설정 또한 너무 중요하기에 이번 기회로 다시 한번 연습해보아서 좋았던 것 같다. 👍🏻

덕분에 프로젝트 초기설정 잘 했습니다 감사합니다!!