🙌🏻 해당 글은 Three.js Journey의 강의 노트입니다.
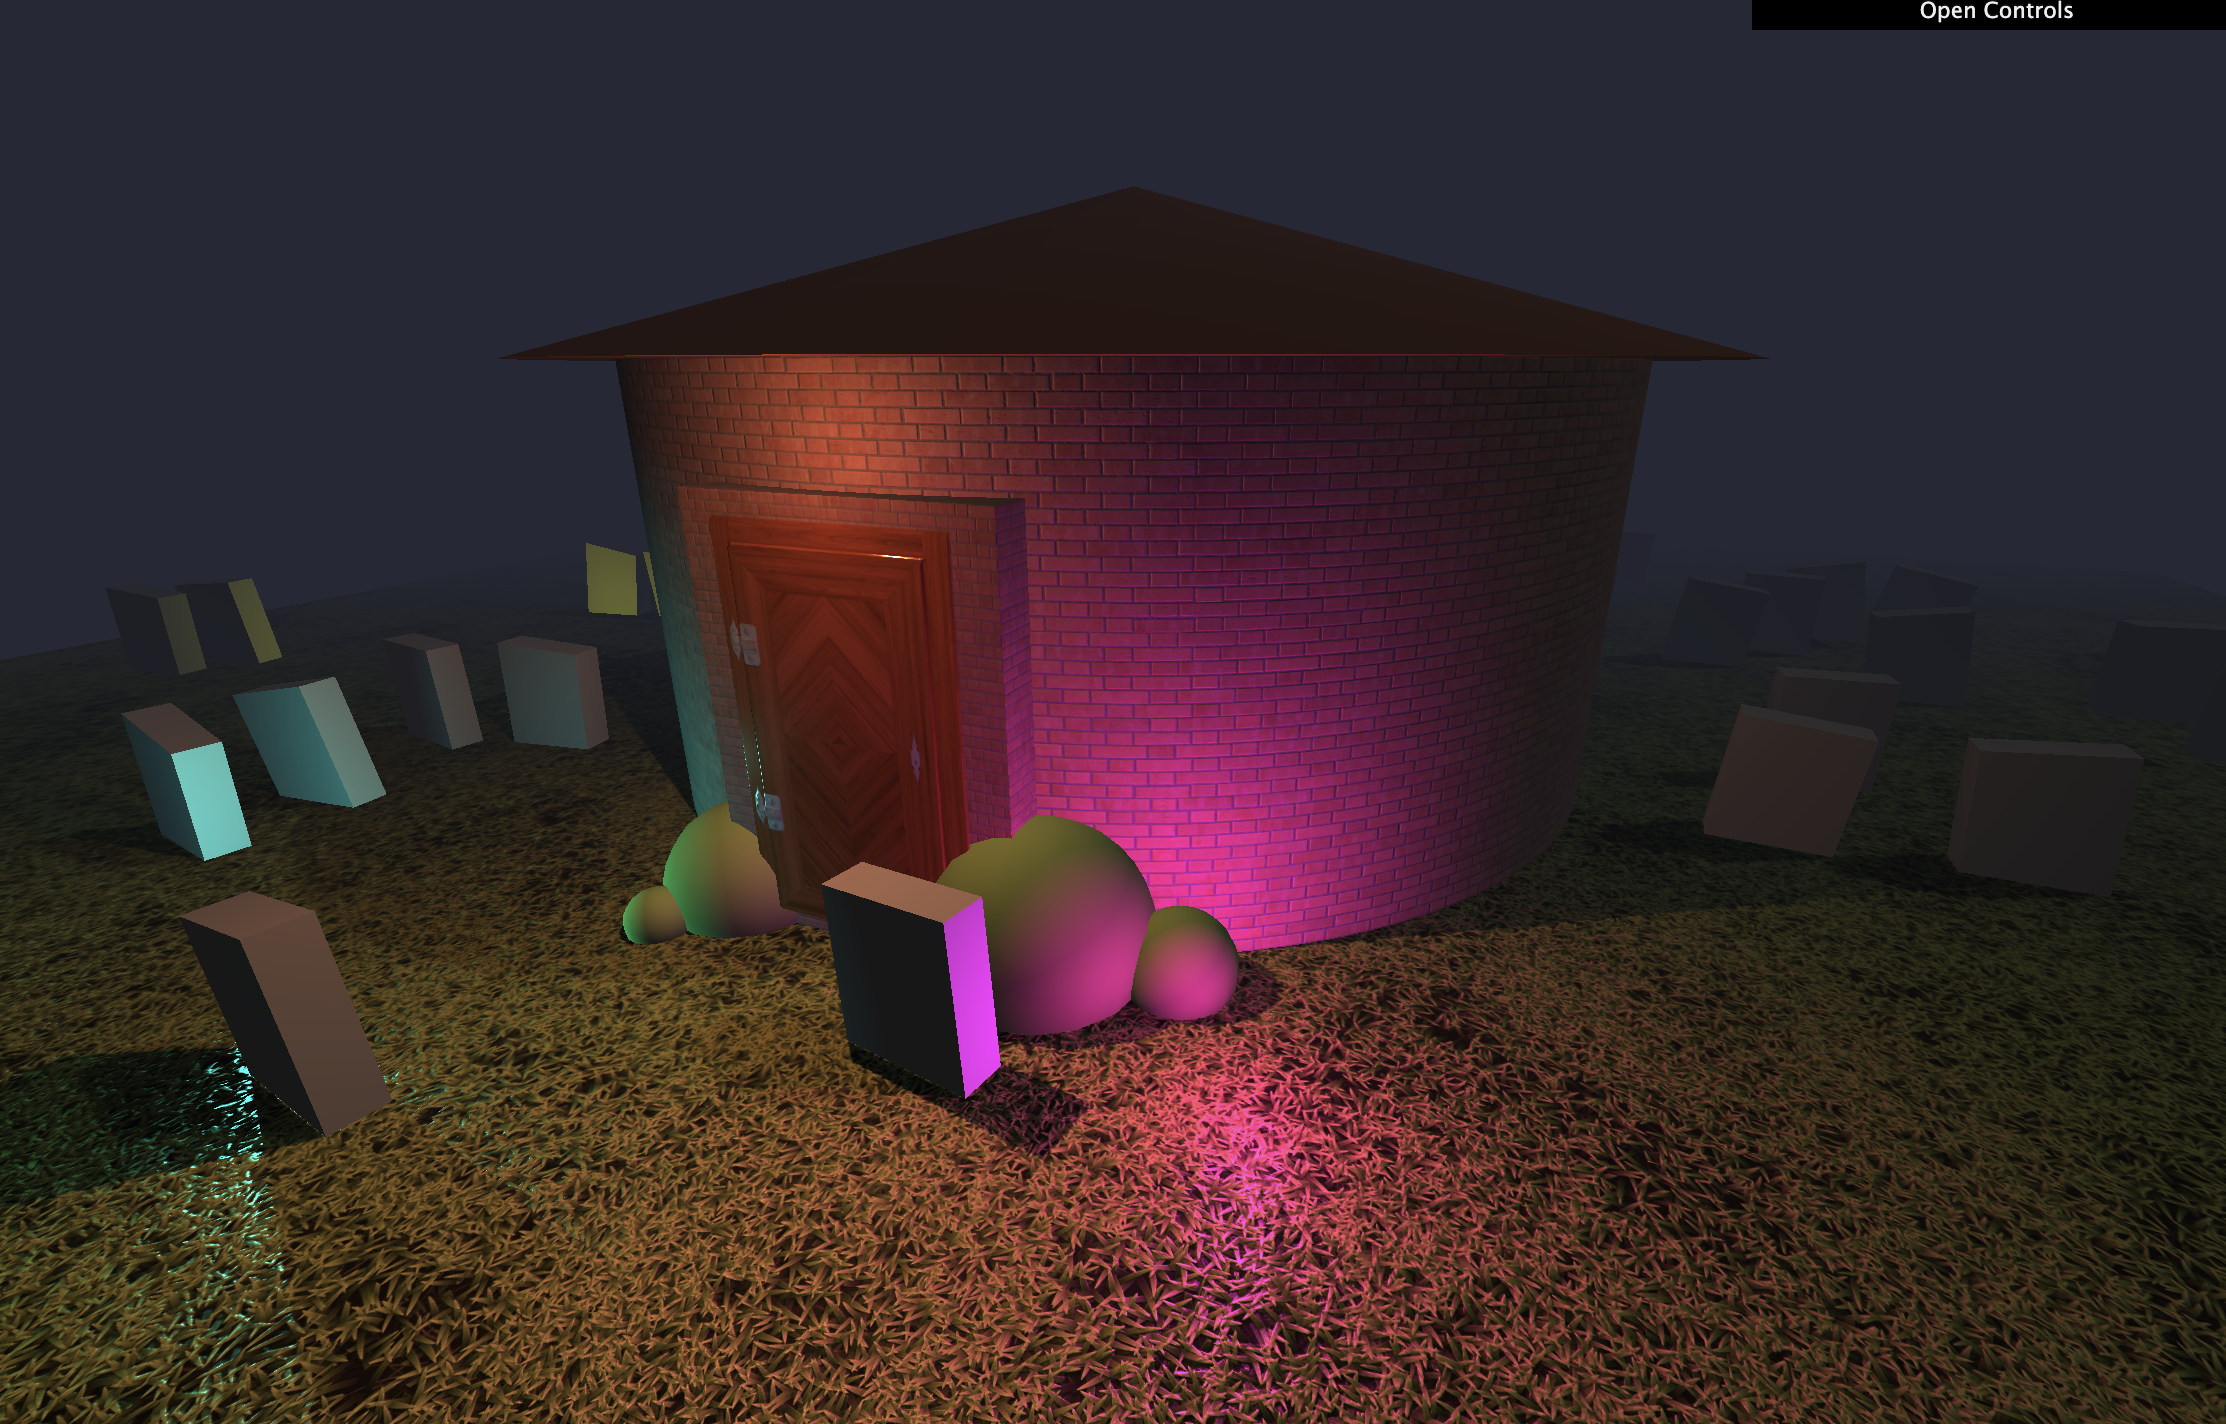
16 Haunted House
Tips for measurements
Three.js의 primitives를 이용해 무언가를 만들 때 쉽게 하는 초보적인 실수는 랜덤한 단위를 사용한다는 점이다. One Unit은 Three.js에서 무엇이든지-킬로미터, 미터, 센티미터- 될 수 있다. 특정한 유닛 비율을 갓는 것이 geometry를 만드는데 절대적으로 도움이 된다. 아무 숫자나 무작정 쓰지 말고, 나만의 단위를 정해놓고 거기에 의거해서 비율을 측정하자.
The house
Floor
우선 PlaneGeometry를 활용해 바닥을 만들어준다. 처음 PlaneGeometry를 만들면 정면으로 보는 색종이처럼 생성이되는데, rotation 속성을 이용해 이를 바닥으로 만들어준다.
// Floor
const floor = new THREE.Mesh(
  new THREE.PlaneGeometry(20, 20),
  new THREE.MeshStandardMaterial({ color: "#a9c388" })
);
floor.rotation.x = -Math.PI * 0.5;
floor.position.y = 0;
scene.add(floor);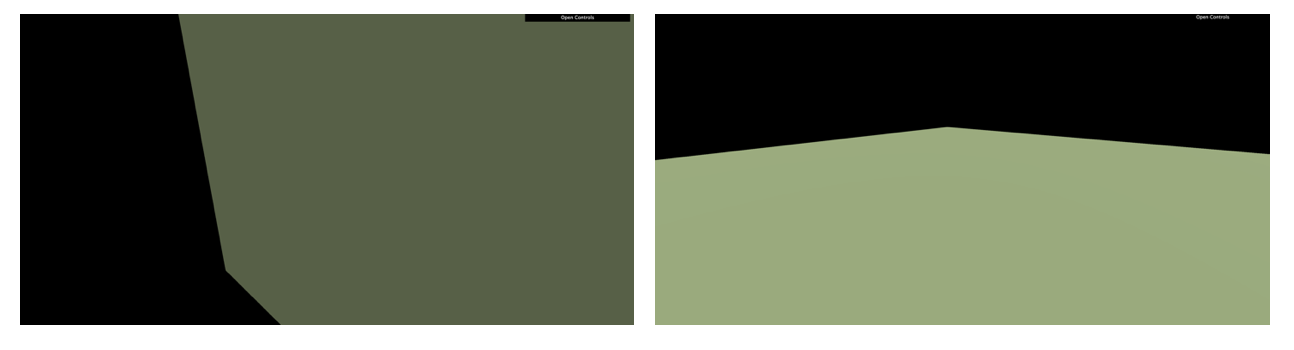
House container (walls)
일단 집을 지어줄 건데, 중앙에 오는 건물을 그룹으로 만들어줄 것이다.
// House container
const house = new THREE.Group()
scene.add(house)
그리고 나서 원통형 집을 만들어준다. 원래 강의에서는 네모난 집이었지만 약간의 응용을 해본다.
CylinderGeometry를 이용할 것이다.
// House container
const house = new THREE.Group();
scene.add(house);

const walls = new THREE.Mesh(
  new THREE.CylinderGeometry(3, 3, 2.5, 100),
  new THREE.MeshStandardMaterial({ color: "#ac8e82" })
);
walls.position.y = 1.25;
house.add(walls);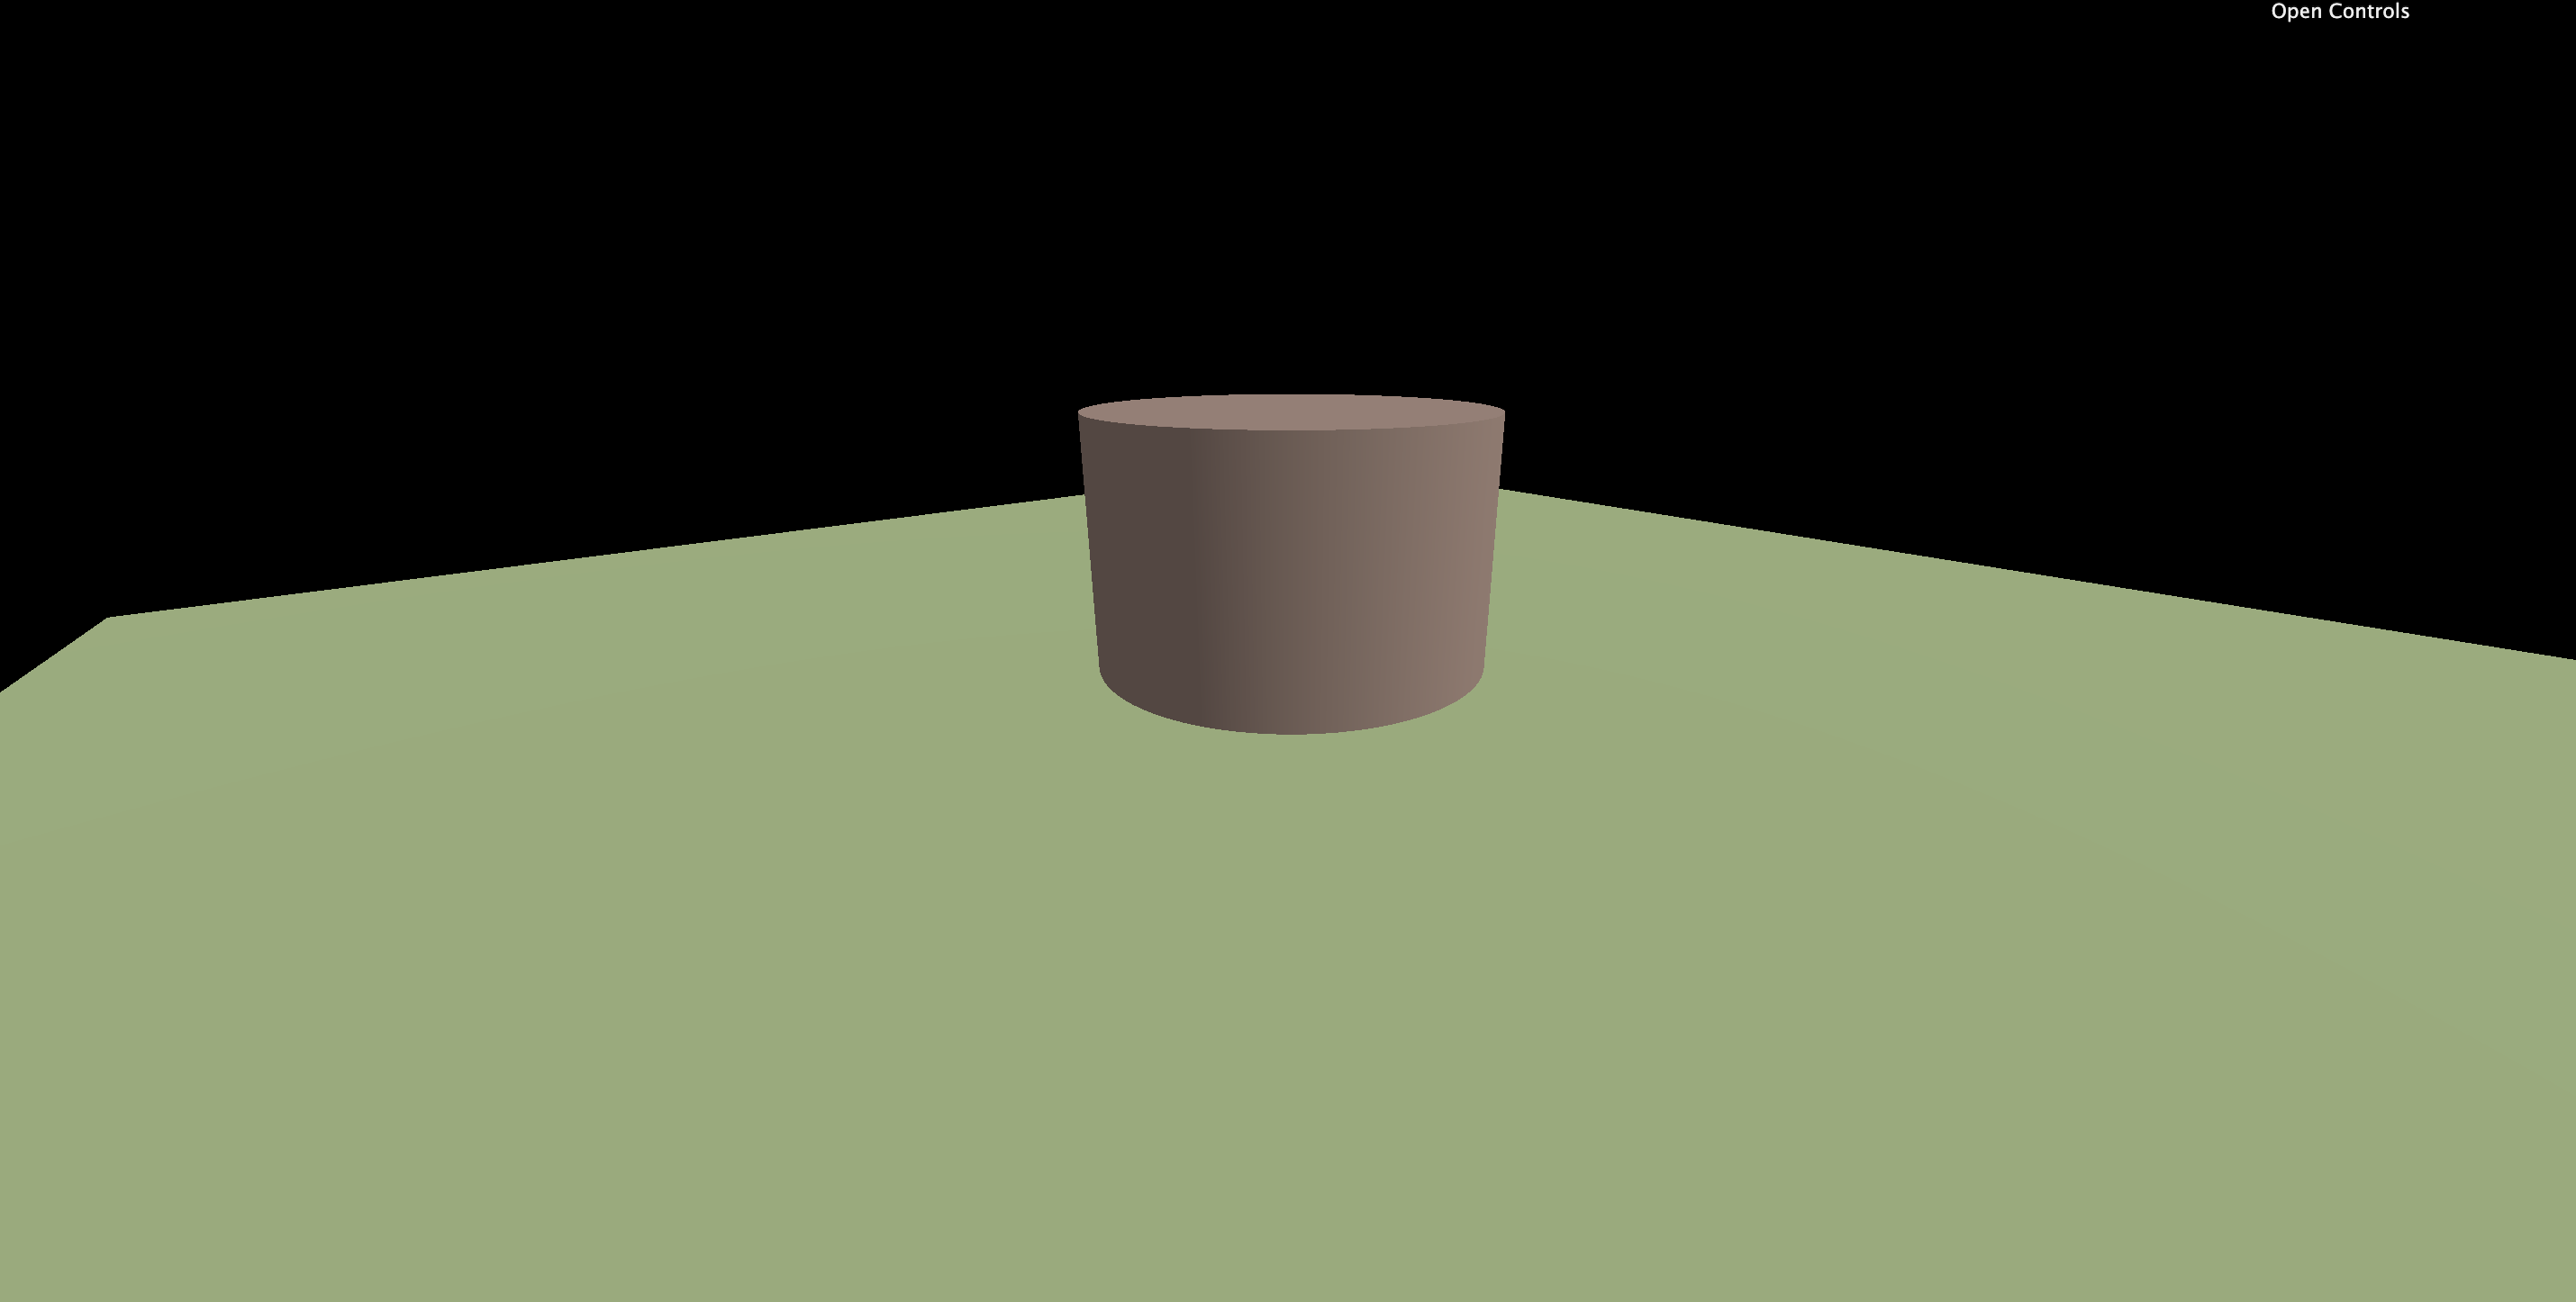
Roof
ConeGeometry를 이용해 지붕을 얹어주자!
const roof = new THREE.Mesh(
  new THREE.ConeGeometry(3.5, 1, 100),
  new THREE.MeshStandardMaterial({ color: "#b35f45" })
);
roof.rotation.y = Math.PI * 0.25;
roof.position.y = 2.5 + 0.5;
house.add(roof);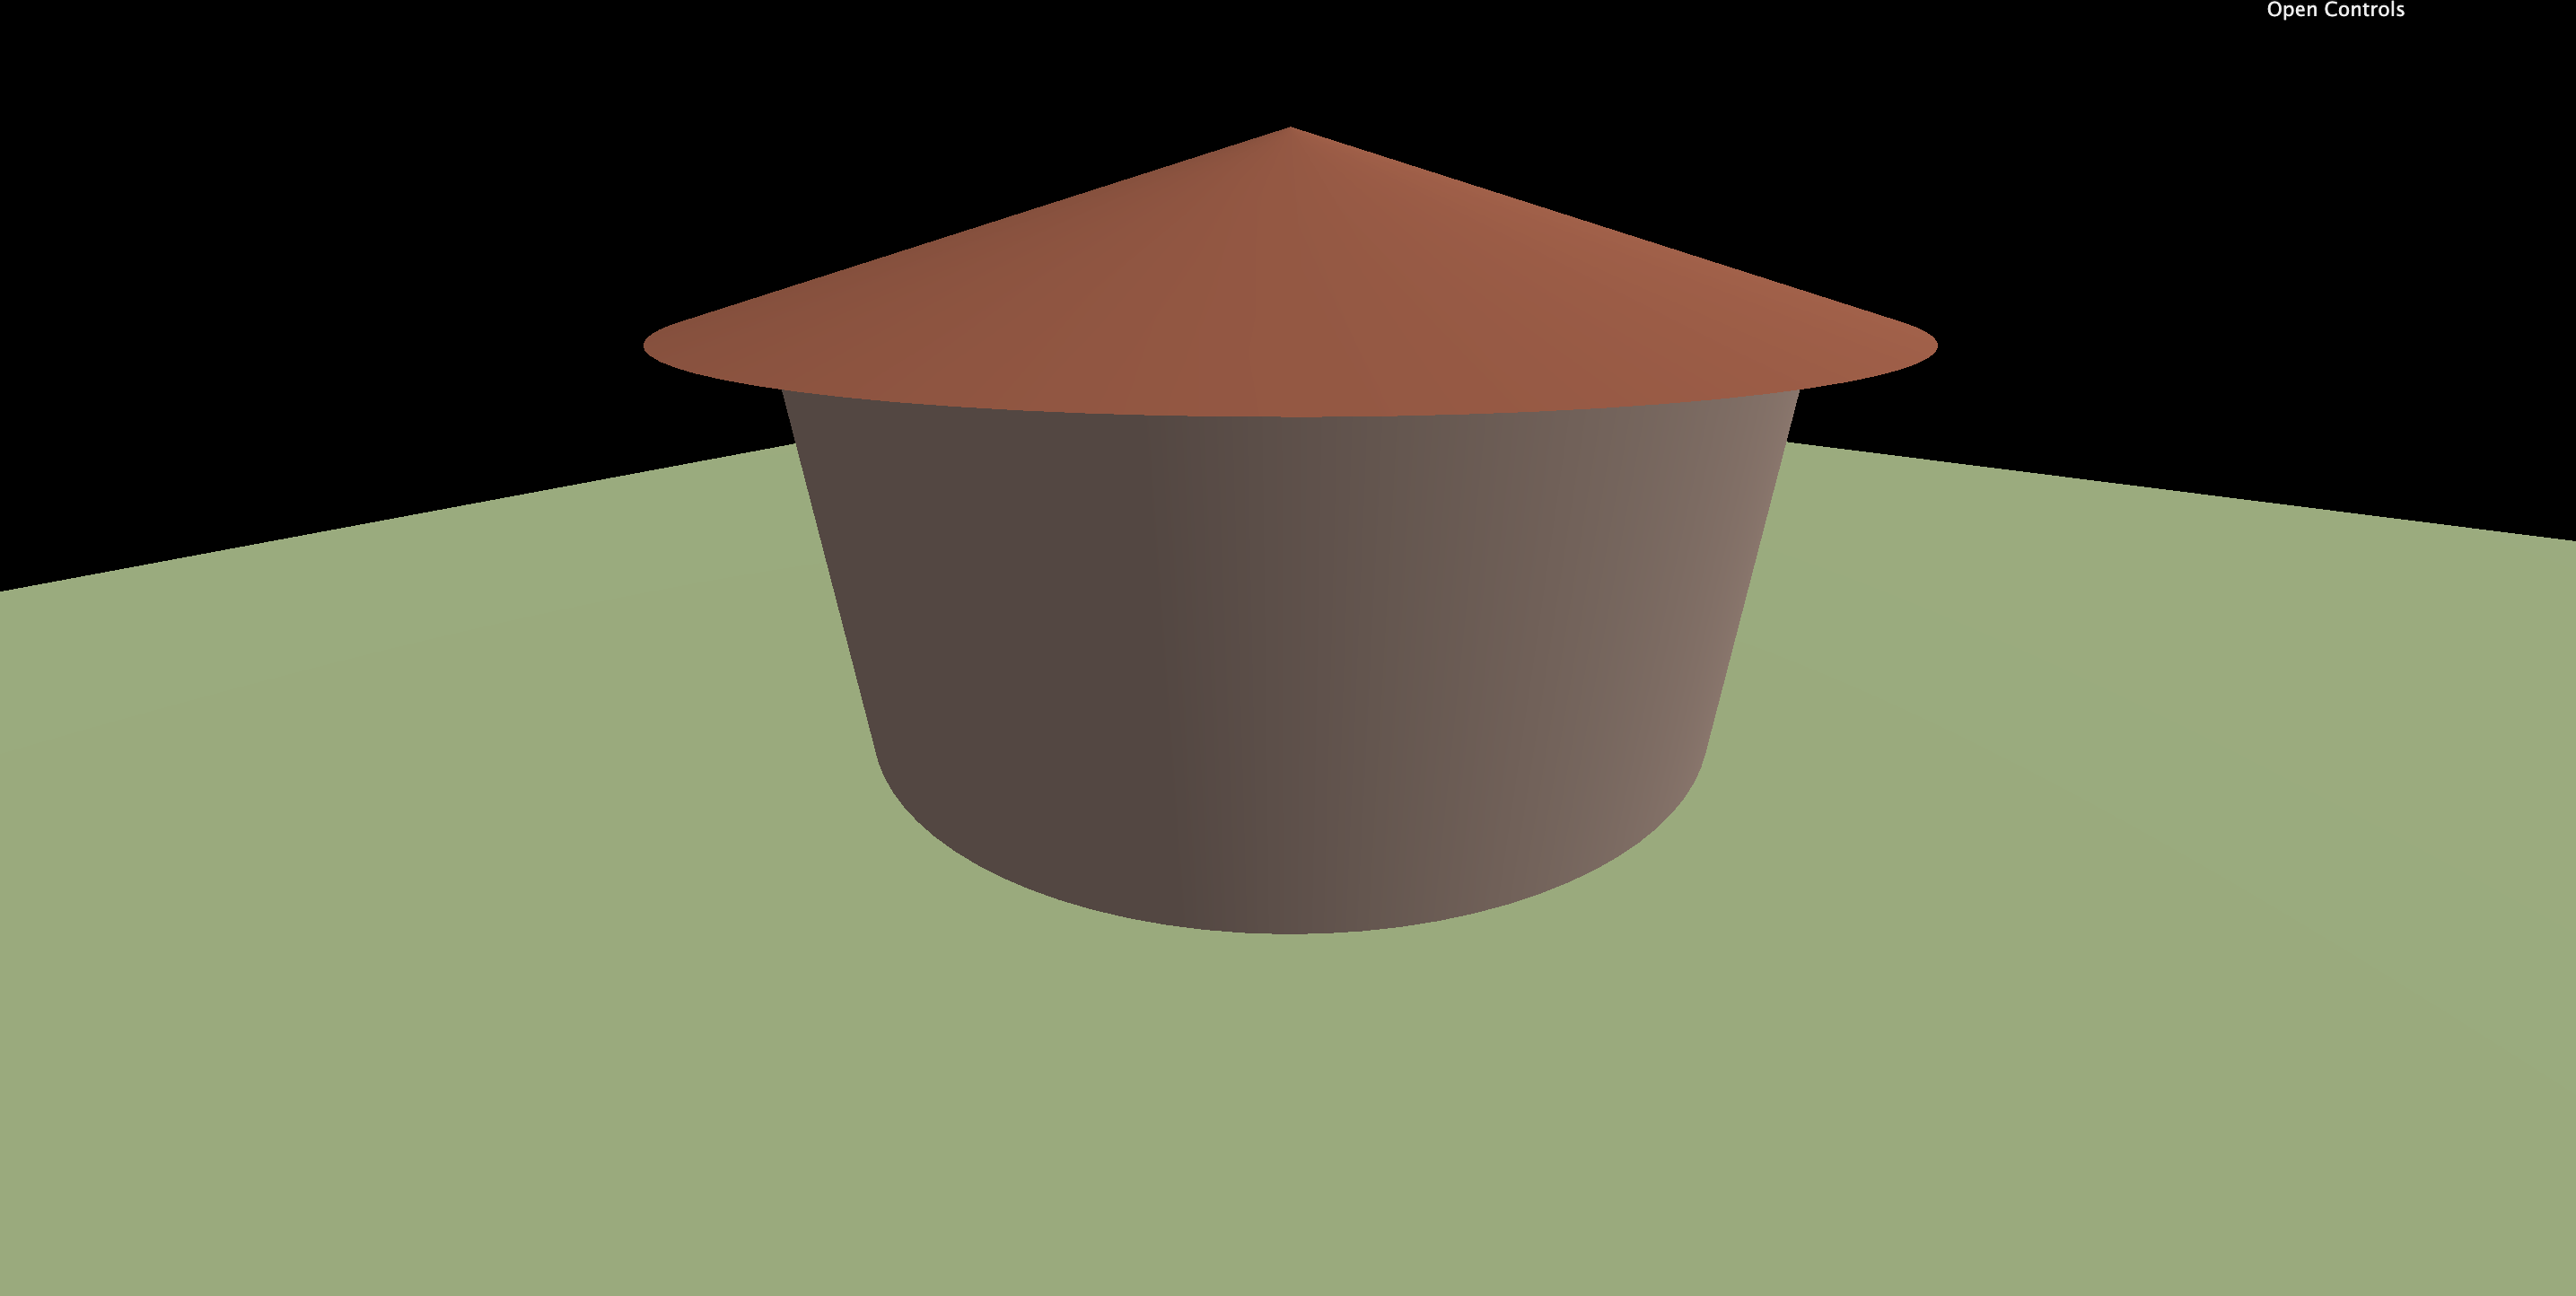
Door
원래 사각형이었던 집을 원형으로 변형하면서, 문이 앞으로 뜨게? 되어 BoxGeometry로 공간을 메워주었다.
// Door
const door = new THREE.Mesh(
  new THREE.PlaneGeometry(2, 2),
  new THREE.MeshStandardMaterial({ color: "#aa7b7b" })
);
door.position.y = 1;
door.position.z = 3.125 + 0.01;
house.add(door);

const doorWall = new THREE.Mesh(
  new THREE.BoxGeometry(2, 2, 2),
  new THREE.MeshStandardMaterial({ color: "#ac8e82" })
);
doorWall.position.y = 1;
doorWall.position.z = 2.125;
house.add(doorWall);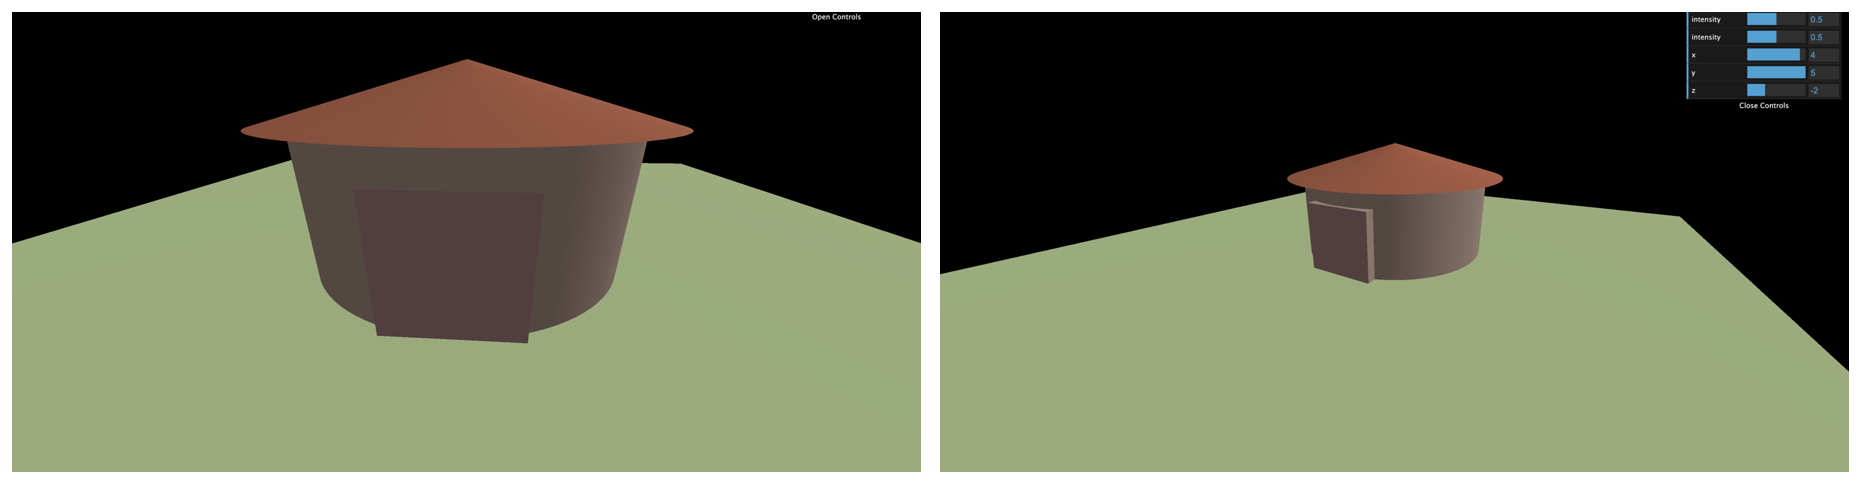
Bushes
덤불은 앞으로 조금씩만 이동시켜주었다.
기본적으로 아래와 같은 형태!
const bushGeometry = new THREE.SphereGeometry(1, 16, 16);
const bushMaterial = new THREE.MeshStandardMaterial({ color: "#89c854" });

const bush1 = new THREE.Mesh(bushGeometry, bushMaterial);
bush1.scale.set(0.5, 0.5, 0.5);
bush1.position.set(0.8, 0.2, 3.0);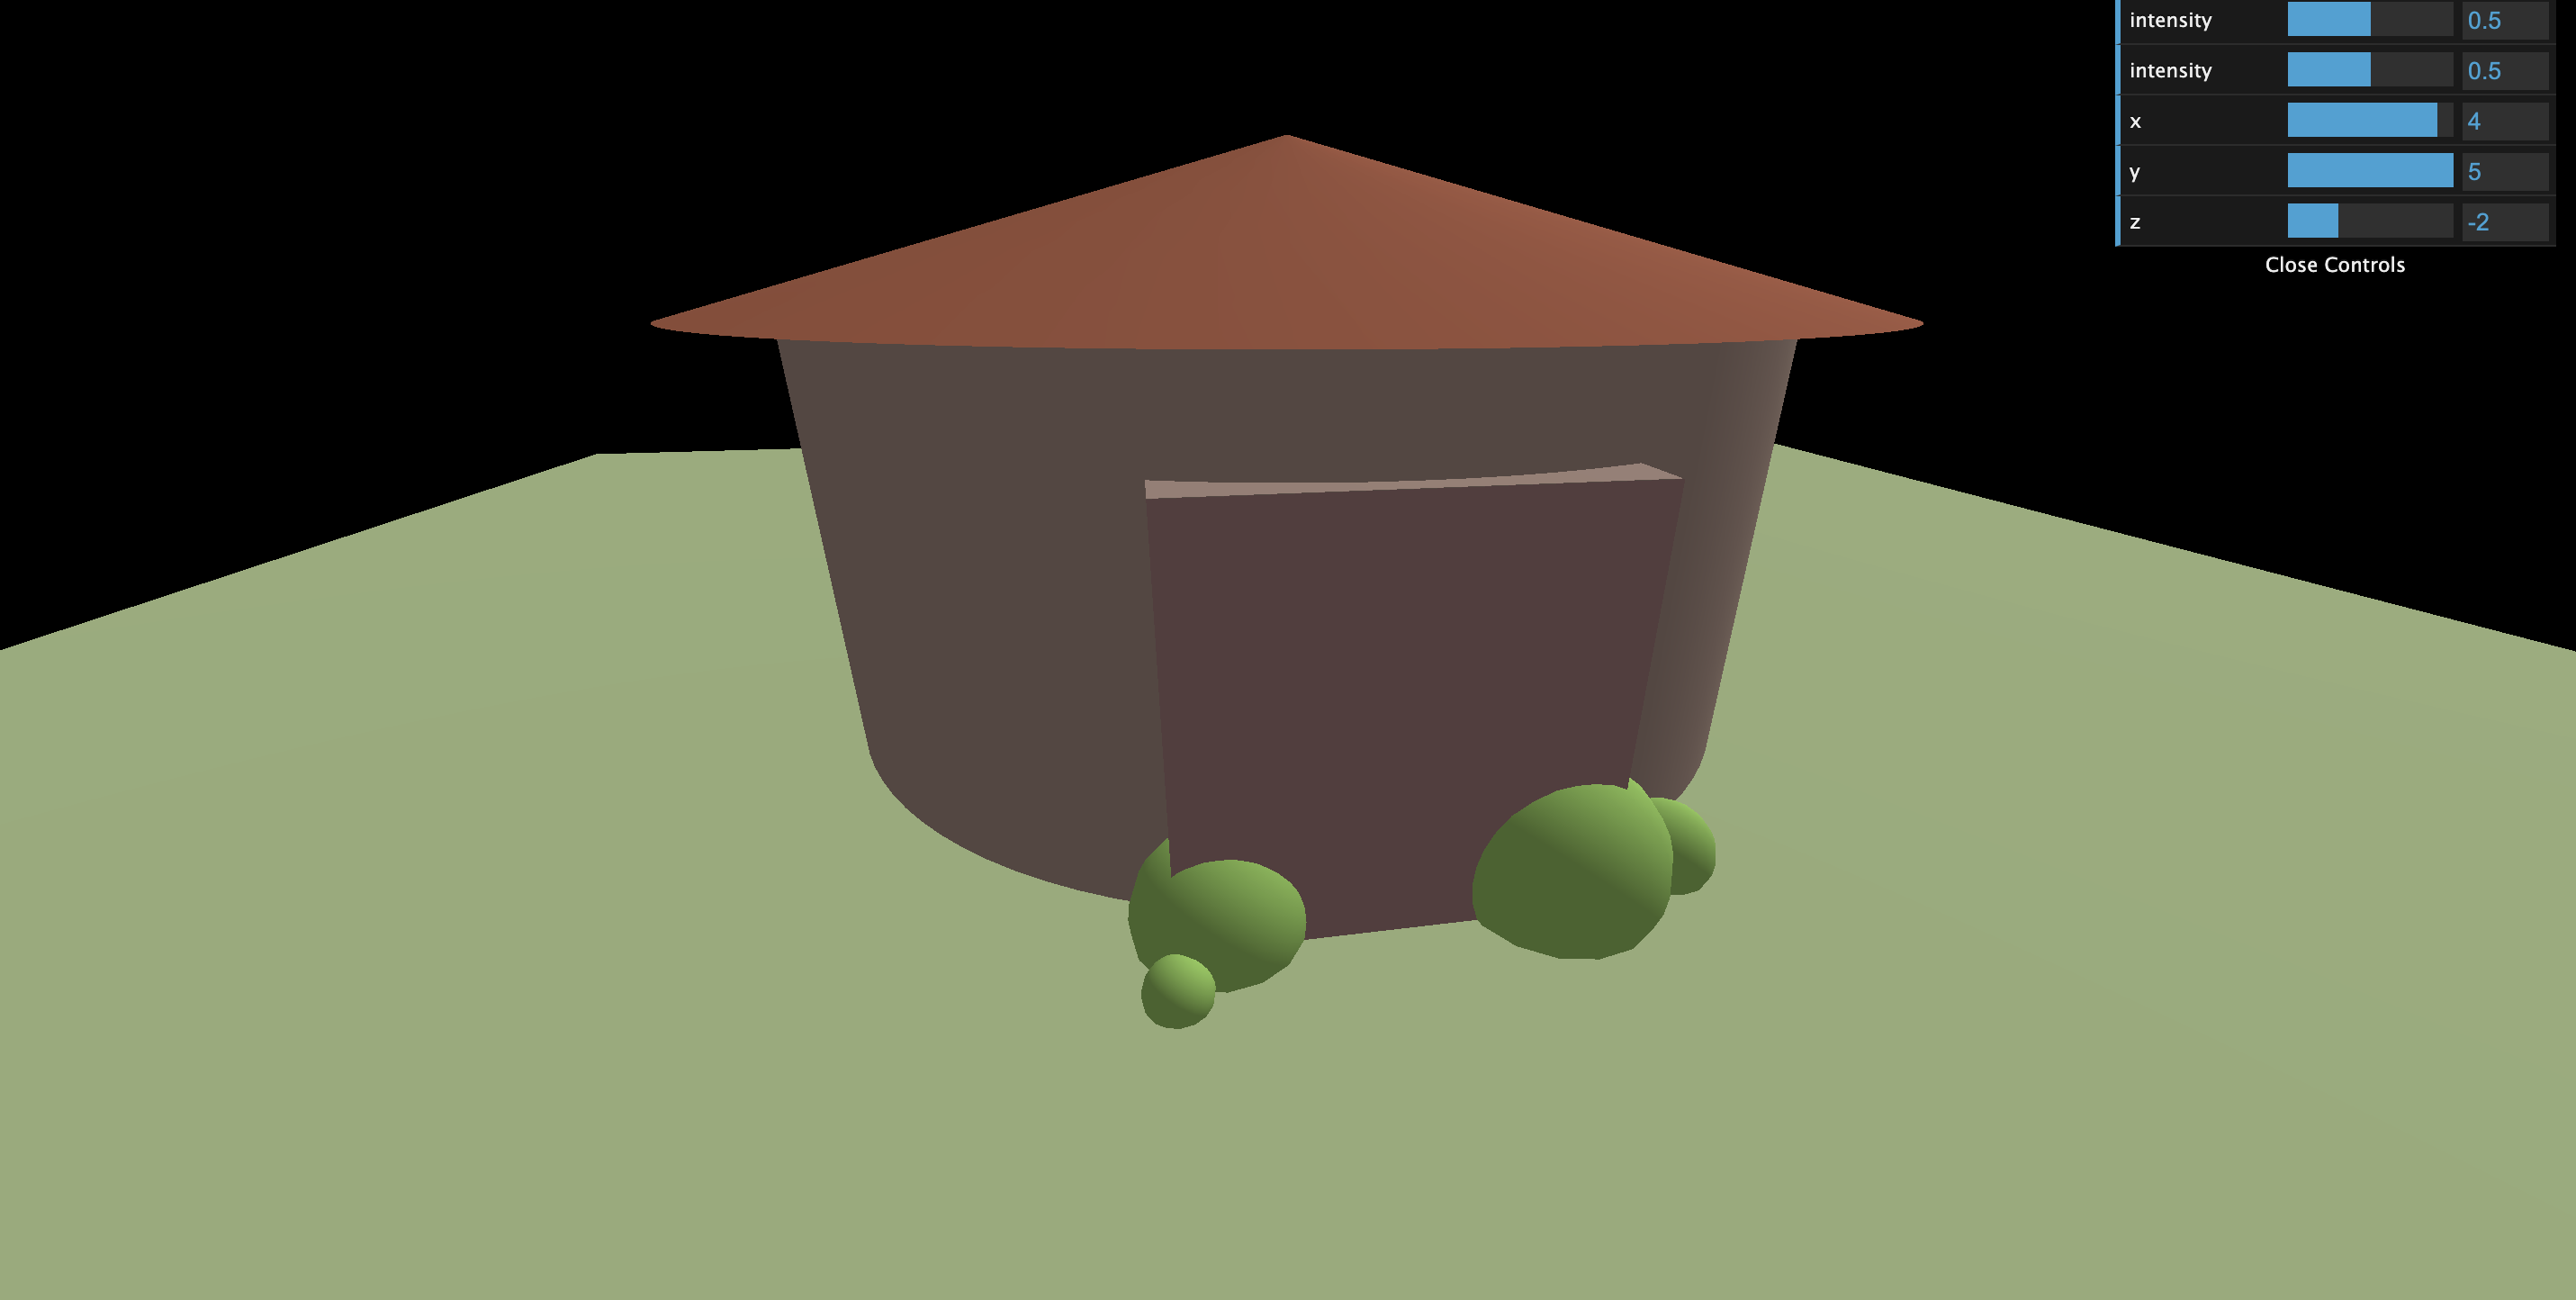
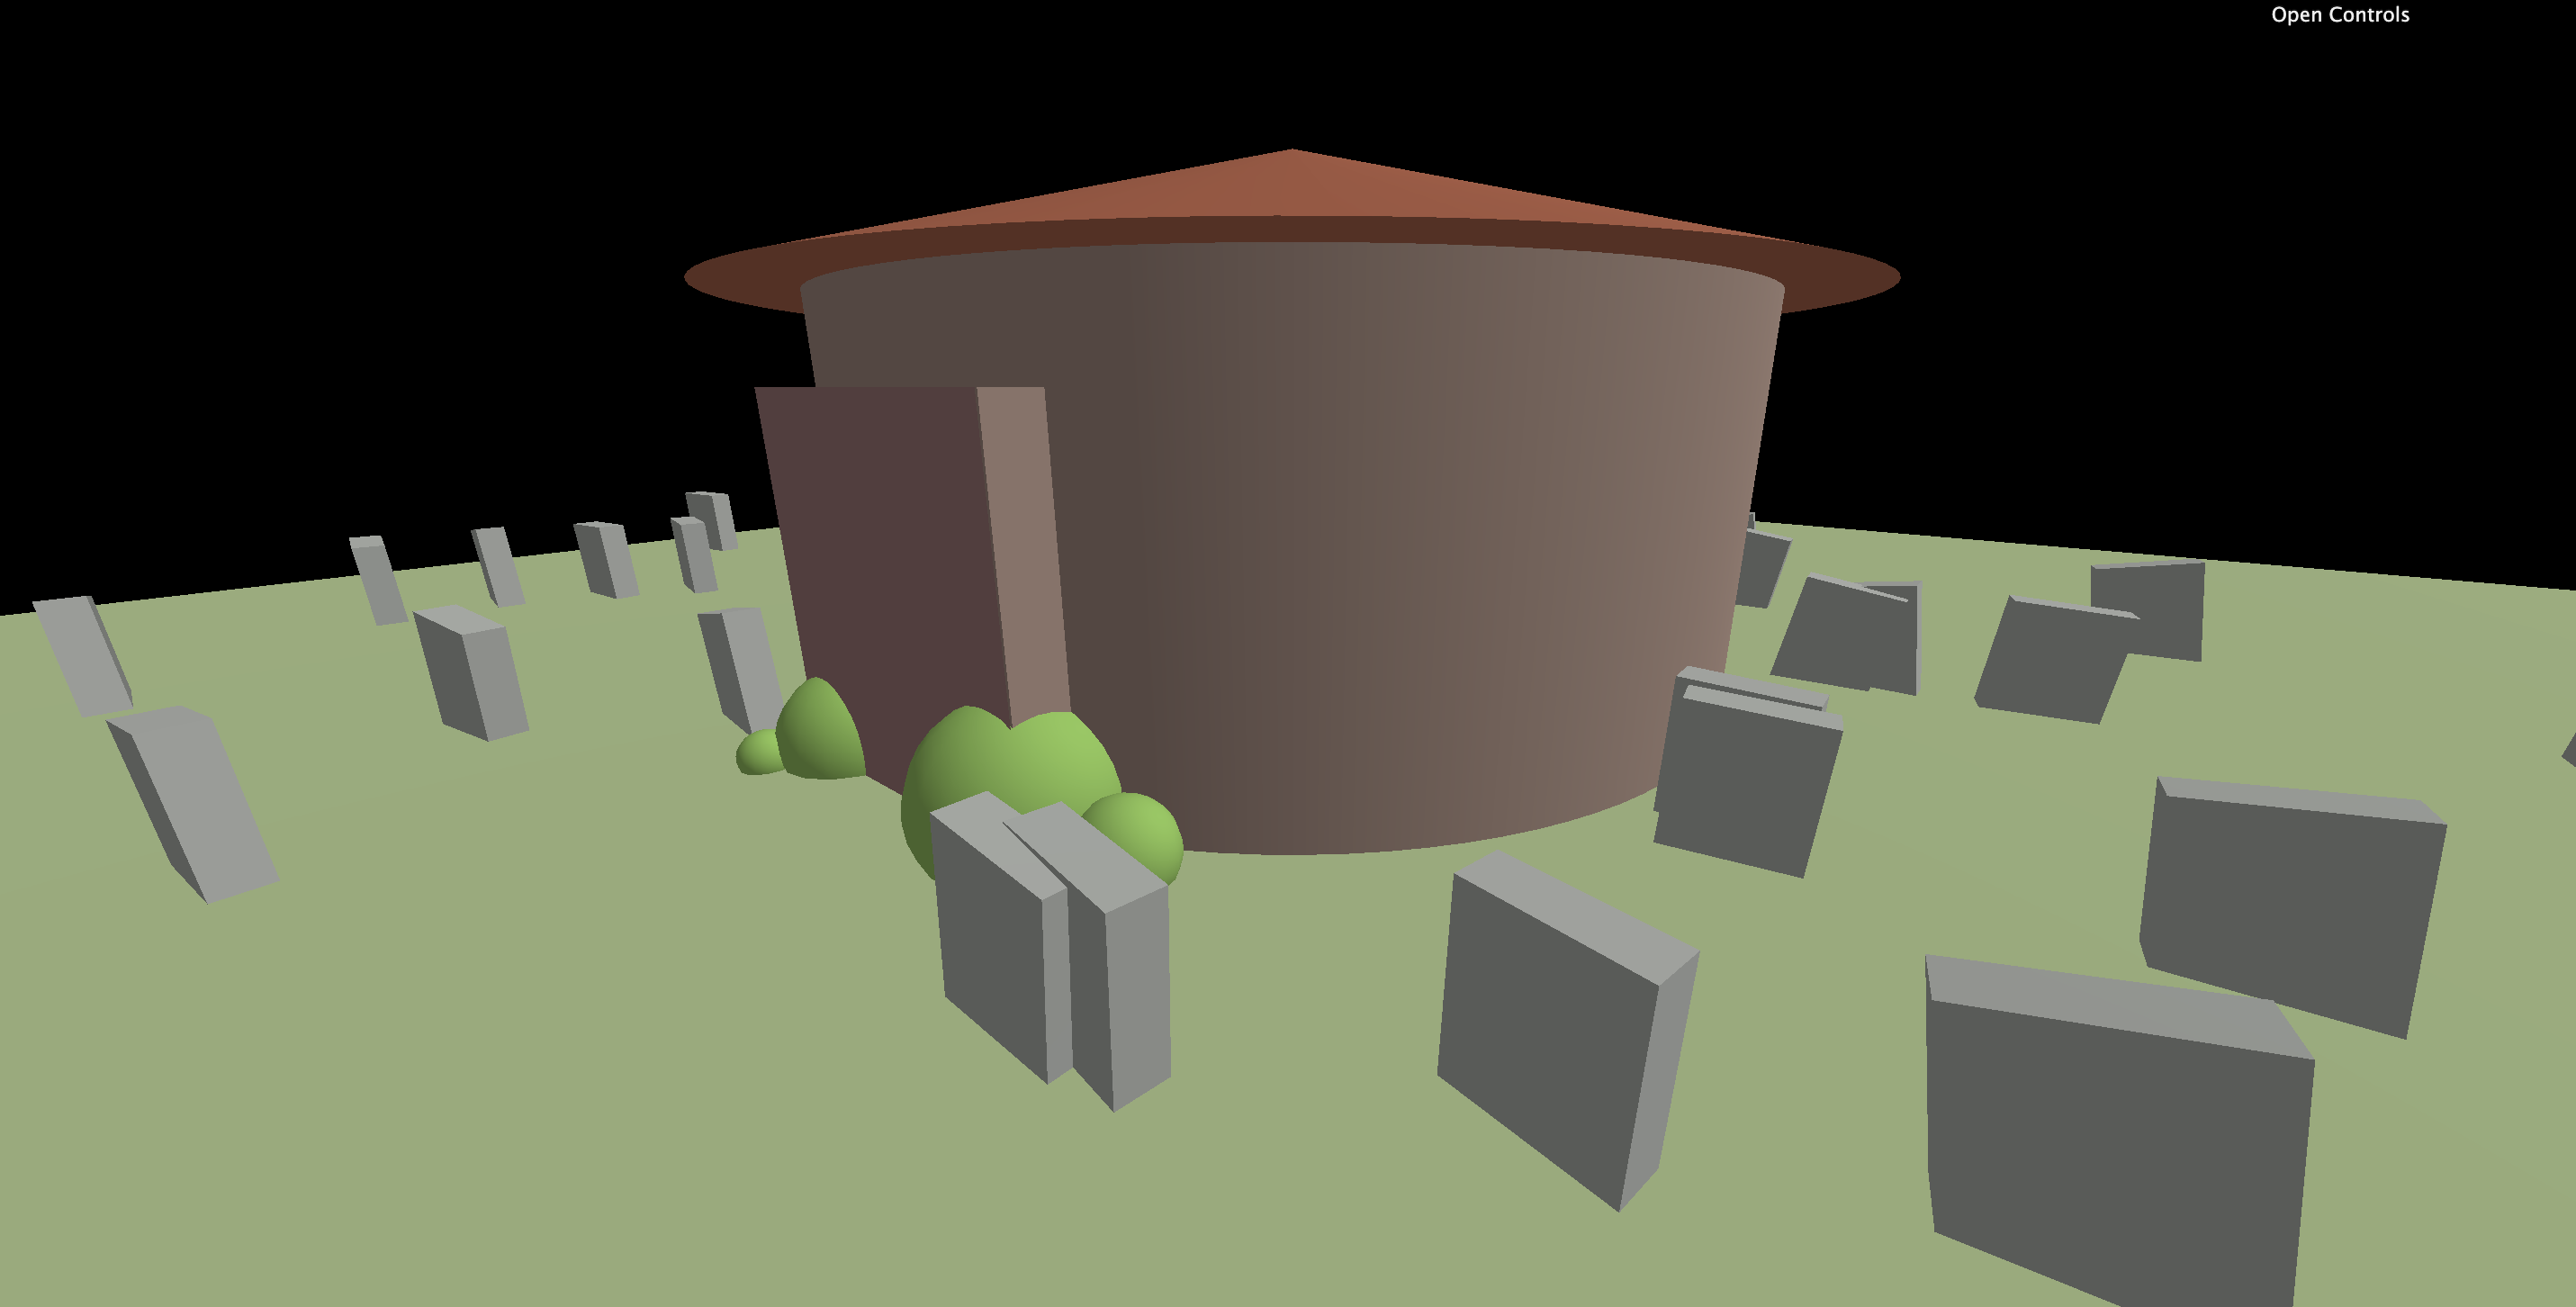
The graves
무덤은 일일이 수동으로 만들어주지 않고, 집을 주변으로 랜덤으로 배치할 것이다.
graves도 일단 그룹을 만들고 그룹에 추가해주는 방식으로!
const graves = new THREE.Group();
scene.add(graves);

const graveGeometry = new THREE.BoxGeometry(0.6, 0.8, 0.2);
const graveMaterial = new THREE.MeshStandardMaterial({ color: "#b2b6b1" });

for (let i = 0; i < 50; i++) {
  const angle = Math.random() * Math.PI * 2; // Random angle
  const radius = 3.25 + Math.random() * 6; // Random radius
  const x = Math.cos(angle) * radius; // Get the x position using cosinus
  const z = Math.sin(angle) * radius; // Get the z position using sinus

  // Create the mesh
  const grave = new THREE.Mesh(graveGeometry, graveMaterial);

  // Position
  grave.position.set(x, 0.3, z);

  // Rotation
  grave.rotation.z = (Math.random() - 0.5) * 0.4;
  grave.rotation.y = (Math.random() - 0.5) * 0.4;

  // Add to the graves container
  graves.add(grave);
}
Lights
이제 빛을 추가해줄 예정이다. 귀신의 집 치고는 너무 밝다!
전반적으로 조명을 어둡게 해준 후에, PointLight를 추가해주었다.
// Door light
const doorLight = new THREE.PointLight("#ff7d46", 1, 7);
doorLight.position.set(0, 2.2, 3.5);
house.add(doorLight);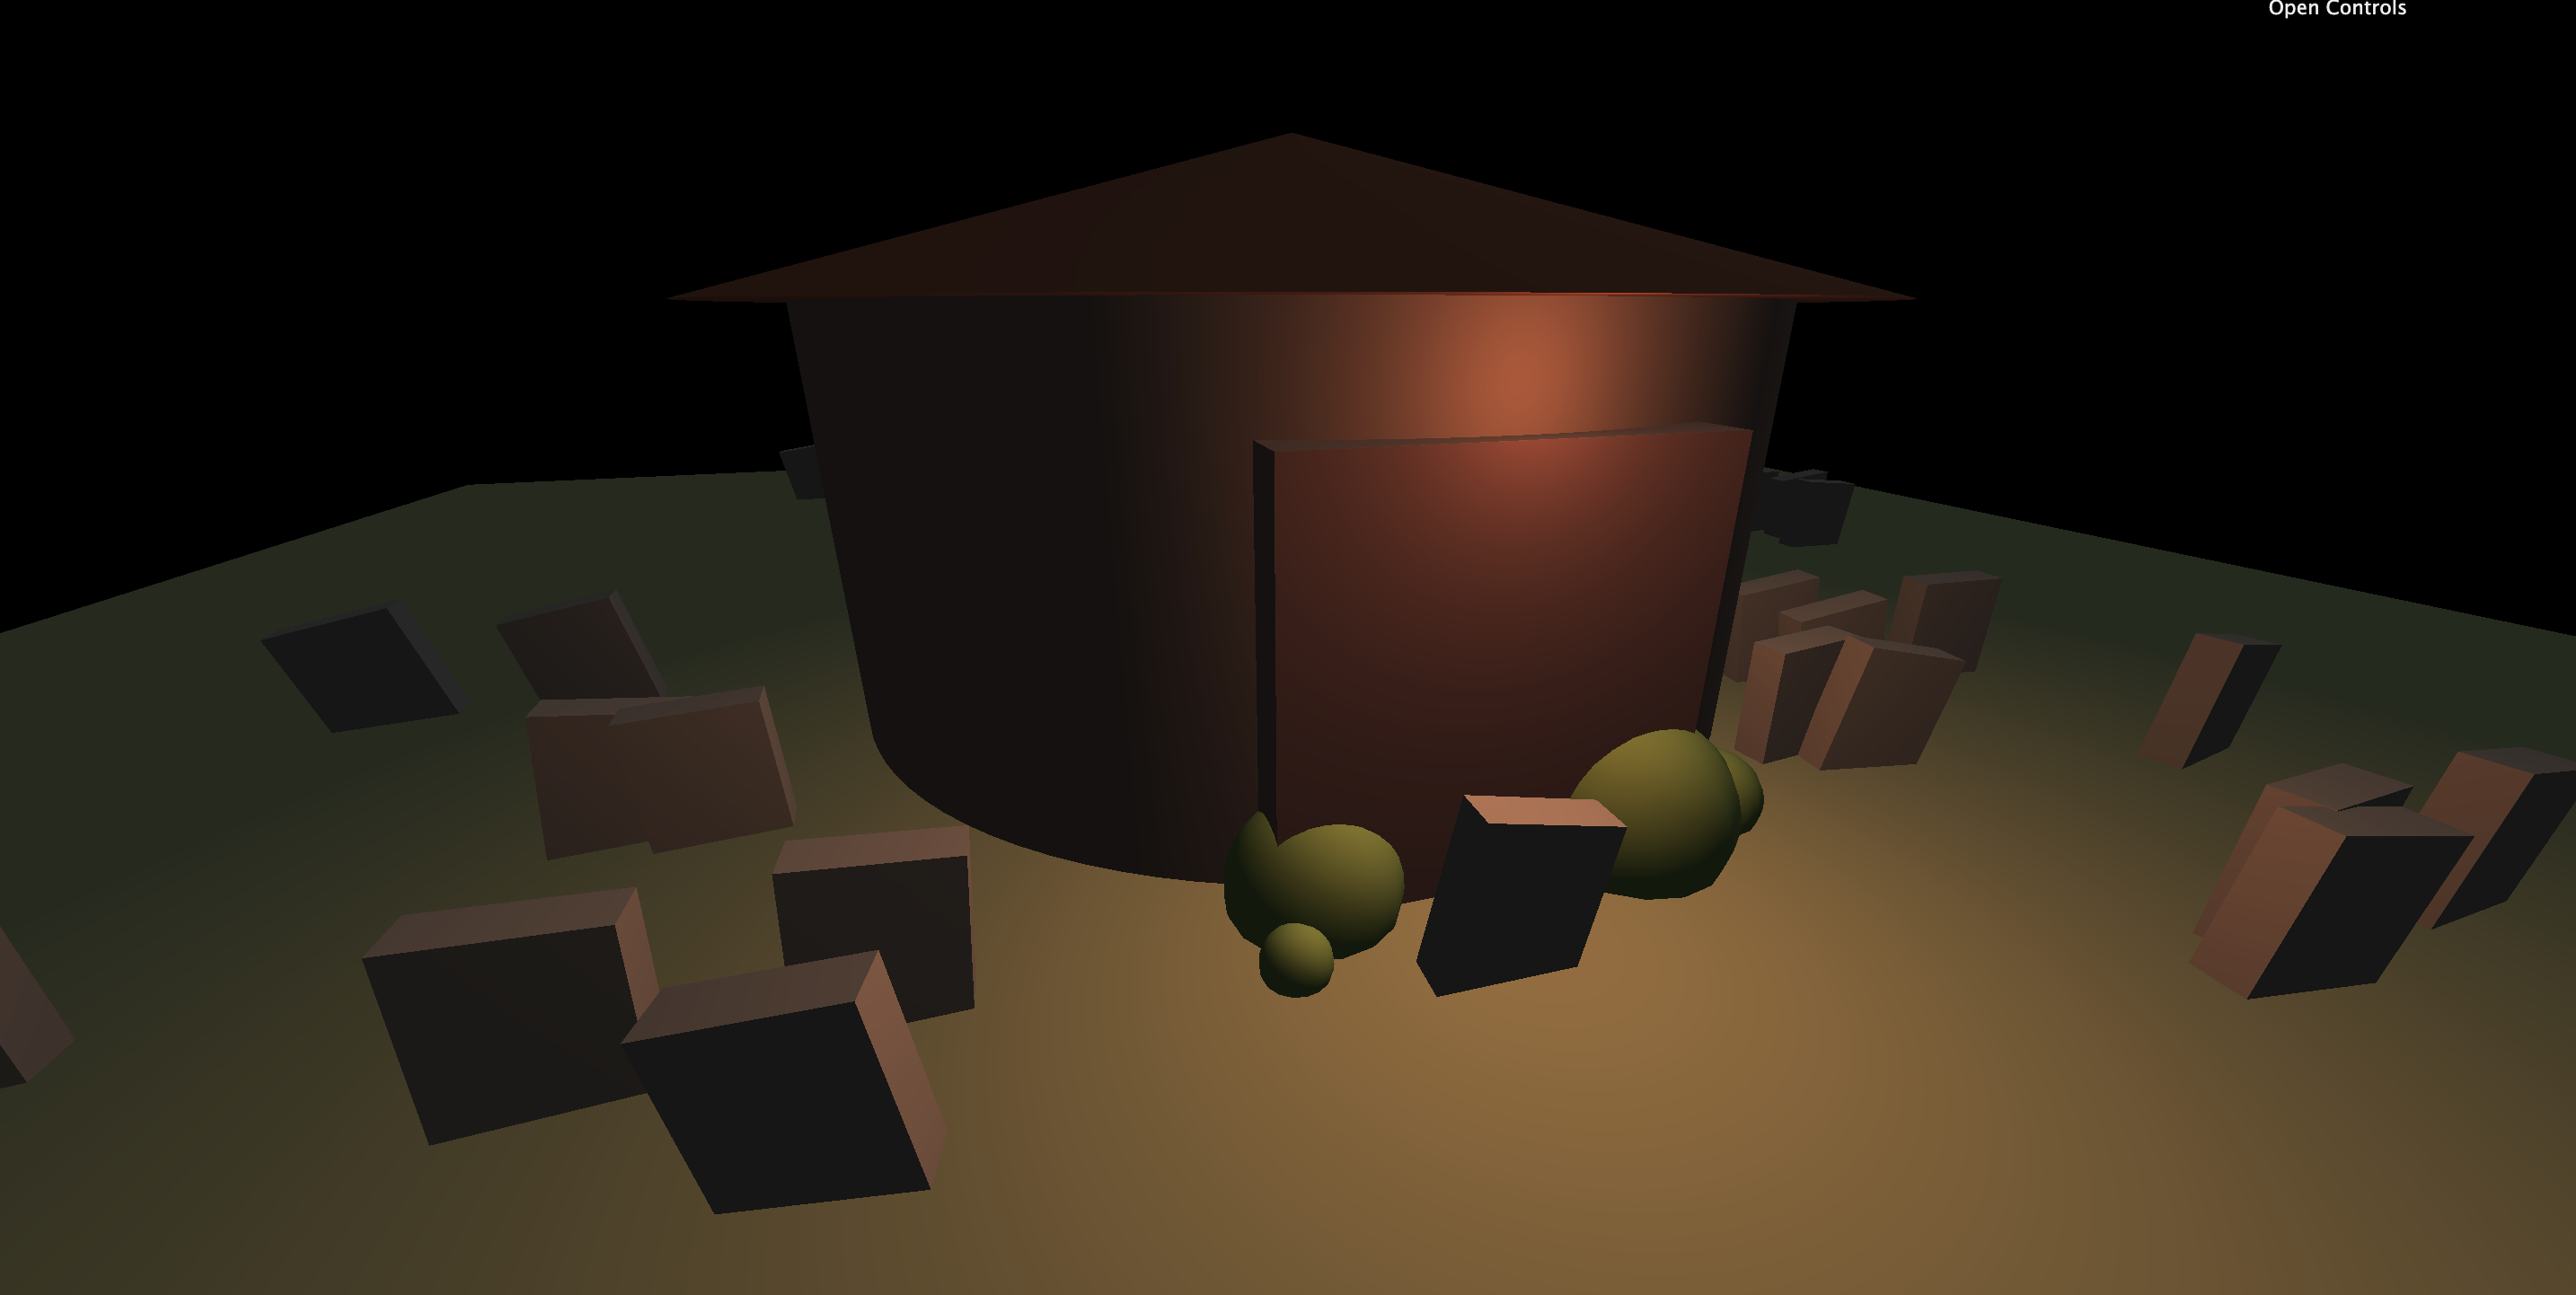
Fog
다행이 이미 Fog Class가 Three.js안에 존재한다. 이걸 그냥 이용만 해주면 된다!
근데 내 생각엔 그닥 안개 같지는 않다. 안개는 add를 해주는 것이 아니라 바로 추가한다.
하나 신기한 것은 정말 가까이서 봤을 때는 선명이 보이는 것이 멀어지면 희미해진다.
const fog = new THREE.Fog("#262837", 1, 15);
scene.fog = fog;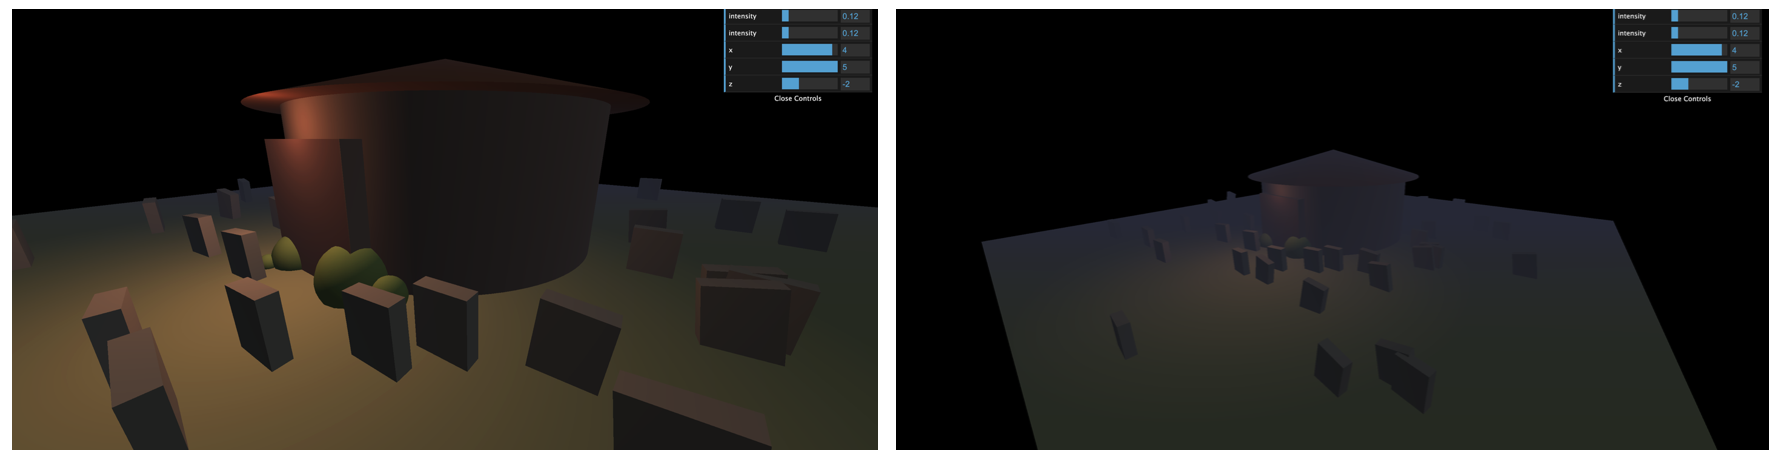
그러나 이때 문제는 무덤들과 배경이 클리어하게 분리된다. 그래서 renderer에 setClearColor 속성을 추가해준다.
renderer.setClearColor('#262837')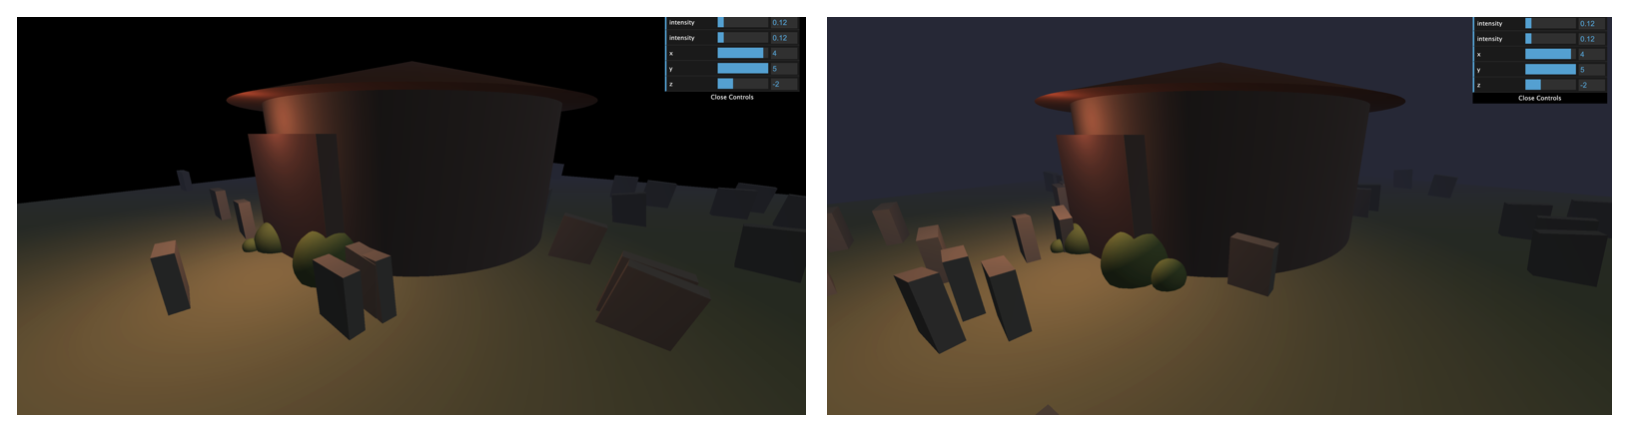
Textures
The door
텍스쳐 파일을 우선 전부 불러온 후에 아래와 같이 코드를 작성해준다.
const door = new THREE.Mesh(
    new THREE.PlaneGeometry(2, 2, 100, 100),
    new THREE.MeshStandardMaterial({
        map: doorColorTexture,
        transparent: true,
        alphaMap: doorAlphaTexture,
        aoMap: doorAmbientOcclusionTexture,
        displacementMap: doorHeightTexture,
        displacementScale: 0.1,
        normalMap: doorNormalTexture,
        metalnessMap: doorMetalnessTexture,
        roughnessMap: doorRoughnessTexture
    })
)
door.geometry.setAttribute('uv2', new THREE.Float32BufferAttribute(door.geometry.attributes.uv.array, 2))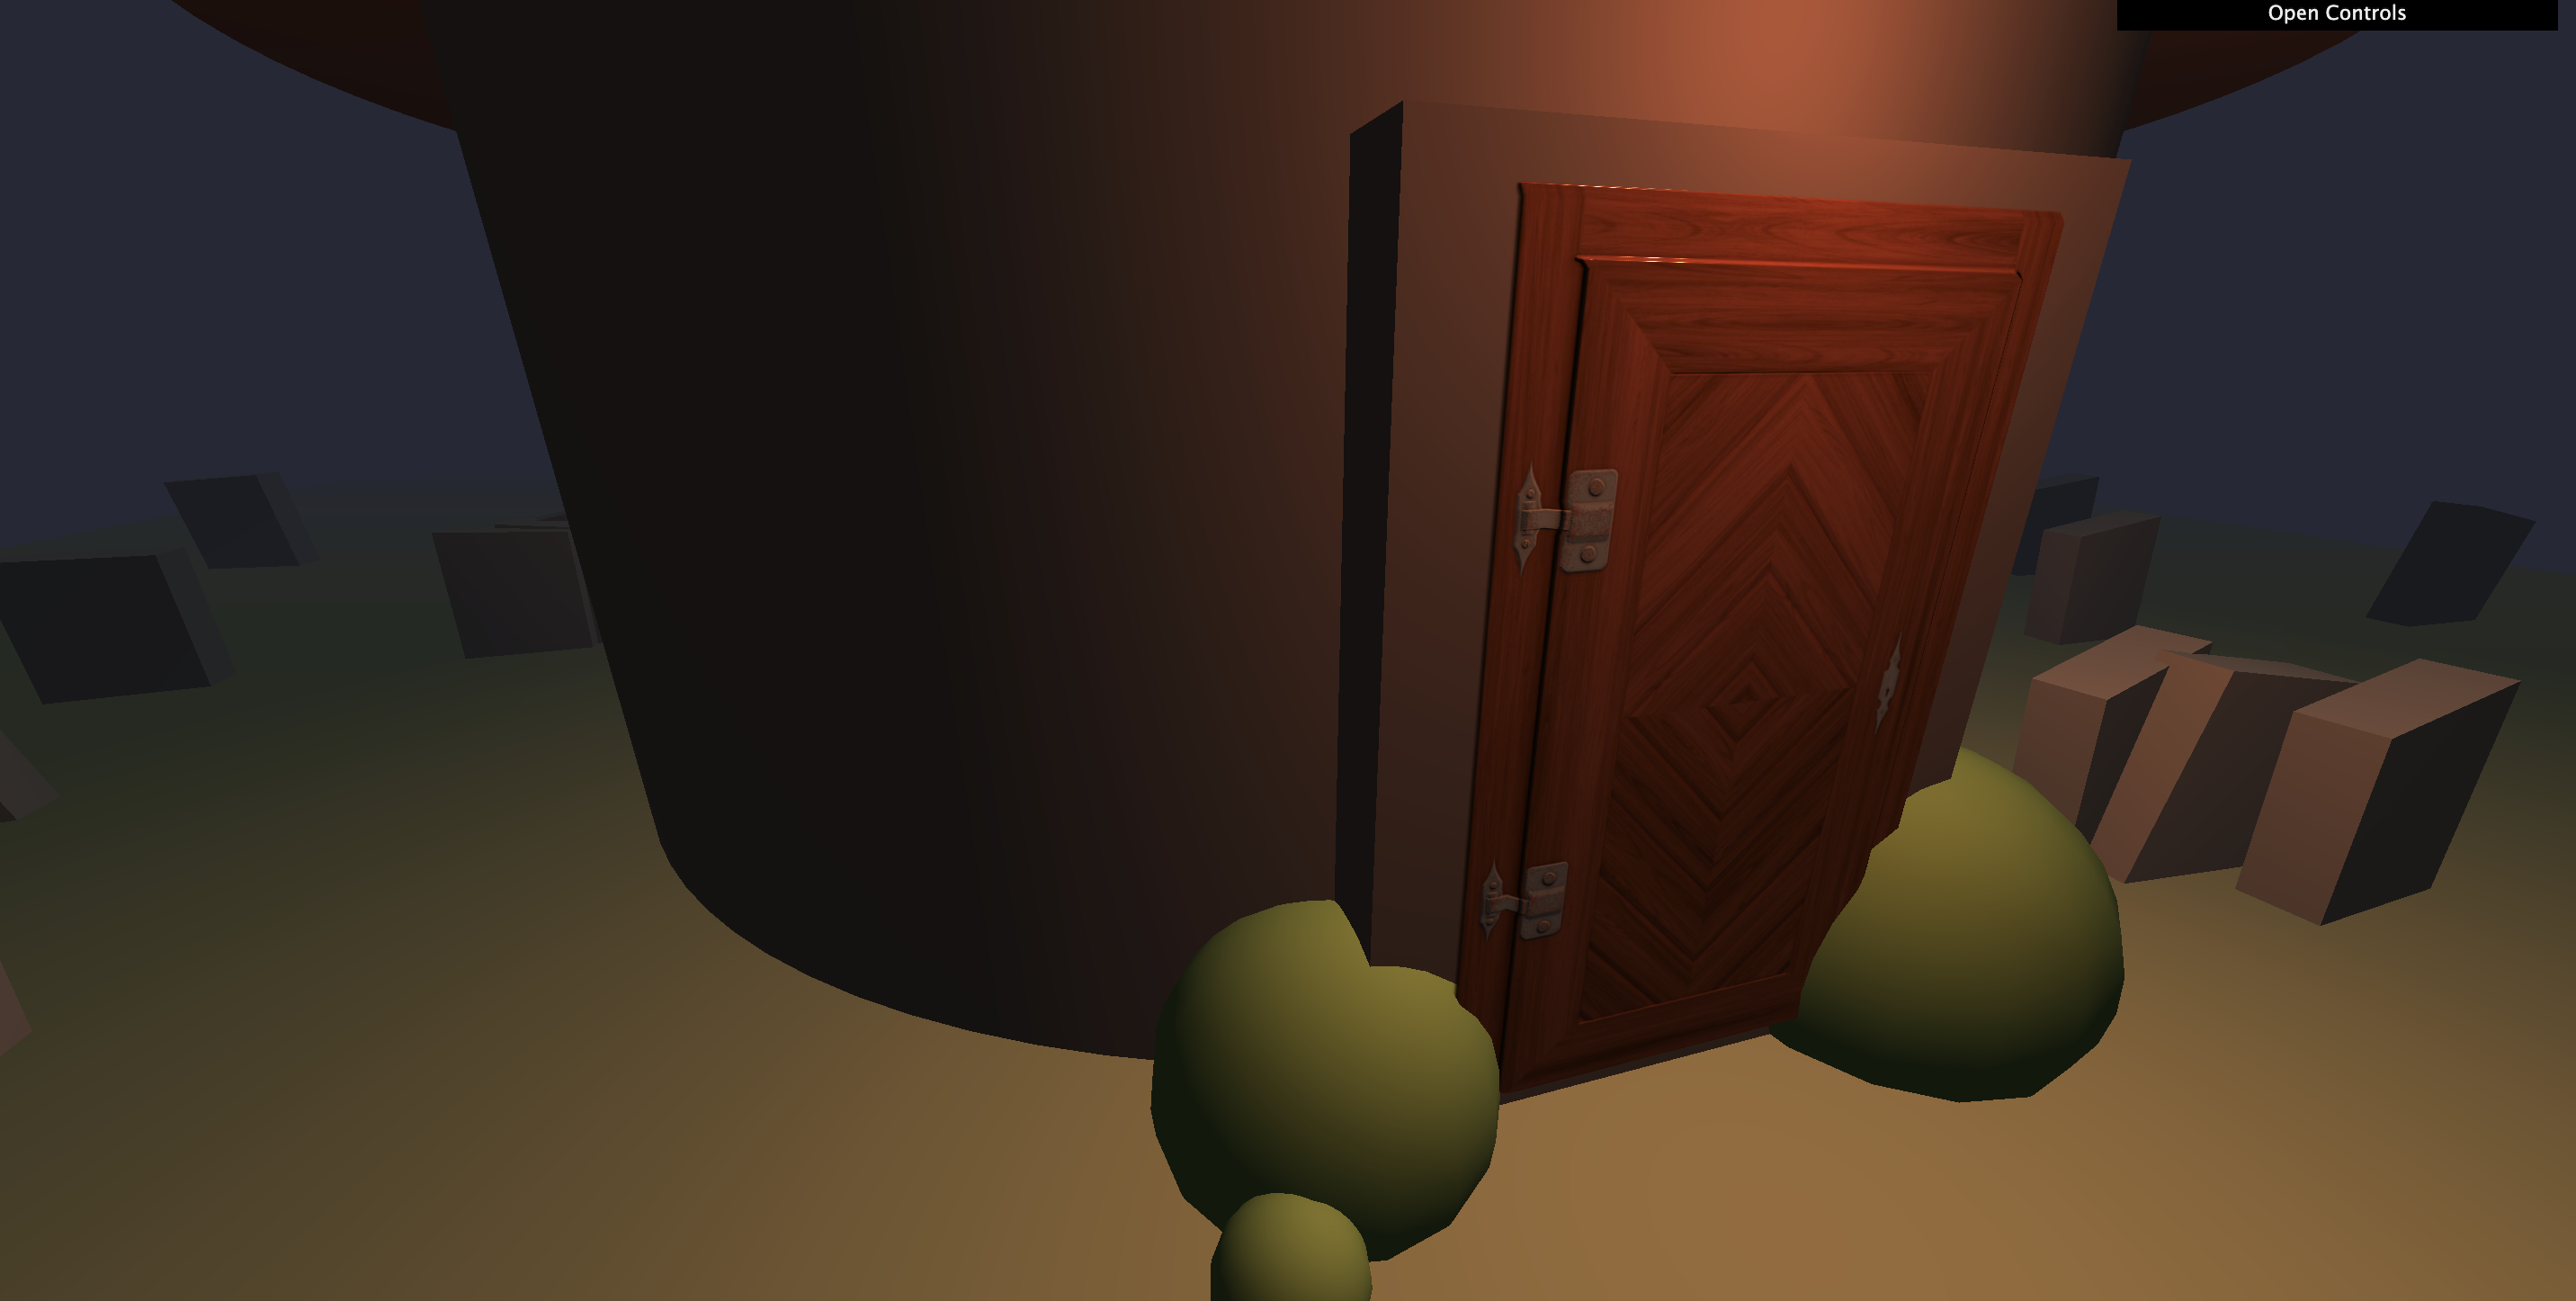
The walls
벽도 동일하게!
const walls = new THREE.Mesh(
    new THREE.BoxGeometry(4, 2.5, 4),
    new THREE.MeshStandardMaterial({
        map: bricksColorTexture,
        aoMap: bricksAmbientOcclusionTexture,
        normalMap: bricksNormalTexture,
        roughnessMap: bricksRoughnessTexture
    })
)
walls.geometry.setAttribute('uv2', new THREE.Float32BufferAttribute(walls.geometry.attributes.uv.array, 2))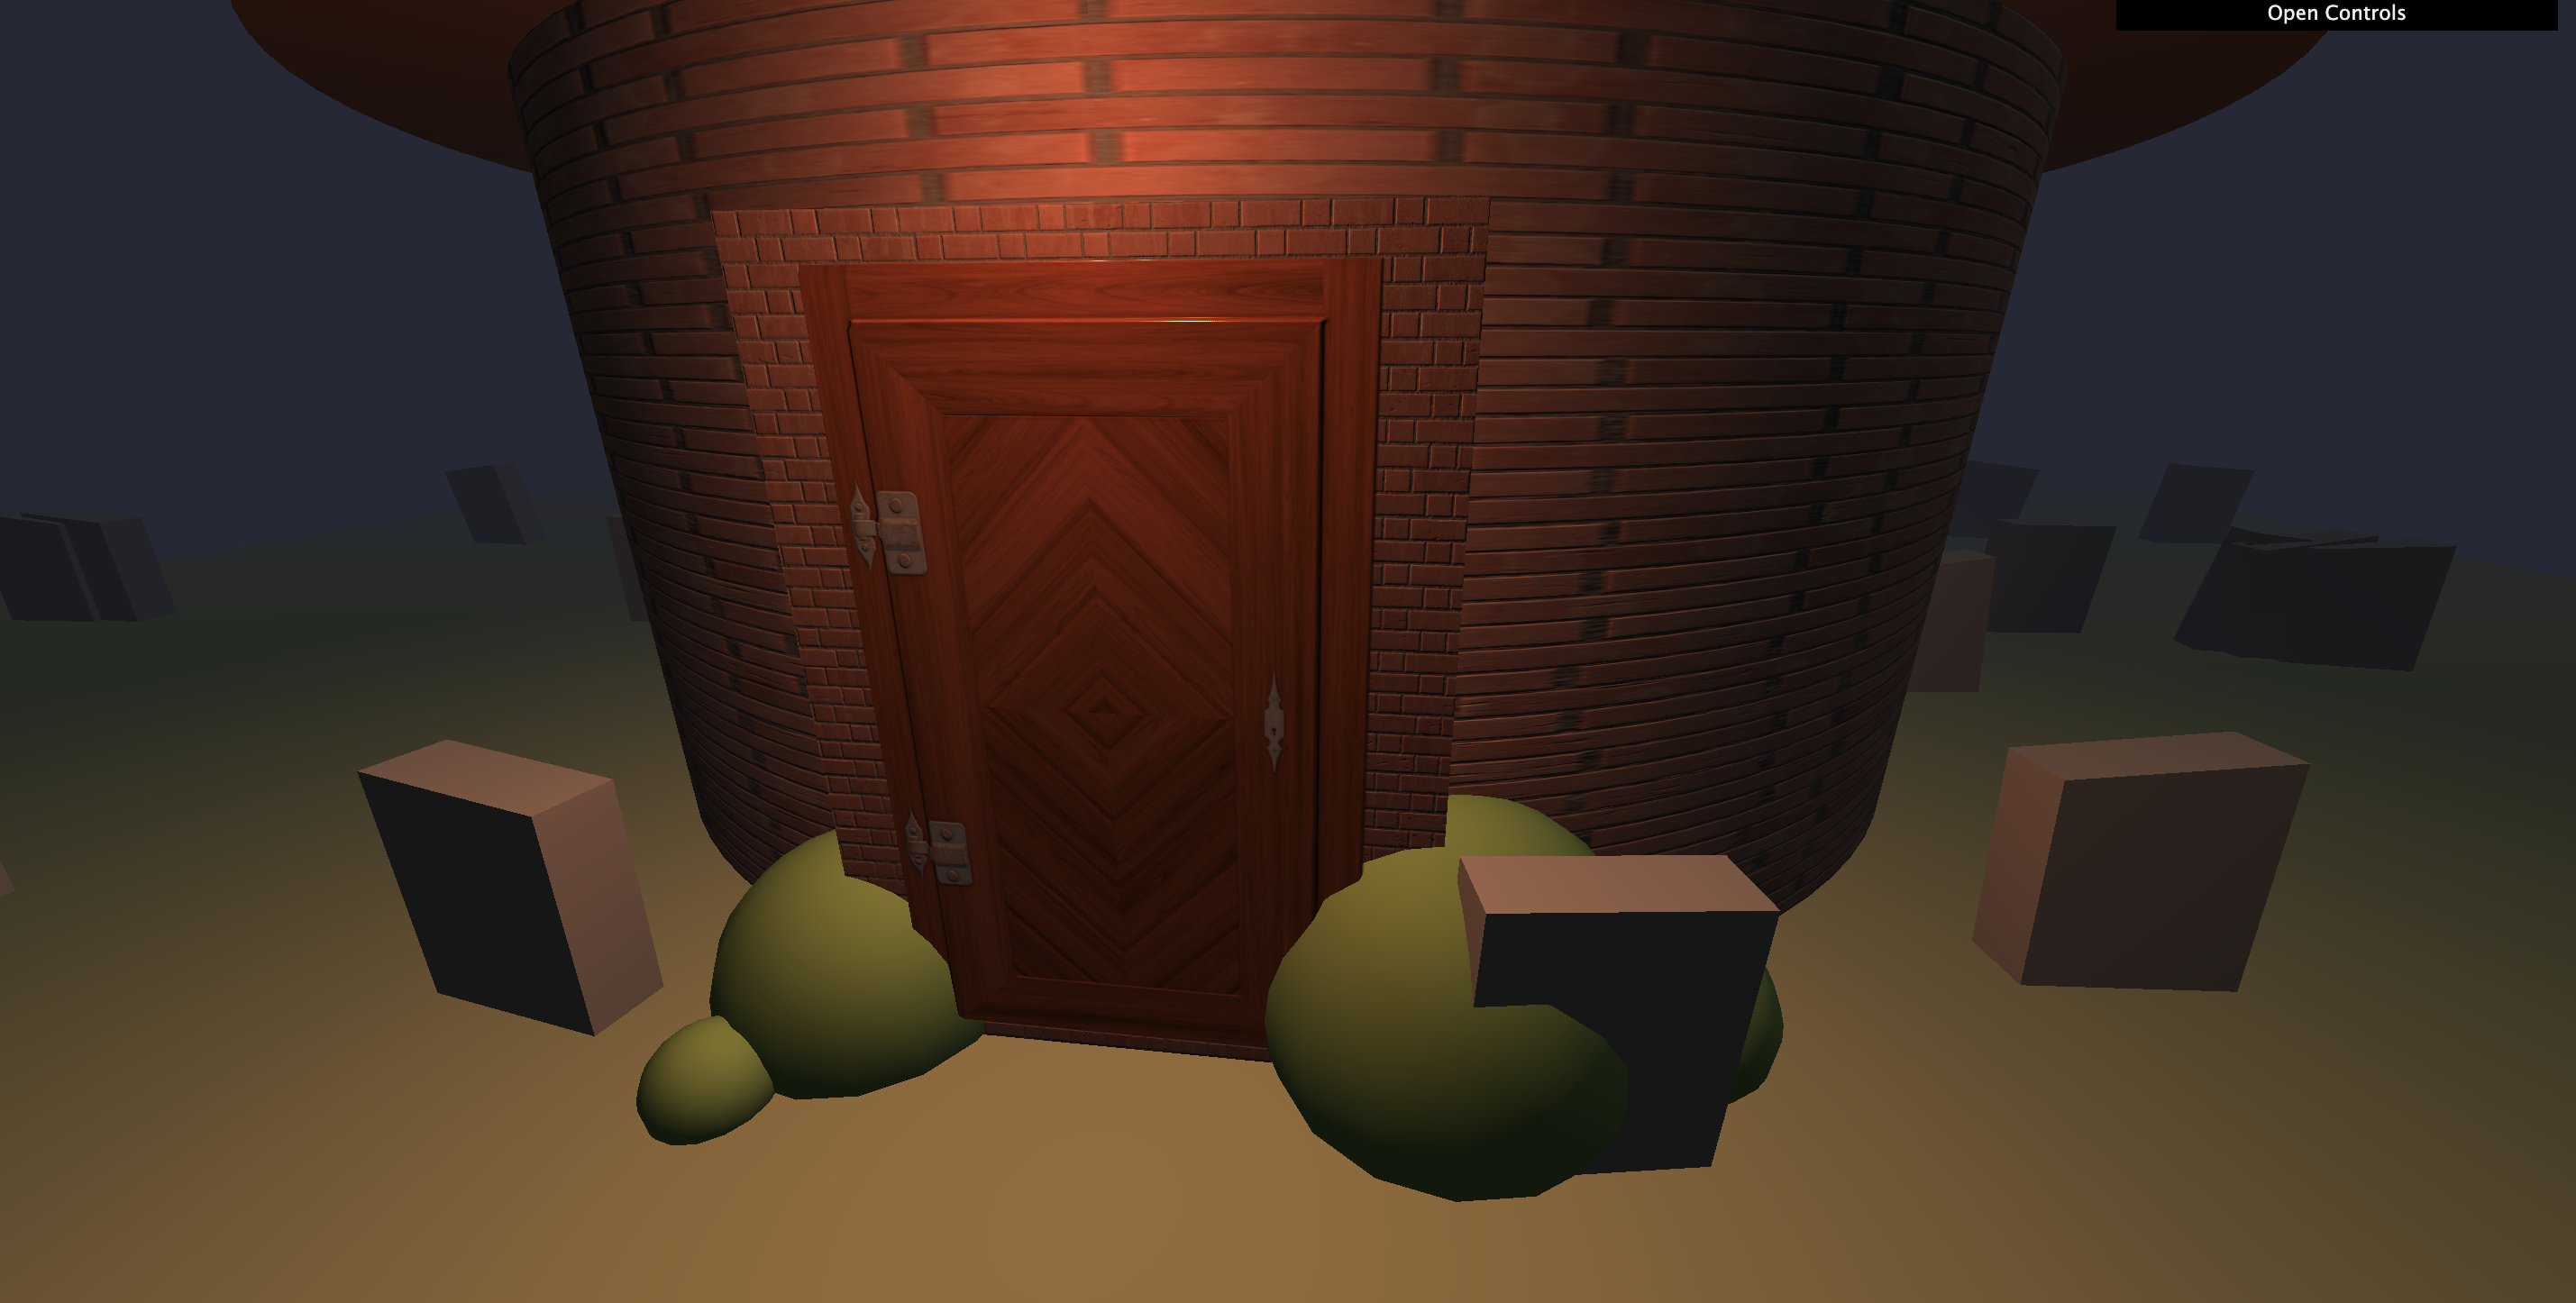
The floor
바닥도 처리해준다!
똑같이 처리해주지만 Texture를 반복해줄 때는 아래와 같이 작성해준다!
건물 외벽도 같은 방식으로 repeat해준다!
grassColorTexture.repeat.set(8, 8);
grassAmbientOcclusionTexture.repeat.set(8, 8);
grassNormalTexture.repeat.set(8, 8);
grassRoughnessTexture.repeat.set(8, 8);

grassColorTexture.wrapS = THREE.RepeatWrapping;
grassAmbientOcclusionTexture.wrapS = THREE.RepeatWrapping;
grassNormalTexture.wrapS = THREE.RepeatWrapping;
grassRoughnessTexture.wrapS = THREE.RepeatWrapping;

grassColorTexture.wrapT = THREE.RepeatWrapping;
grassAmbientOcclusionTexture.wrapT = THREE.RepeatWrapping;
grassNormalTexture.wrapT = THREE.RepeatWrapping;
grassRoughnessTexture.wrapT = THREE.RepeatWrapping;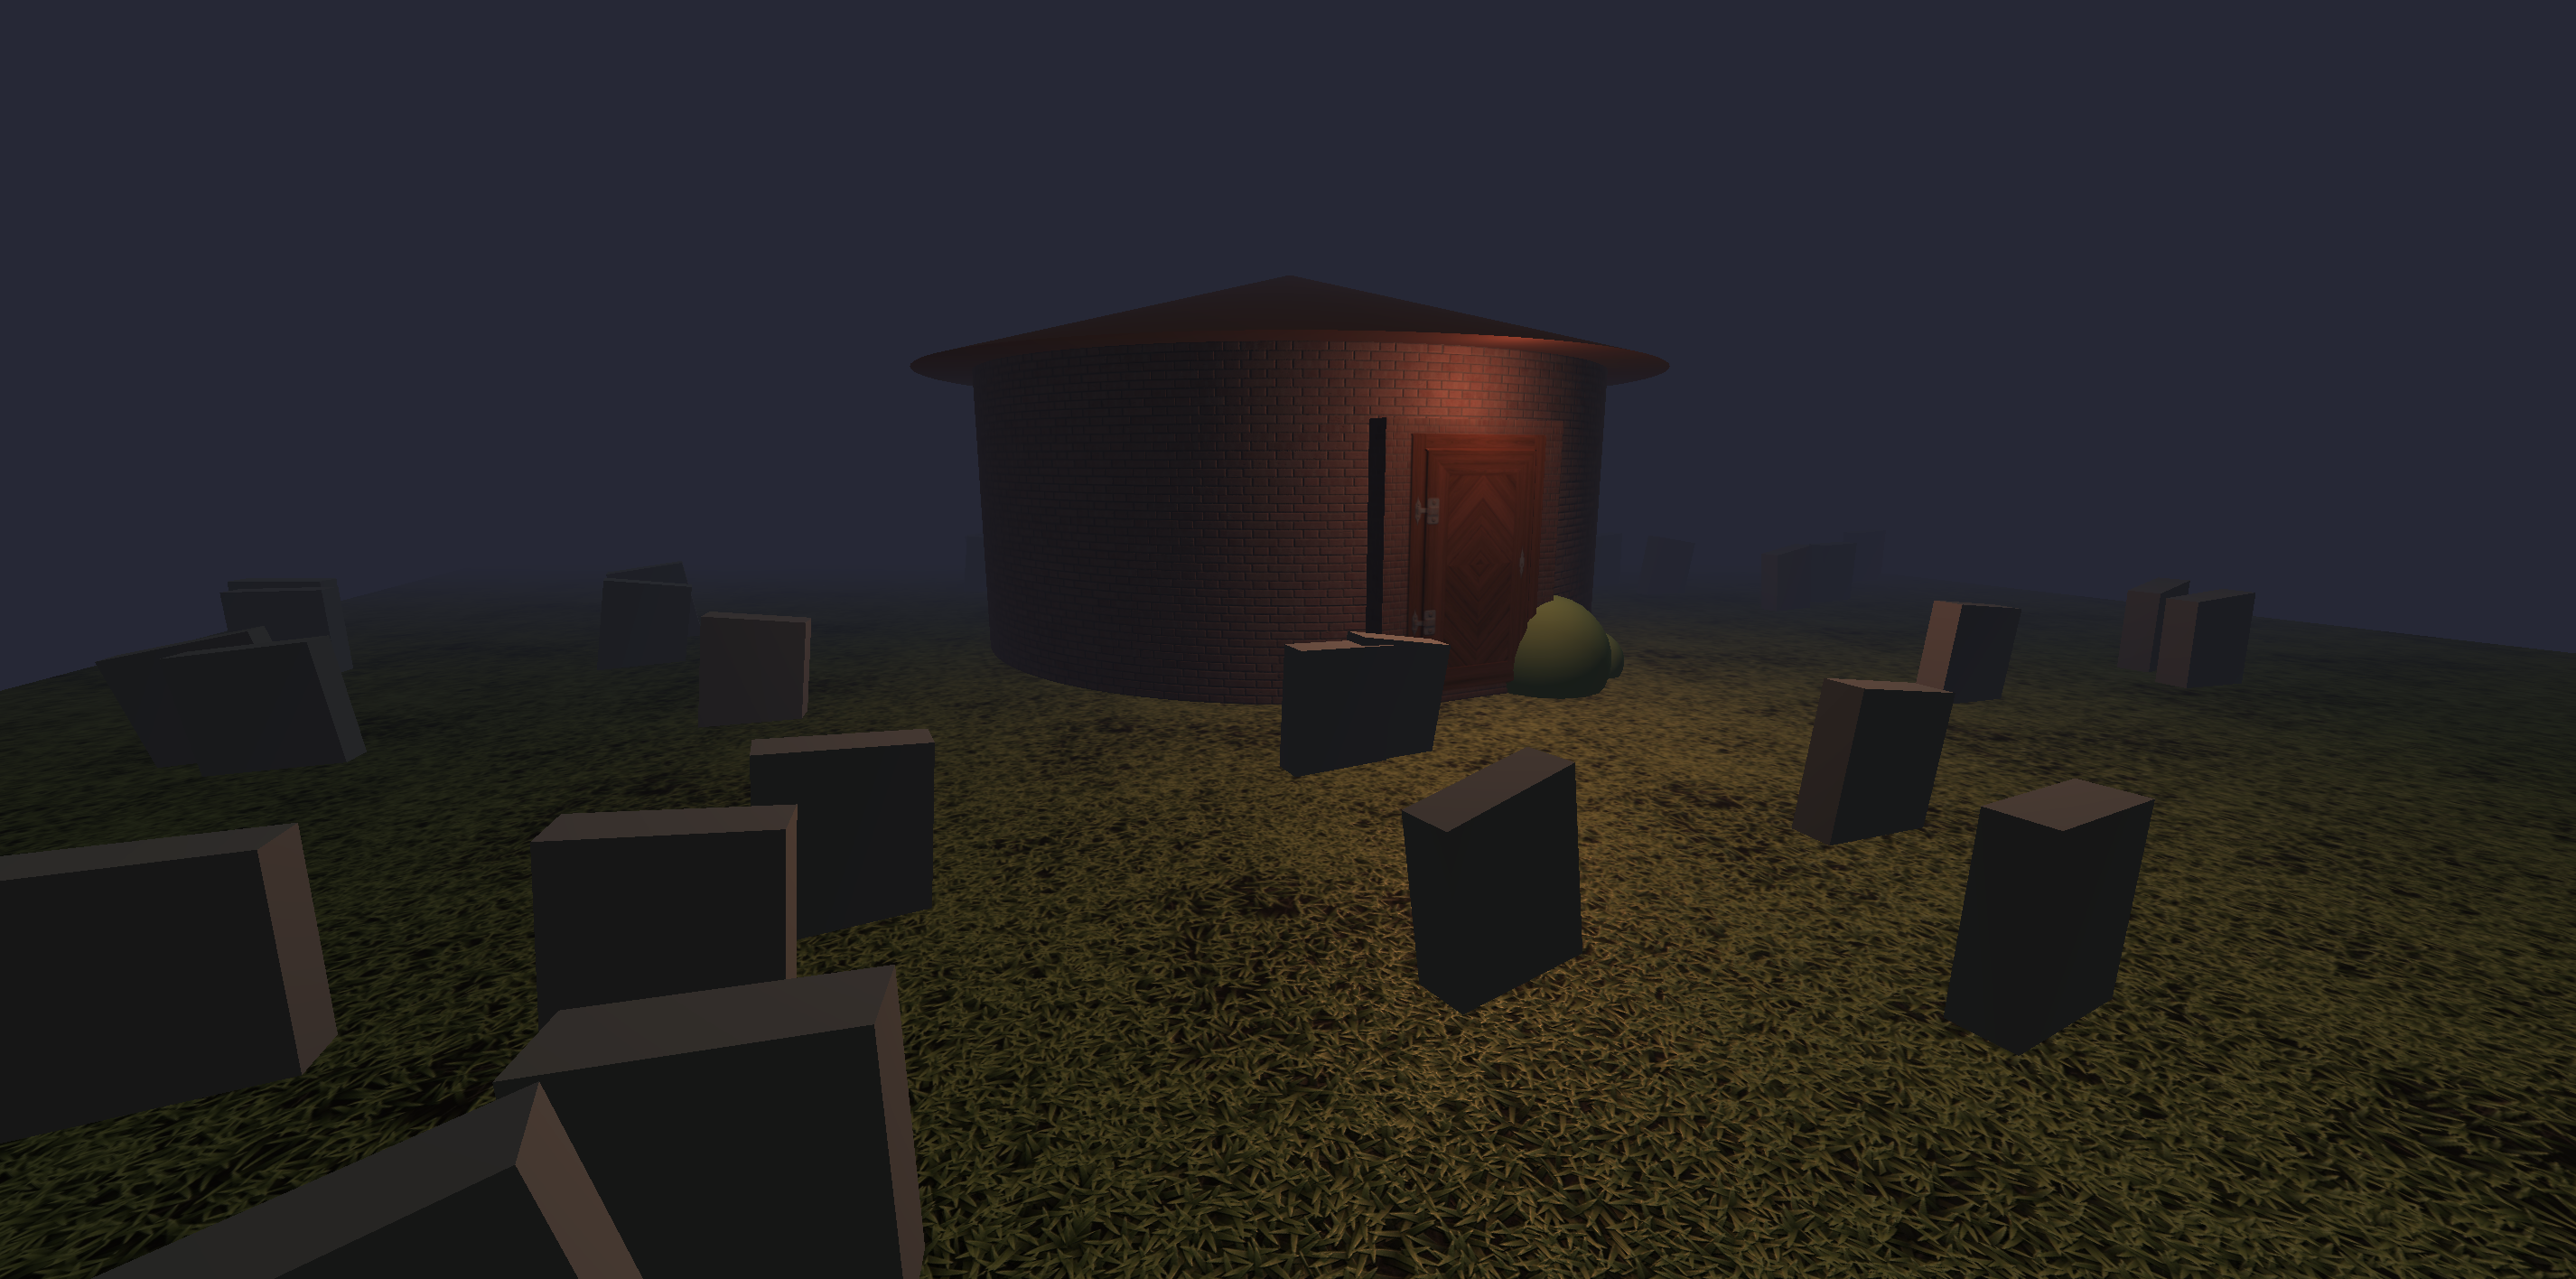
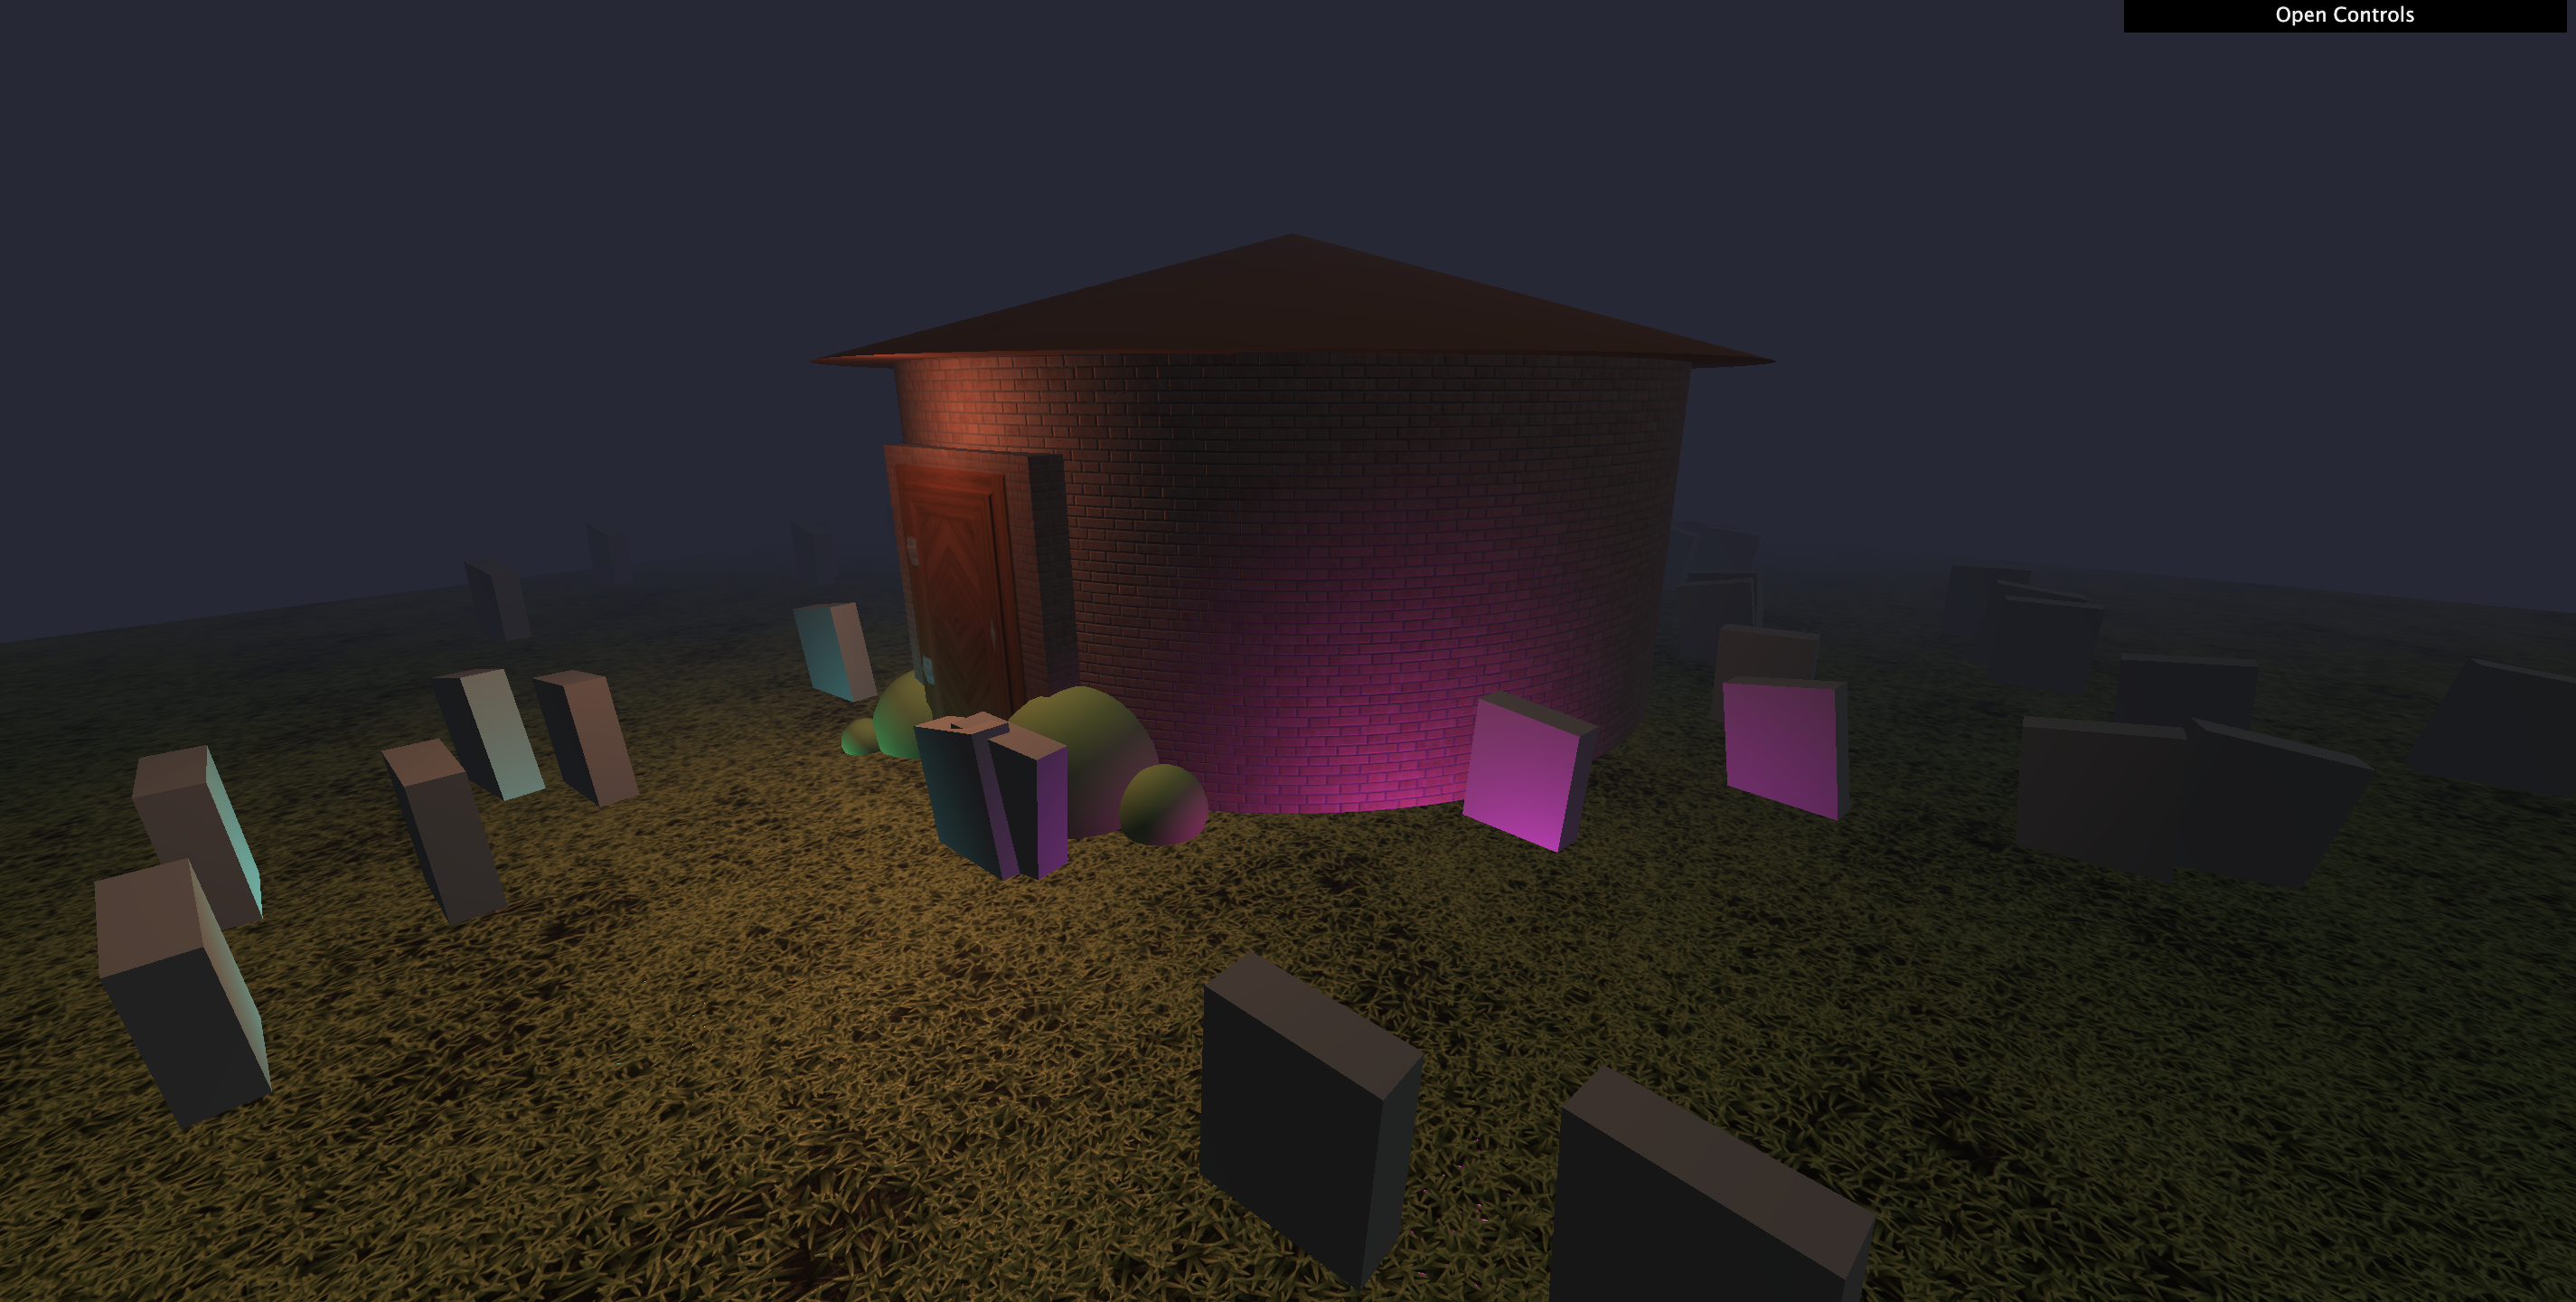
Ghosts
흰 천 뒤집어쓴 귀신 대신, 움직이는 빛을 만들어준다!
빛을 발광하는 pointLight를 이용한다.
/**
 * Ghosts
 */
const ghost1 = new THREE.PointLight('#ff00ff', 2, 3)
scene.add(ghost1)

const ghost2 = new THREE.PointLight('#00ffff', 2, 3)
scene.add(ghost2)

const ghost3 = new THREE.PointLight('#ffff00', 2, 3)
scene.add(ghost3)

const clock = new THREE.Clock()

const tick = () =>
{
    const elapsedTime = clock.getElapsedTime()

    // Ghosts
    const ghost1Angle = elapsedTime * 0.5
    ghost1.position.x = Math.cos(ghost1Angle) * 4
    ghost1.position.z = Math.sin(ghost1Angle) * 4
    ghost1.position.y = Math.sin(elapsedTime * 3)

    const ghost2Angle = - elapsedTime * 0.32
    ghost2.position.x = Math.cos(ghost2Angle) * 5
    ghost2.position.z = Math.sin(ghost2Angle) * 5
    ghost2.position.y = Math.sin(elapsedTime * 4) + Math.sin(elapsedTime * 2.5)

    const ghost3Angle = - elapsedTime * 0.18
    ghost3.position.x = Math.cos(ghost3Angle) * (7 + Math.sin(elapsedTime * 0.32))
    ghost3.position.z = Math.sin(ghost3Angle) * (7 + Math.sin(elapsedTime * 0.5))
    ghost3.position.y = Math.sin(elapsedTime * 4) + Math.sin(elapsedTime * 2.5)

    // ...
}
Shadows
마지막으로 그림자를 더해준다!
1) renderer shadow map 활성화
2) 그림자를 드리울 빛들에 castShadow 활성화
3) 그림자를 받을 물체들에 castShadow 활성화
4) 바닥에 receiveShadow 활성화
renderer.shadowMap.enabled = true
// ...

moonLight.castShadow = true
// ...

walls.castShadow = true
// ...


for(let i = 0; i < 50; i++)
{
    // ...
    grave.castShadow = true
    // ...
}

floor.receiveShadow = true