블록체인을 공부하면서 truffle-suite에 있는 예제들을 한번 씩 다 해보기로 했습니다.
첫번째 글은 PET-SHOP의 분양 페이지를 구현한 프로젝트입니다.
링크 : https://trufflesuite.com/guides/pet-shop/
(개발환경 및 필요한 패키지들은 다 글에 있으니 공부한 내용만 작성하도록 하겠습니다.)
배경: 애견 샵은 애견 분양을 이더리움을 통해 거래를 하는 샵입니다. 해당 웹에서는 16마리의 강아지들이 올라와있습니다. 해당 페이지의 Front는 이미 구현이 되어있고, 이 프로젝트에서는 스마트 컨트랙트 코드를 작성하고, 프론트와 상호작용하는 과정을 배우는 것이 목적입니다.
스마트 컨트랙트 작성
Adoption.sol in contracts/ directory
// SPDX-License-Identifier: MIT
pragma solidity ^0.8.13;

contract Adoption {
    address[16] public adopters;

    function adopt(uint petId) public returns (uint) {
        require(petId >= 0 && petId <= 15);
        adopters[petId] = msg.sender;
        return petId;
    }

    function getAdopters() public view returns (address[16] memory) {
        return adopters;
    }
}
코드 분석:
1. 솔리디티 코드를 작성할 때는 항상 들어가는 것이 spdx와 pragma solidity입니다
- spdx: Software_Package_Data_Exchange의 약자로 오픈소스 소프트웨어 라이선스 및 정보를 교환하기 위한 표준 포맷입니다.
- pragma: 솔리디티 컴파일러의 버전을 명시하는 부분입니다.
address[16] public adopters;-
솔리디티는 address라는 특별한 타입이 있습니다. 주소는 이더리움의 주소이며, 20바이트 값으로 저장이 됩니다. 이더리움 네트워크 내에서 해당 주소를 가지고 이더를 보내거나 받을 수 있습니다.
-
위 코드에서는 처음에 petId가 0~15 사이에 들어가는 지를 확인하고 있습니다. 해당 예제에서는 16마리만 존재하므로 만약에 petId가 해당 범위에 없을 경우, 에러를 발생시키고 가스를 환불 시켜줍니다.
-
msg.sender는 해당 함수(adopt)를 호출한 사용자나 스마트 컨트랙트의 주소입니다.
-
solidity에서 public getters는 주어진 키(인덱스 등)에 대한 단일 값만 반환하므로, 전체 배열을 알고 싶으면 해당 배열을 리턴하는 함수를 따로 만들어야합니다.
-
솔리디티는 컴파일 된 언어입니다. 즉, 우리는 솔리디티 코드가 이더리움 가상 머신(EVM)에서 실행될 수 있도록 바이트 코드로 컴파일을 해줘야합니다. ->
truffle complie -
스마트 컨트랙트를 실행하기 위해서는 이더리움 블록체인에 배포해야 합니다. 이 과정을 "deploy"라고 하며, 배포하면 이더리움 블록체인에 저장되고, 계약을 실행하는데 필요한 가스 비용이 청구됩니다.
배포하기
- in migrations/ direc.. new file named 2_deploy_contracts.js
var Adoption = artifacts.require("Adoption");

module.exports = function(deployer) {
  deployer.deploy(Adoption);
};
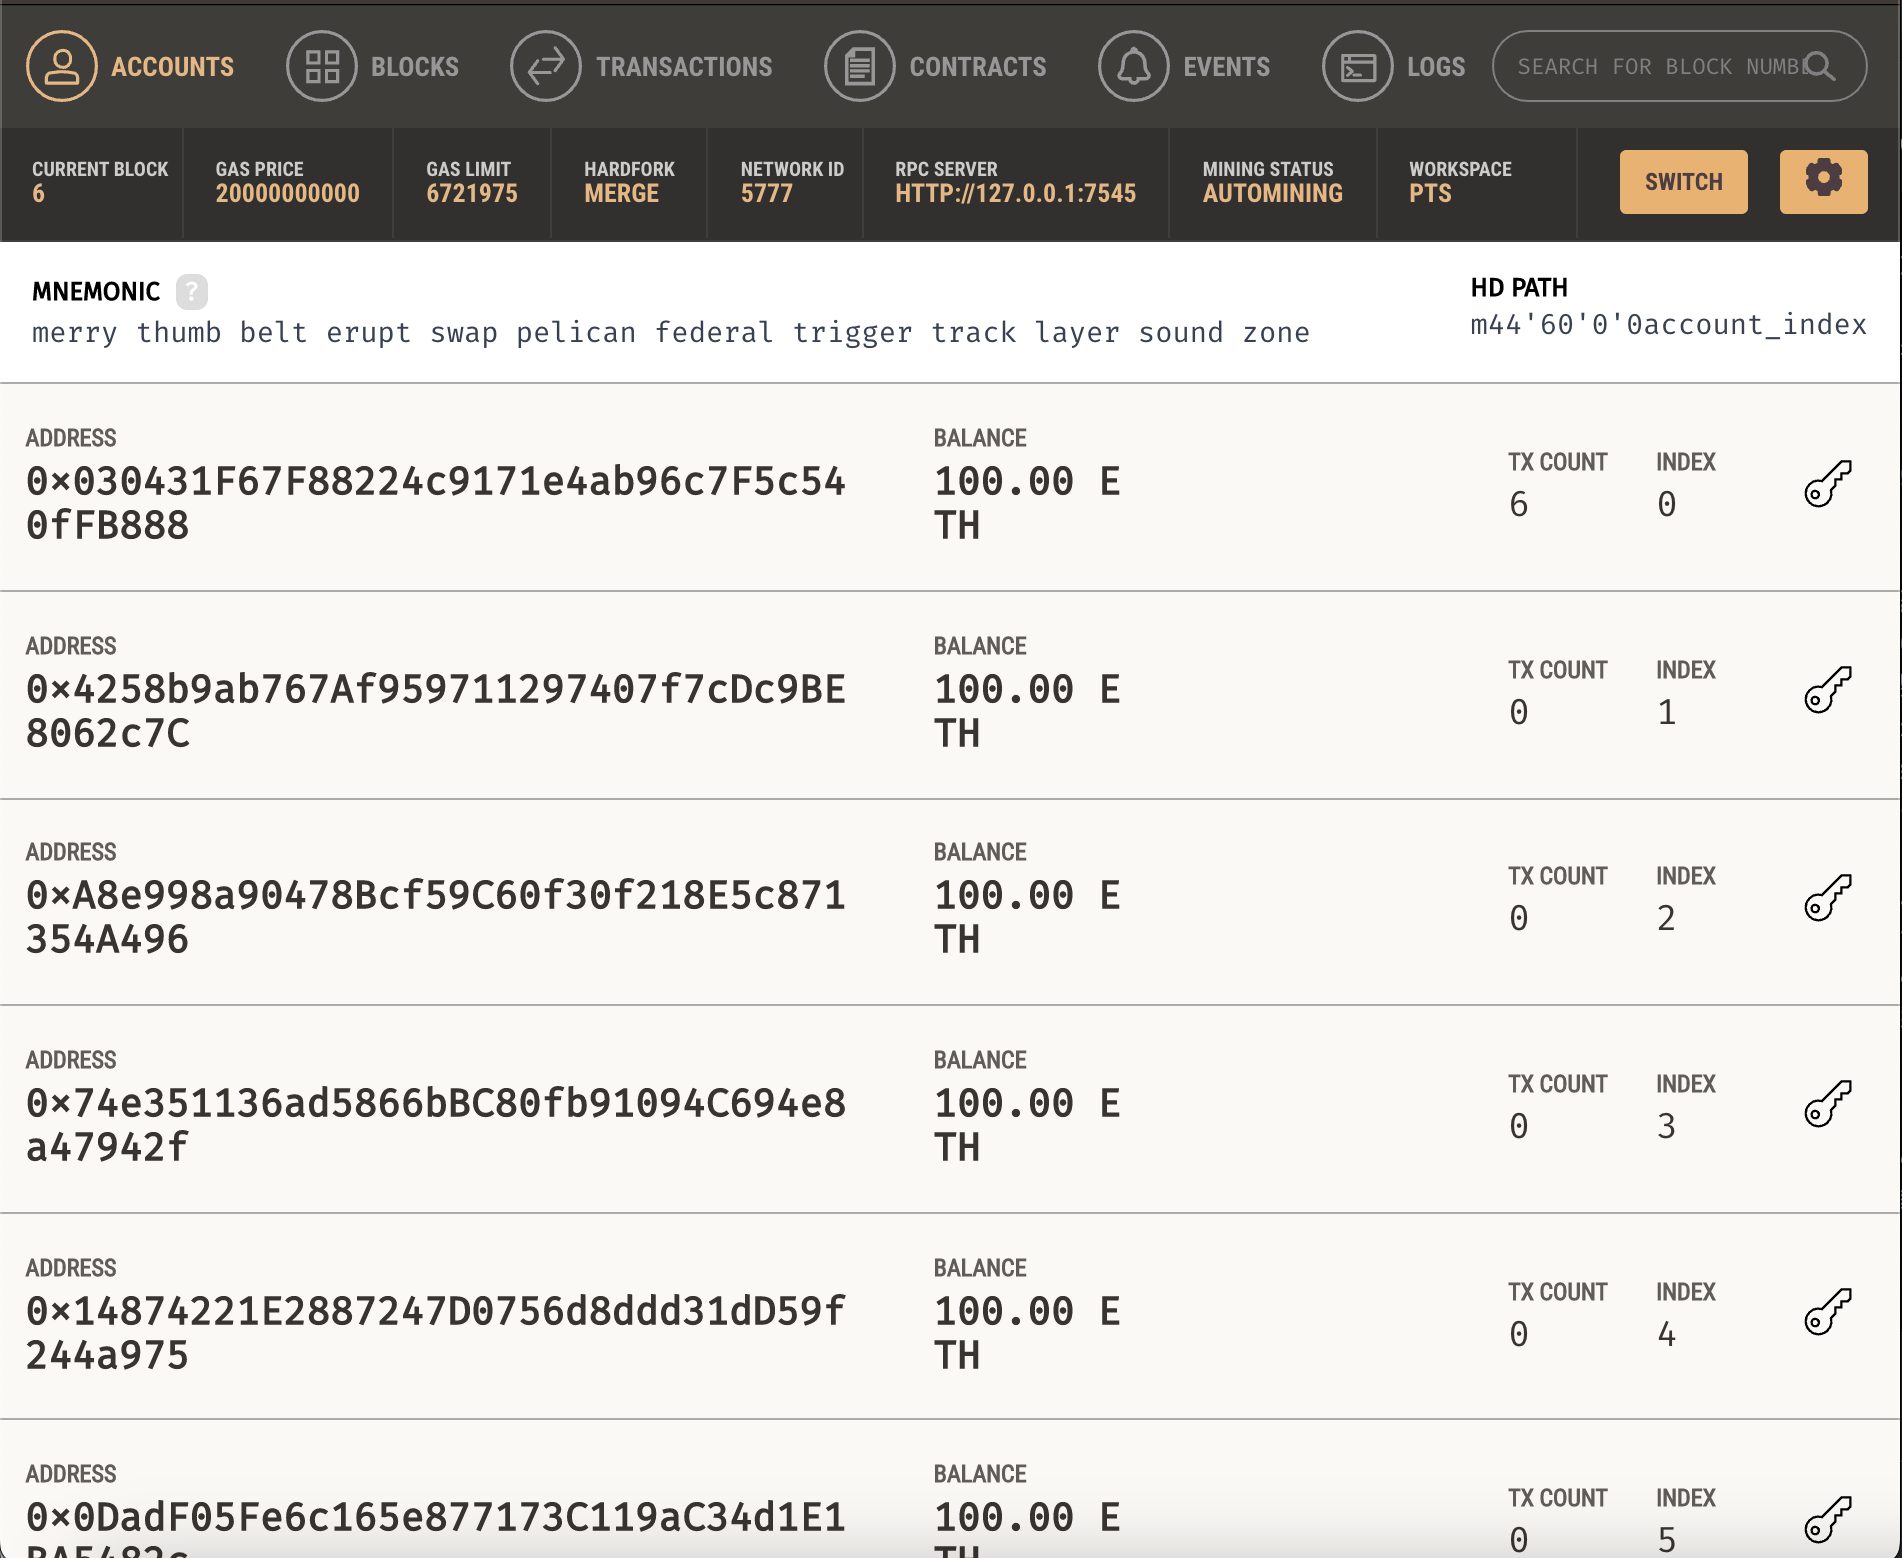
- 실제로 이더리움에 배포하기 위해서는 이더가 필요합니다. 하지만 이는 실제 돈이 들어가므로 우리는 "Ganache"를 이용하여 가상의 블록체인에 배포를 하고 거래들을 확인할 것입니다.
- Ganache를 사용하면 100이더를 가진 10개의 가상 계좌가 생성이되며 블록체인 내의 거래들을 모두 확인할 수 있습니다.
스마트 컨트랙트 테스트
스마트 컨트랙트가 블록테인에 올라간 이후에는 일반적으로 해당 코드를 수정할 수 없습니다. 이는 블록체인의 핵심 원칙 중 하나인 "불변성"과 관련이 있습니다. 블록체인에 기록된 거래는 변경할 수 없으며, 스마트 컨트랙트도 이에 해당이 됩니다. 이를 통해 안전성과 신뢰성을 보장합니다. 만약 불가피하게 코드를 무조건 수정을 해야한다면 새로운 스마트 컨트랙트를 배포하고 이전 컨트랙트에서 새 컨트랙트로 자산을 이전하는 등의 방법을 사용해야합니다. 이는 굉장히 복잡한 과정이므로, 처음 배포하기 전에 테스트를 진행하여 오류가 없는 지를 확인해야합니다.
Truffle에서는 테스트를 지원하고 있으며 솔리디티 언어 또는 자바스크립트로 테스트를 할 수 있습니다.
TestAdoption.sol in test/ directory
const Adoption = artifacts.require("Adoption");

contract("Adoption", (accounts) => {
  let adoption;
  let expectedAdopter;

  before(async () => {
      adoption = await Adoption.deployed();
  });

  describe("adopting a pet and retrieving account addresses", async () => {
    before("adopt a pet using accounts[0]", async () => {
      await adoption.adopt(8, { from: accounts[0] });
      expectedAdopter = accounts[0];
    });
    it("can fetch the address of an owner by pet id", async () => {
        const adopter = await adoption.adopters(8);
        assert.equal(adopter, expectedAdopter, "The owner of the adopted pet should be the first account.");
    });
    it("can fetch the collection of all pet owners' addresses", async () => {
        const adopters = await adoption.getAdopters();
        assert.equal(adopters[8], expectedAdopter, "The owner of the adopted pet should be in the collection.");
    });
  });
});- truffle에서 제공하는 artifacts 모듈을 사용하여 Adoption 스마트 컨트랙트를 가지고 옵니다.
- before 함수를 사용하여 Adoption.deployed() 함수 호출하여 스마트 컨트랙트 인스턴스를 만듭니다.
- describe 함수를 사용하여 테스트 케이스를 그룹화라고, before함수를 사용하여 accounts[0]에서 adopt(8)을 호출하여 펫을 입양합니다.
- 두 개의 테스트 케이스를 만들어서 adopter와 adopters를 가져와 예상되는 값과 비교하여 일치하는지 확인합니다.
- truffle test를 통해 테스트를 합니다.

프론트와 데이터 주고받기
-initWeb3
initWeb3: in app.js
// Modern dapp browsers...
if (window.ethereum) {
  App.web3Provider = window.ethereum;
  try {
    // Request account access
    await window.ethereum.enable();
  } catch (error) {
    // User denied account access...
    console.error("User denied account access")
  }
}
// Legacy dapp browsers...
else if (window.web3) {
  App.web3Provider = window.web3.currentProvider;
}
// If no injected web3 instance is detected, fall back to Ganache
else {
  App.web3Provider = new Web3.providers.HttpProvider('http://localhost:7545');
}
web3 = new Web3(App.web3Provider);- window(브라우저)가 이더리움 제공자와 연결이 되어 있는지를 확인합니다. 이를 통해 우리는 web3 객체를 만듭니다. ethereum.enable()을 통해 메타마스크 계정과 연결을 합니다.
- 만약에 메타마스크의 오랜 버전이나 다른 dapp일 경우, 해당 브라우저의 제공자와 연결합니다.
- 제공된 web3와 연결할 대상이 없으면, 자신의 로컬 제공자와 연결하여 web3 객체를 생성합니다.
-> 우리는 이제 web3를 통해 이더리움과 상호작용을 할 수 있습니다. 우리는 스마트 컨트랙트를 인스턴스화하여 web3가 사용할 수 있게 합니다. 트러플은 해당 과정을 도와주는 라이브러리가 있습니다(@truffle/contract). 배포가 될 때마다 컨트랙트에 대한 정보를 동기화해주므로 저희가 직접 배포된 계약의 주소를 일일이 바꿀 필요가 없습니다.
- initContract
initContract: in app.js
$.getJSON('Adoption.json', function(data) {
  // Get the necessary contract artifact file and instantiate it with @truffle/contract
  var AdoptionArtifact = data;
  App.contracts.Adoption = TruffleContract(AdoptionArtifact);

  // Set the provider for our contract
  App.contracts.Adoption.setProvider(App.web3Provider);

  // Use our contract to retrieve and mark the adopted pets
  return App.markAdopted();
});- 먼저 우리는 스마트 계약의 artifact file을 가지고 와야합니다. Artifact란 스마트 컨트랙의 정보(배포된 주소, ABI(스마트 컨트랙의 변수 및 파라메터 등이 정의되어 있는 js 객체))입니다. TruffleContract를 통해 스마트 계약 인스턴스를 생성합니다.
- 계약의 provider를 우리가 사전에 정의한 web3 provider로 설정합니다.
- markAdopted() 함수를 호출하여 이전에 입양이 완료된 강아지들의 UI를 업데이트 해줍니다.
- markAdopted
markAdopted: in app.js
var adoptionInstance;

App.contracts.Adoption.deployed().then(function(instance) {
  adoptionInstance = instance;

  return adoptionInstance.getAdopters.call();
}).then(function(adopters) {
  for (i = 0; i < adopters.length; i++) {
    if (adopters[i] !== '0x0000000000000000000000000000000000000000') {
      $('.panel-pet').eq(i).find('button').text('Success').attr('disabled', true);
    }
  }
}).catch(function(err) {
  console.log(err.message);
});- 배포된 계약에 접근하여 getAdopters()를 호출합니다.
- 해당 배열은 이더리움 주소 타입이며, 주소 타입의 초기화는 비어있는 주소로 초기화 되므로, 해당 값이 비어있지 않으면 입양된 강아지임을 확인할 수 있습니다.
- adopt
adopt: in app.js
var adoptionInstance;

web3.eth.getAccounts(function(error, accounts) {
  if (error) {
    console.log(error);
  }

  var account = accounts[0];

  App.contracts.Adoption.deployed().then(function(instance) {
    adoptionInstance = instance;

    // Execute adopt as a transaction by sending account
    return adoptionInstance.adopt(petId, {from: account});
  }).then(function(result) {
    return App.markAdopted();
  }).catch(function(err) {
    console.log(err.message);
  });
});- web3.eth.getAccounts를 통해 사용자 계정을 불러옵니다.
- 배포된 계약을 불러온 뒤 입양 transaction을 보냅니다.
- 거래가 성사가 되었다며 markAdopted를 호출합니다.
확인하기
- 메타마스크의 네트워크를 ganache 네트워크로 변경해준뒤 npm run dev를 통해 예제를 실행합니다.
- Adopt 버튼을 누르면 거래 서명 요청이 뜨며 서명을 완료하면 입양 거래가 끝납니다.
- 모든 거래 내용은 ganache의 transaction에서 확인할 수 있습니다.