위 포스팅을 작성하는데 참고한 블로그는 아래 주소 참고 !
- https://www.huiwenteo.com/normal/2018/07/29/django-calendar-ii.html
- 위 블로그를 참고했지만 기존 project에 맞게 입맛대로 수정한 부분이 있으므로 주의 !
cal app 구동하기(1)
-> 이번 part2에서는 이전/다음 달에 접근하고 새로운 수업 내용을 생성/편집할 수 있는 기능을 추가하고자 한다.
이전/다음 달 버튼을 통해 캘린더 변경
현재 직전 part1에서 구현한 내용은 현재 달의 달력만 확인 가능하고, 이전/이후 달은 확인할 수 없다. 따라서 이전/이후 달의 내용도 확인가능하게끔 cal/views.py와 cal/calendar.html을 수정해야한다.
-
cal/views.py에서 이전 및 다음 달 날짜를 계산 -
이를
cal/calendar.html에 템플릿 변수로 전달
cal/views.py
from datetime import datetime, timedelta
from django.shortcuts import render
from django.http import HttpResponse
from django.views import generic
from django.utils.safestring import mark_safe
import calendar

from .models import *
from .utils import Calendar


class CalendarView(generic.ListView):
    model = class_contents
    template_name = 'cal/calendar.html'

    def get_context_data(self, **kwargs):
        context = super().get_context_data(**kwargs)

        # use today's date for the calendar
        d = get_date(self.request.GET.get('day', None))

        # Instantiate our calendar class with today's year and date
        cal = Calendar(d.year, d.month)

        # Call the formatmonth method, which returns our calendar as a table
        html_cal = cal.formatmonth(withyear=True)
        context['calendar'] = mark_safe(html_cal)

        # Get previous and next month
        context['prev_month'] = prev_month(d)
        context['next_month'] = next_month(d)

        return context


def get_date(req_day):
    if req_day:
        year, month = (int(x) for x in req_day.split('-'))
        return date(year, month, day=1)
    return datetime.today()


def prev_month(d):
    first = d.replace(day=1)
    prev_month = first - timedelta(days=1)
    month = 'month=' + str(prev_month.year) + '-' + str(prev_month.month)
    return month


def next_month(d):
    days_in_month = calendar.monthrange(d.year, d.month)[1]
    last = d.replace(day=days_in_month)
    next_month = last + timedelta(days=1)
    month = 'month=' + str(next_month.year) + '-' + str(next_month.month)
return month-
CalendarView 클래스 내부에
get_context_data()메서드를 추가하여 이전 달과 다음 달을 가져오는 과정을 구현한 코드 -
prev_month()함수는 주어진 날짜의 이전 달을 계산 -
next_month()함수는 주어진 날짜의 다음 달을 계산
templates/cal/calendar.html
{% extends 'cal/base.html' %}

{% block content %}
<div class="clearfix">
	<a class="btn btn-info left" href="{% url 'cal:calendar' %}?{{ prev_month }}"> Previous Month </a>
	<a class="btn btn-info right" href="{% url 'cal:calendar' %}?{{ next_month }}"> Next Month </a>
</div>

{{ calendar }}
{% endblock %}
그럼 위에서 추가한 button을 꾸며주는 style을 추가해줘야 한다.
static/cal/style.css에 아래 내용을 추가해줌
.left {
  float: left;
}

.right {
  float: right;
}

.btn {
  outline: none;
  color: black;
  background-color: transparent;
  box-shadow: 0 0 0 0;
}

.clearfix {
  margin: 15px;
}
여기까지 cal앱의 파일들을 수정한다음, runserver를 해보면
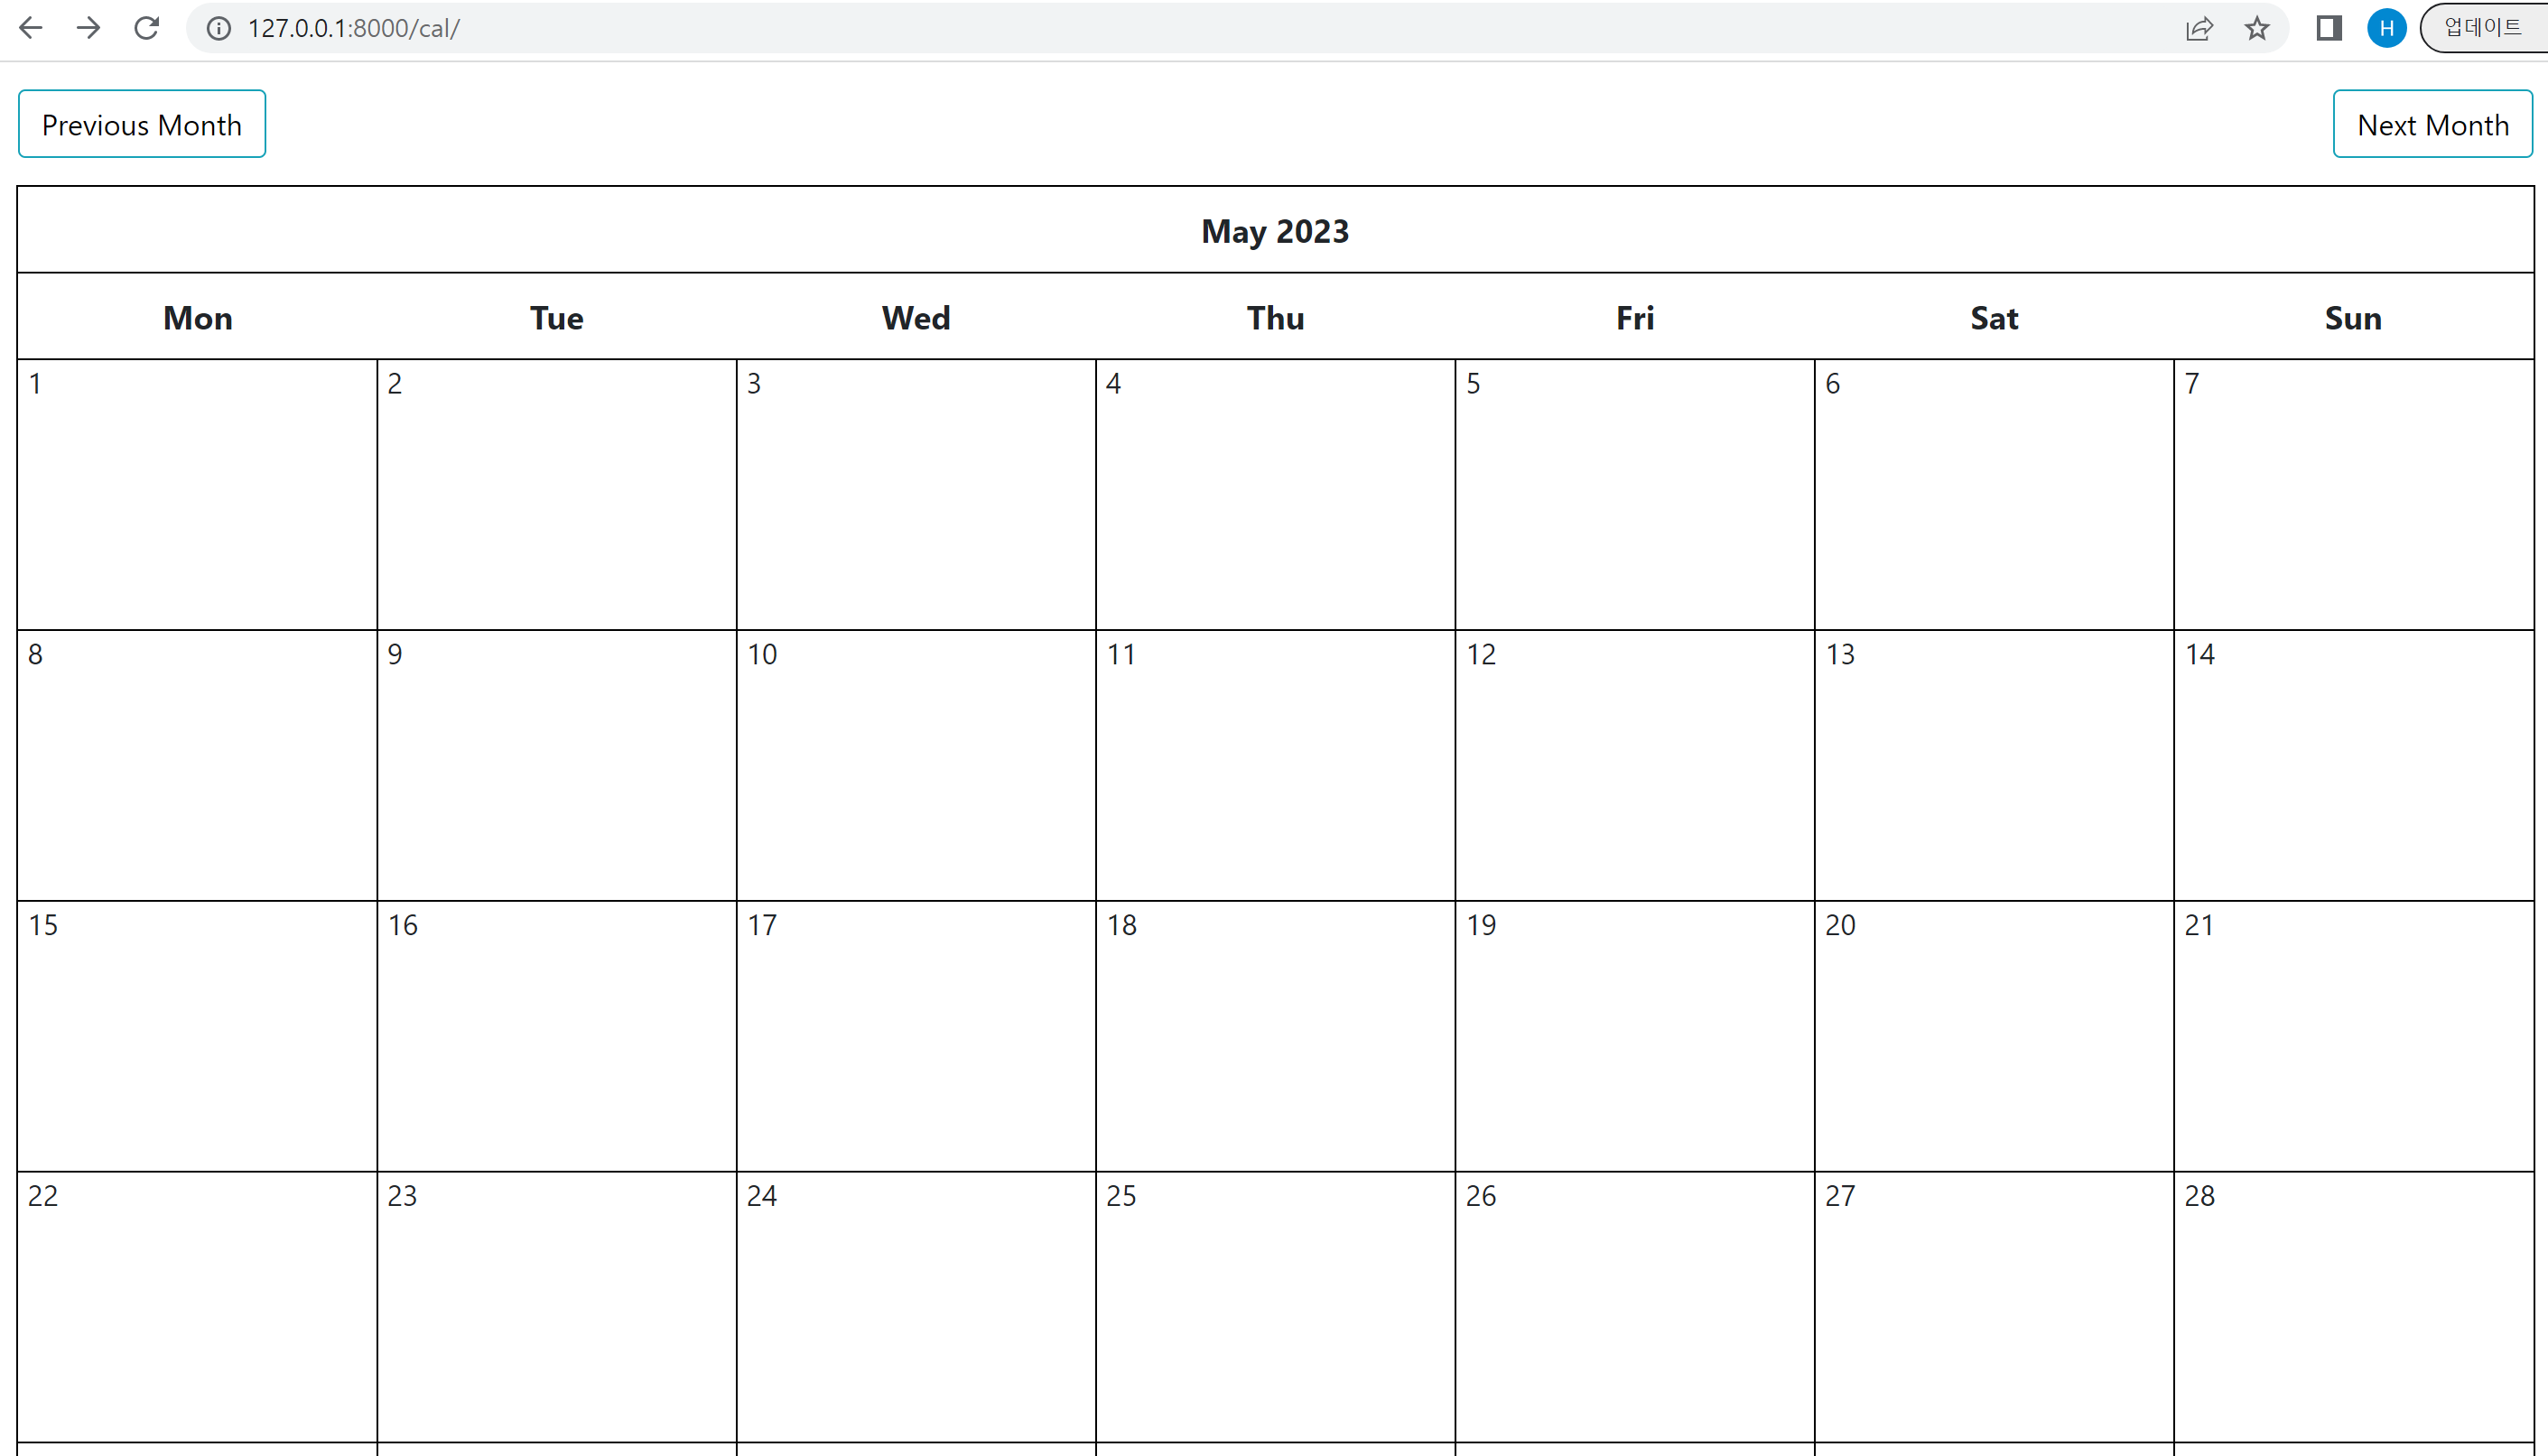
이전/이후의 달로 넘어갈 수 있는 버튼이 생성된 것을 볼 수 있다..
그러고 나서 웹페이지를 실행하면 버튼은 눌리지만 url이 변경되면서 해당 달로 달력도 바뀌어야하는데,.,,, 달력은 2023년 5월 그대로인 상황이 ^^ 3시간동안 지속되었따 ^^^^(지피티 바보임 개짜증남 지피티 맹신하지마세요)
그래서 views.py 내용을 다시 아래처럼 바꿔줘야함(그냥 내가 month 매개변수가 아닌 day 매개변수만 사용하는 prev_month()와 next_month() 함수를 다시 만들어줌 ^^)
from datetime import datetime, timedelta, date
from django.shortcuts import render
from django.http import HttpResponse
from django.views import generic
from django.utils.safestring import mark_safe
import calendar

from .models import *
from .utils import Calendar

# Create your views here.

class CalendarView(generic.ListView):
    model = class_contents
    template_name = 'cal/calendar.html'

    def get_context_data(self, **kwargs):
        context = super().get_context_data(**kwargs)

        # use today's date for the calendar
        d = get_date(self.request.GET.get('day', None))

        # Instantiate our calendar class with today's year and date
        cal = Calendar(d.year, d.month)

        # Call the formatmonth method, which returns our calendar as a table
        html_cal = cal.formatmonth(withyear=True)
        context['calendar'] = mark_safe(html_cal)

        # Get previous and next month
        context['prev_month'] = prev_month(d)
        context['next_month'] = next_month(d)

        return context

def get_date(req_day):
    try:
        if req_day:
            year, month, day = (int(x) for x in req_day.split('-'))
            return date(year, month, day=1)
    except (ValueError, TypeError):
        pass
    return datetime.today().date()

def prev_month(d):
    first = d.replace(day=1)
    prev_month = first - timedelta(days=1)
    a = 'day=' + str(prev_month.year) + '-' + str(prev_month.month) + '-' + str(prev_month.day)
    return a


def next_month(d):
    days_in_month = calendar.monthrange(d.year, d.month)[1]
    last = d.replace(day=days_in_month)
    next_month = last + timedelta(days=1)
    a = 'day=' + str(next_month.year) + '-' + str(next_month.month) + '-' + str(next_month.day)
    return a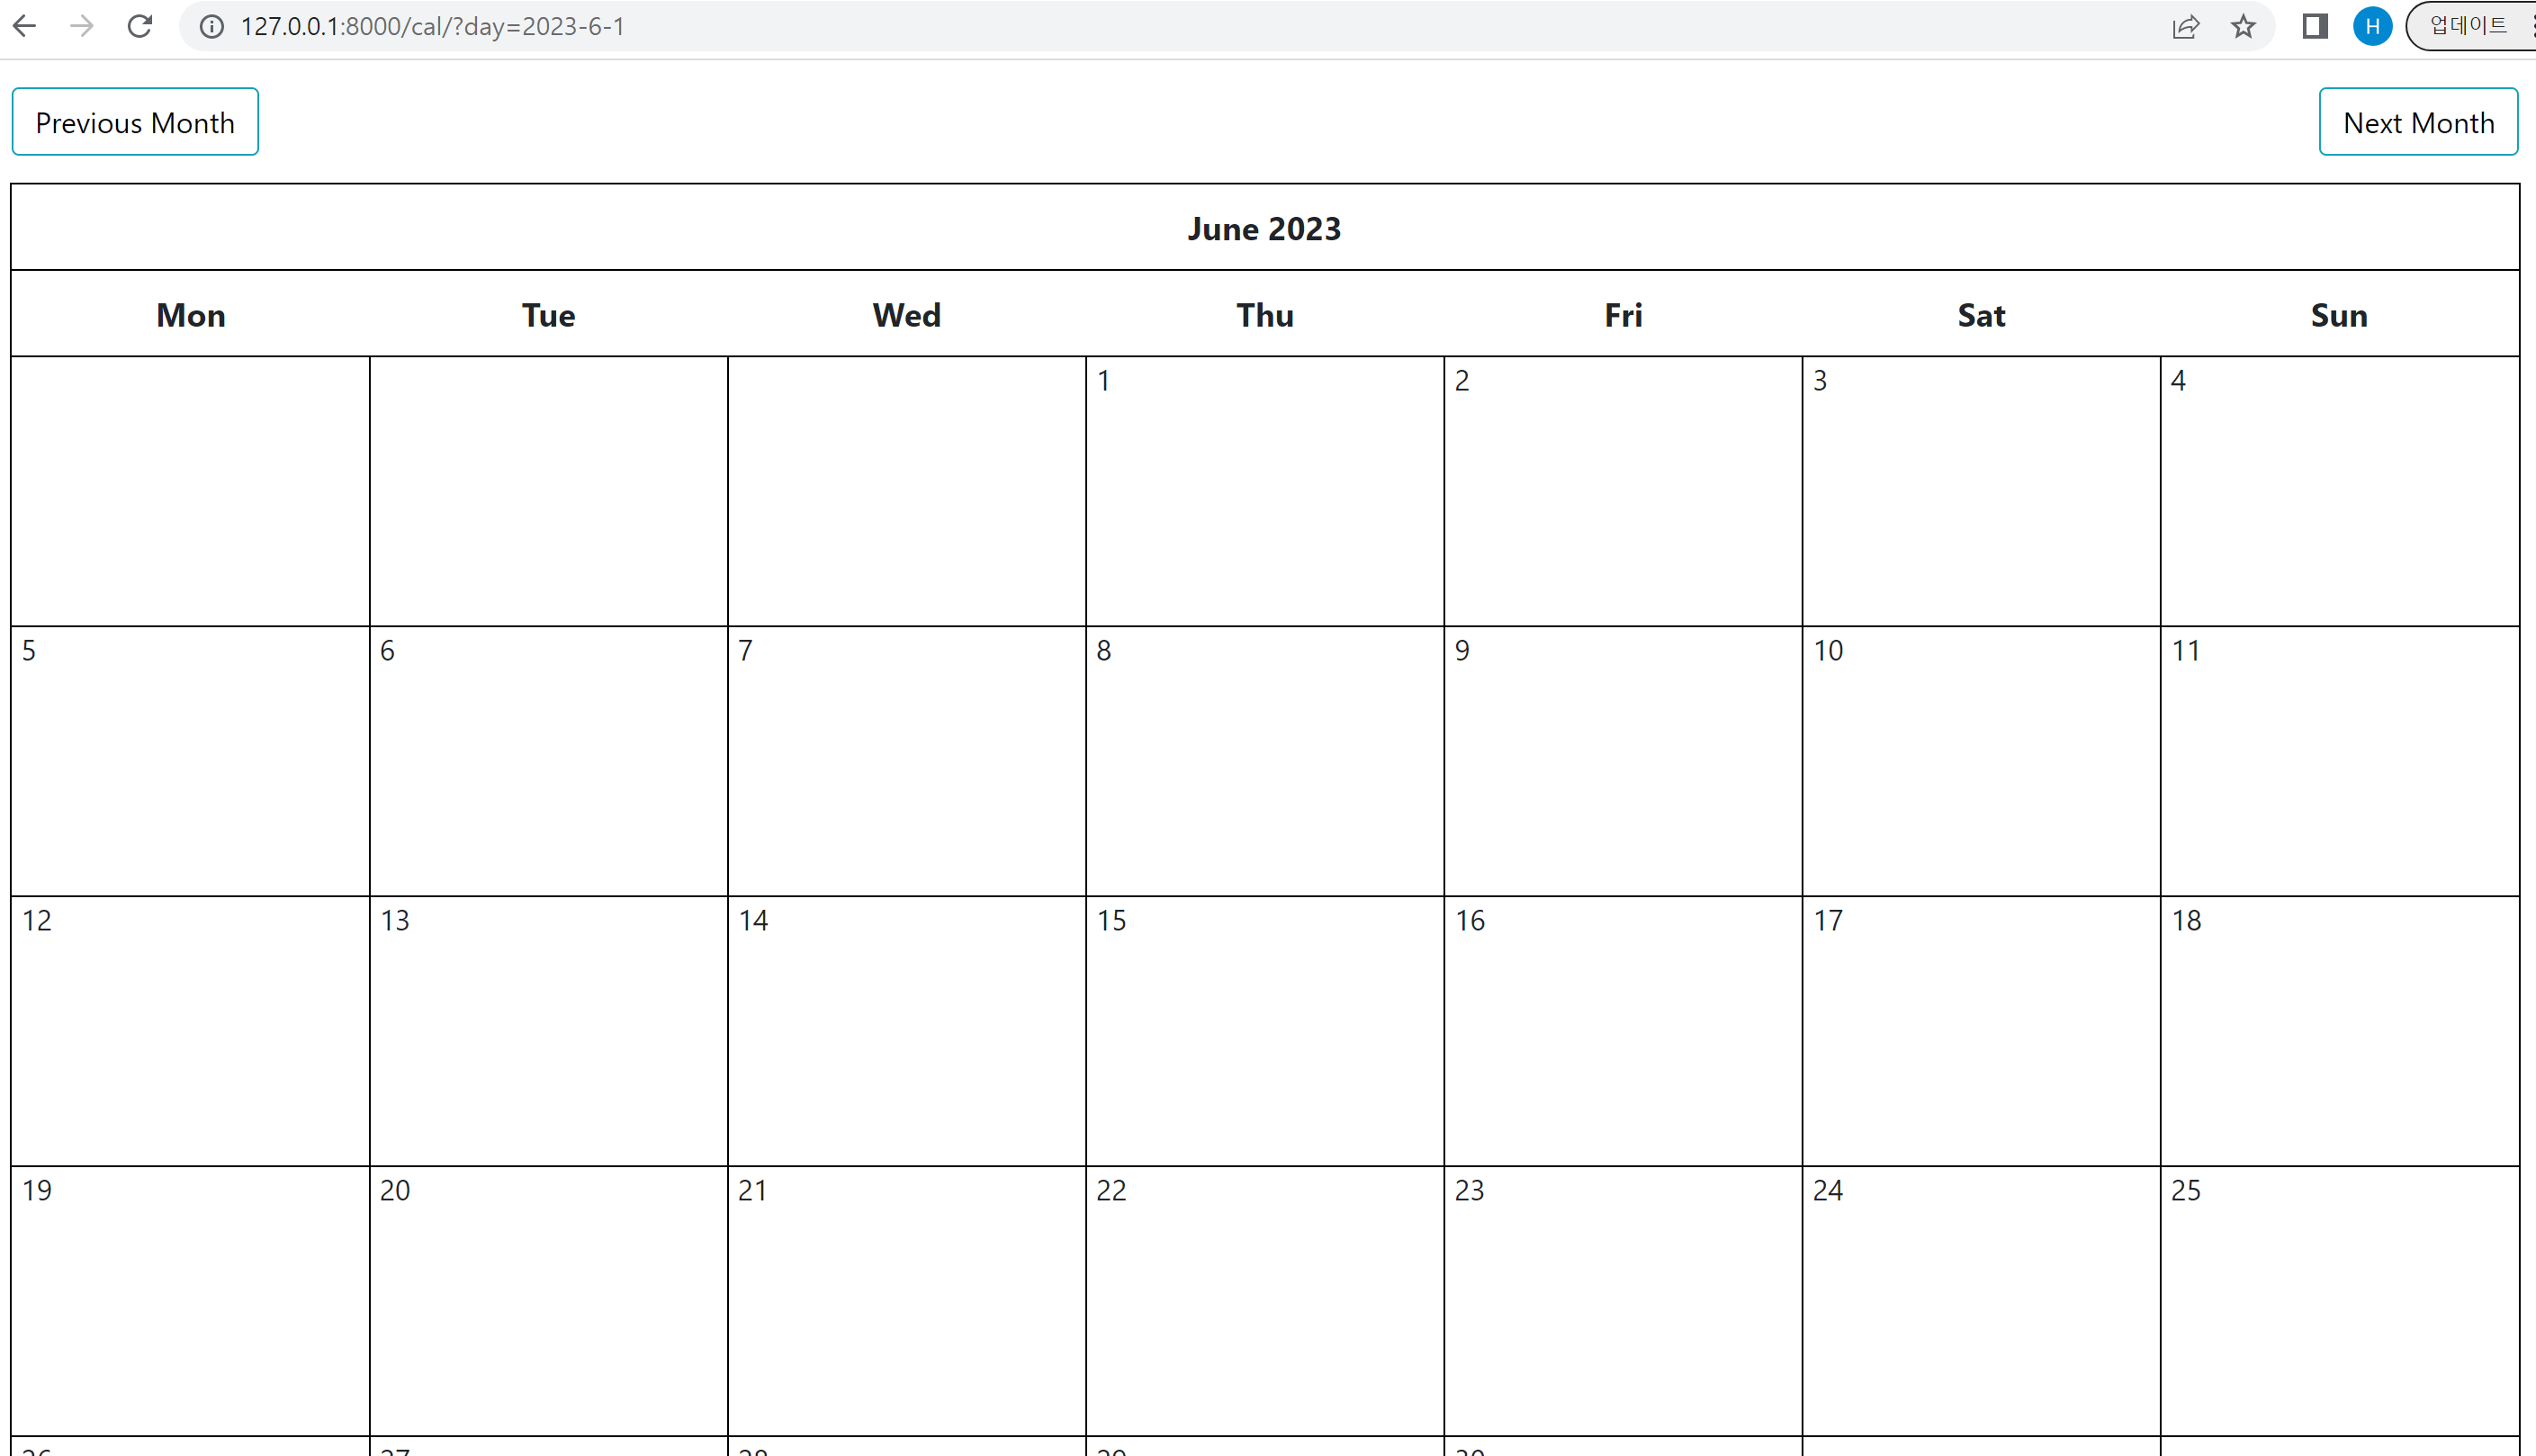
그러고 이제 다시 상단의 Next Month 버튼을 누르면 !!!
드디어 2023년 6월의 캘린더를 확인할 수 있다 ^^^ 인간승리 ... 지피티 패 ....
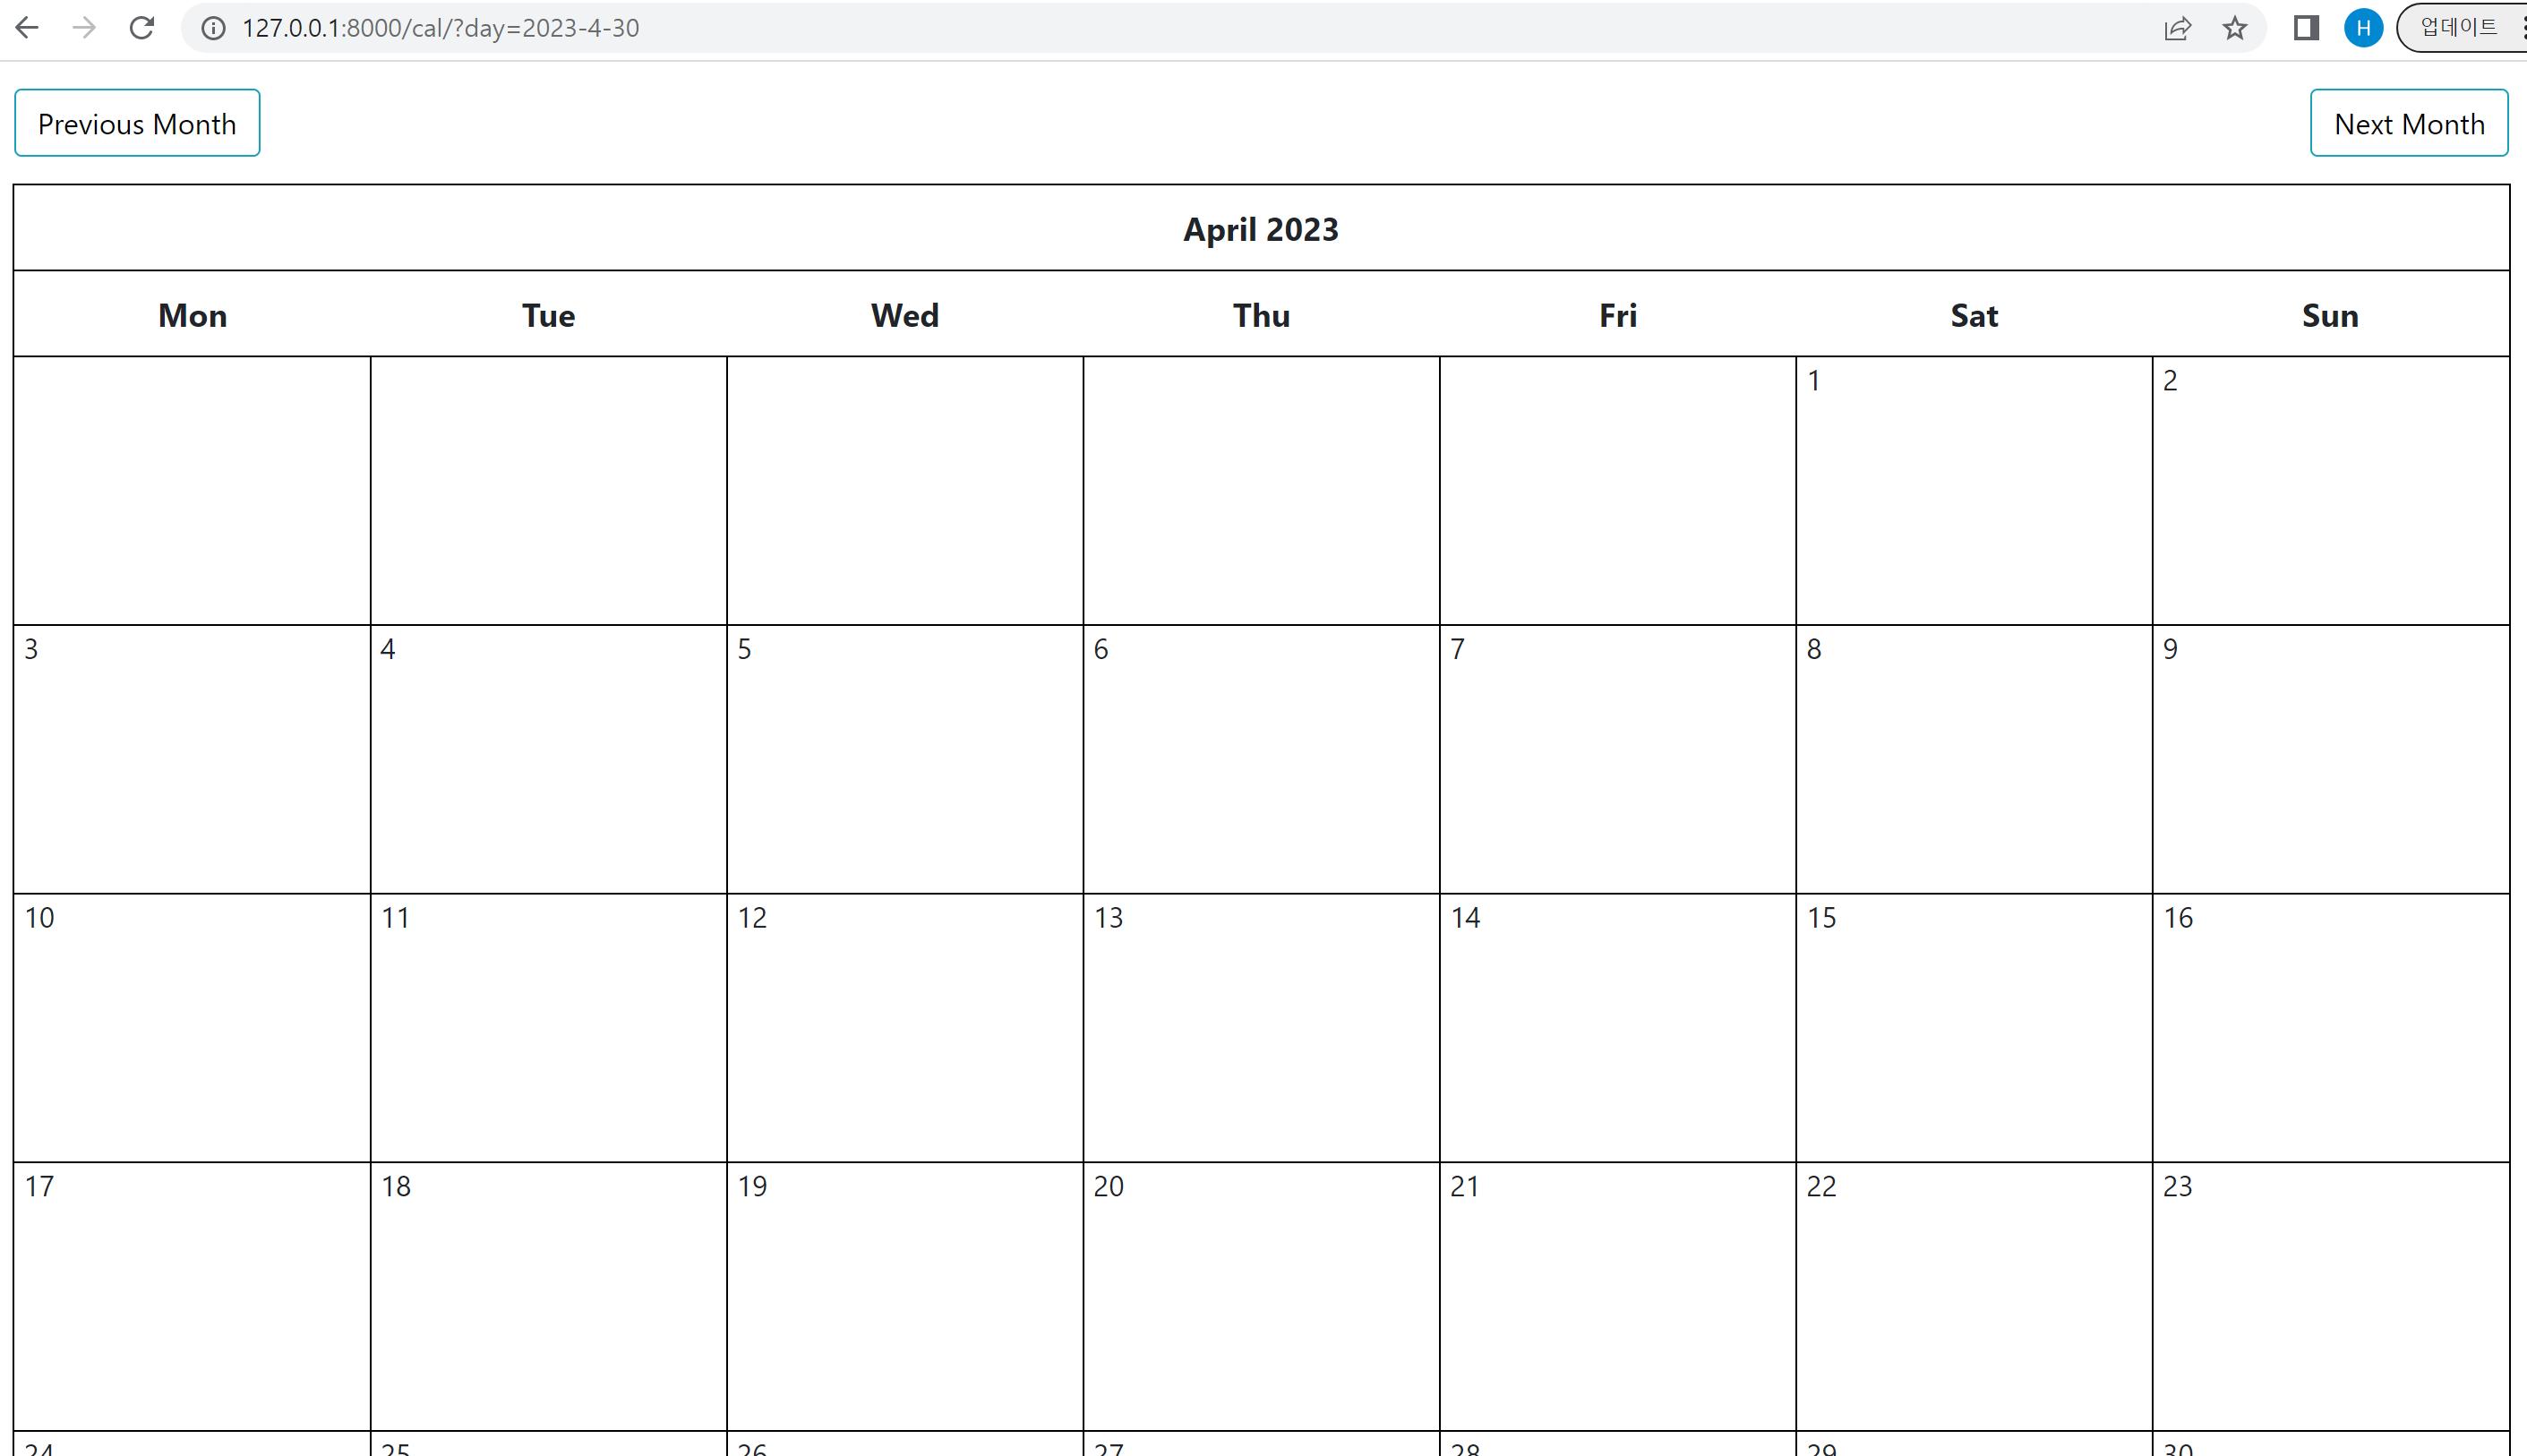
동일한 방법으로 Previous Month 버튼을 누르면 2023년 4월의 캘린더를 확인할 수 있다 ^^
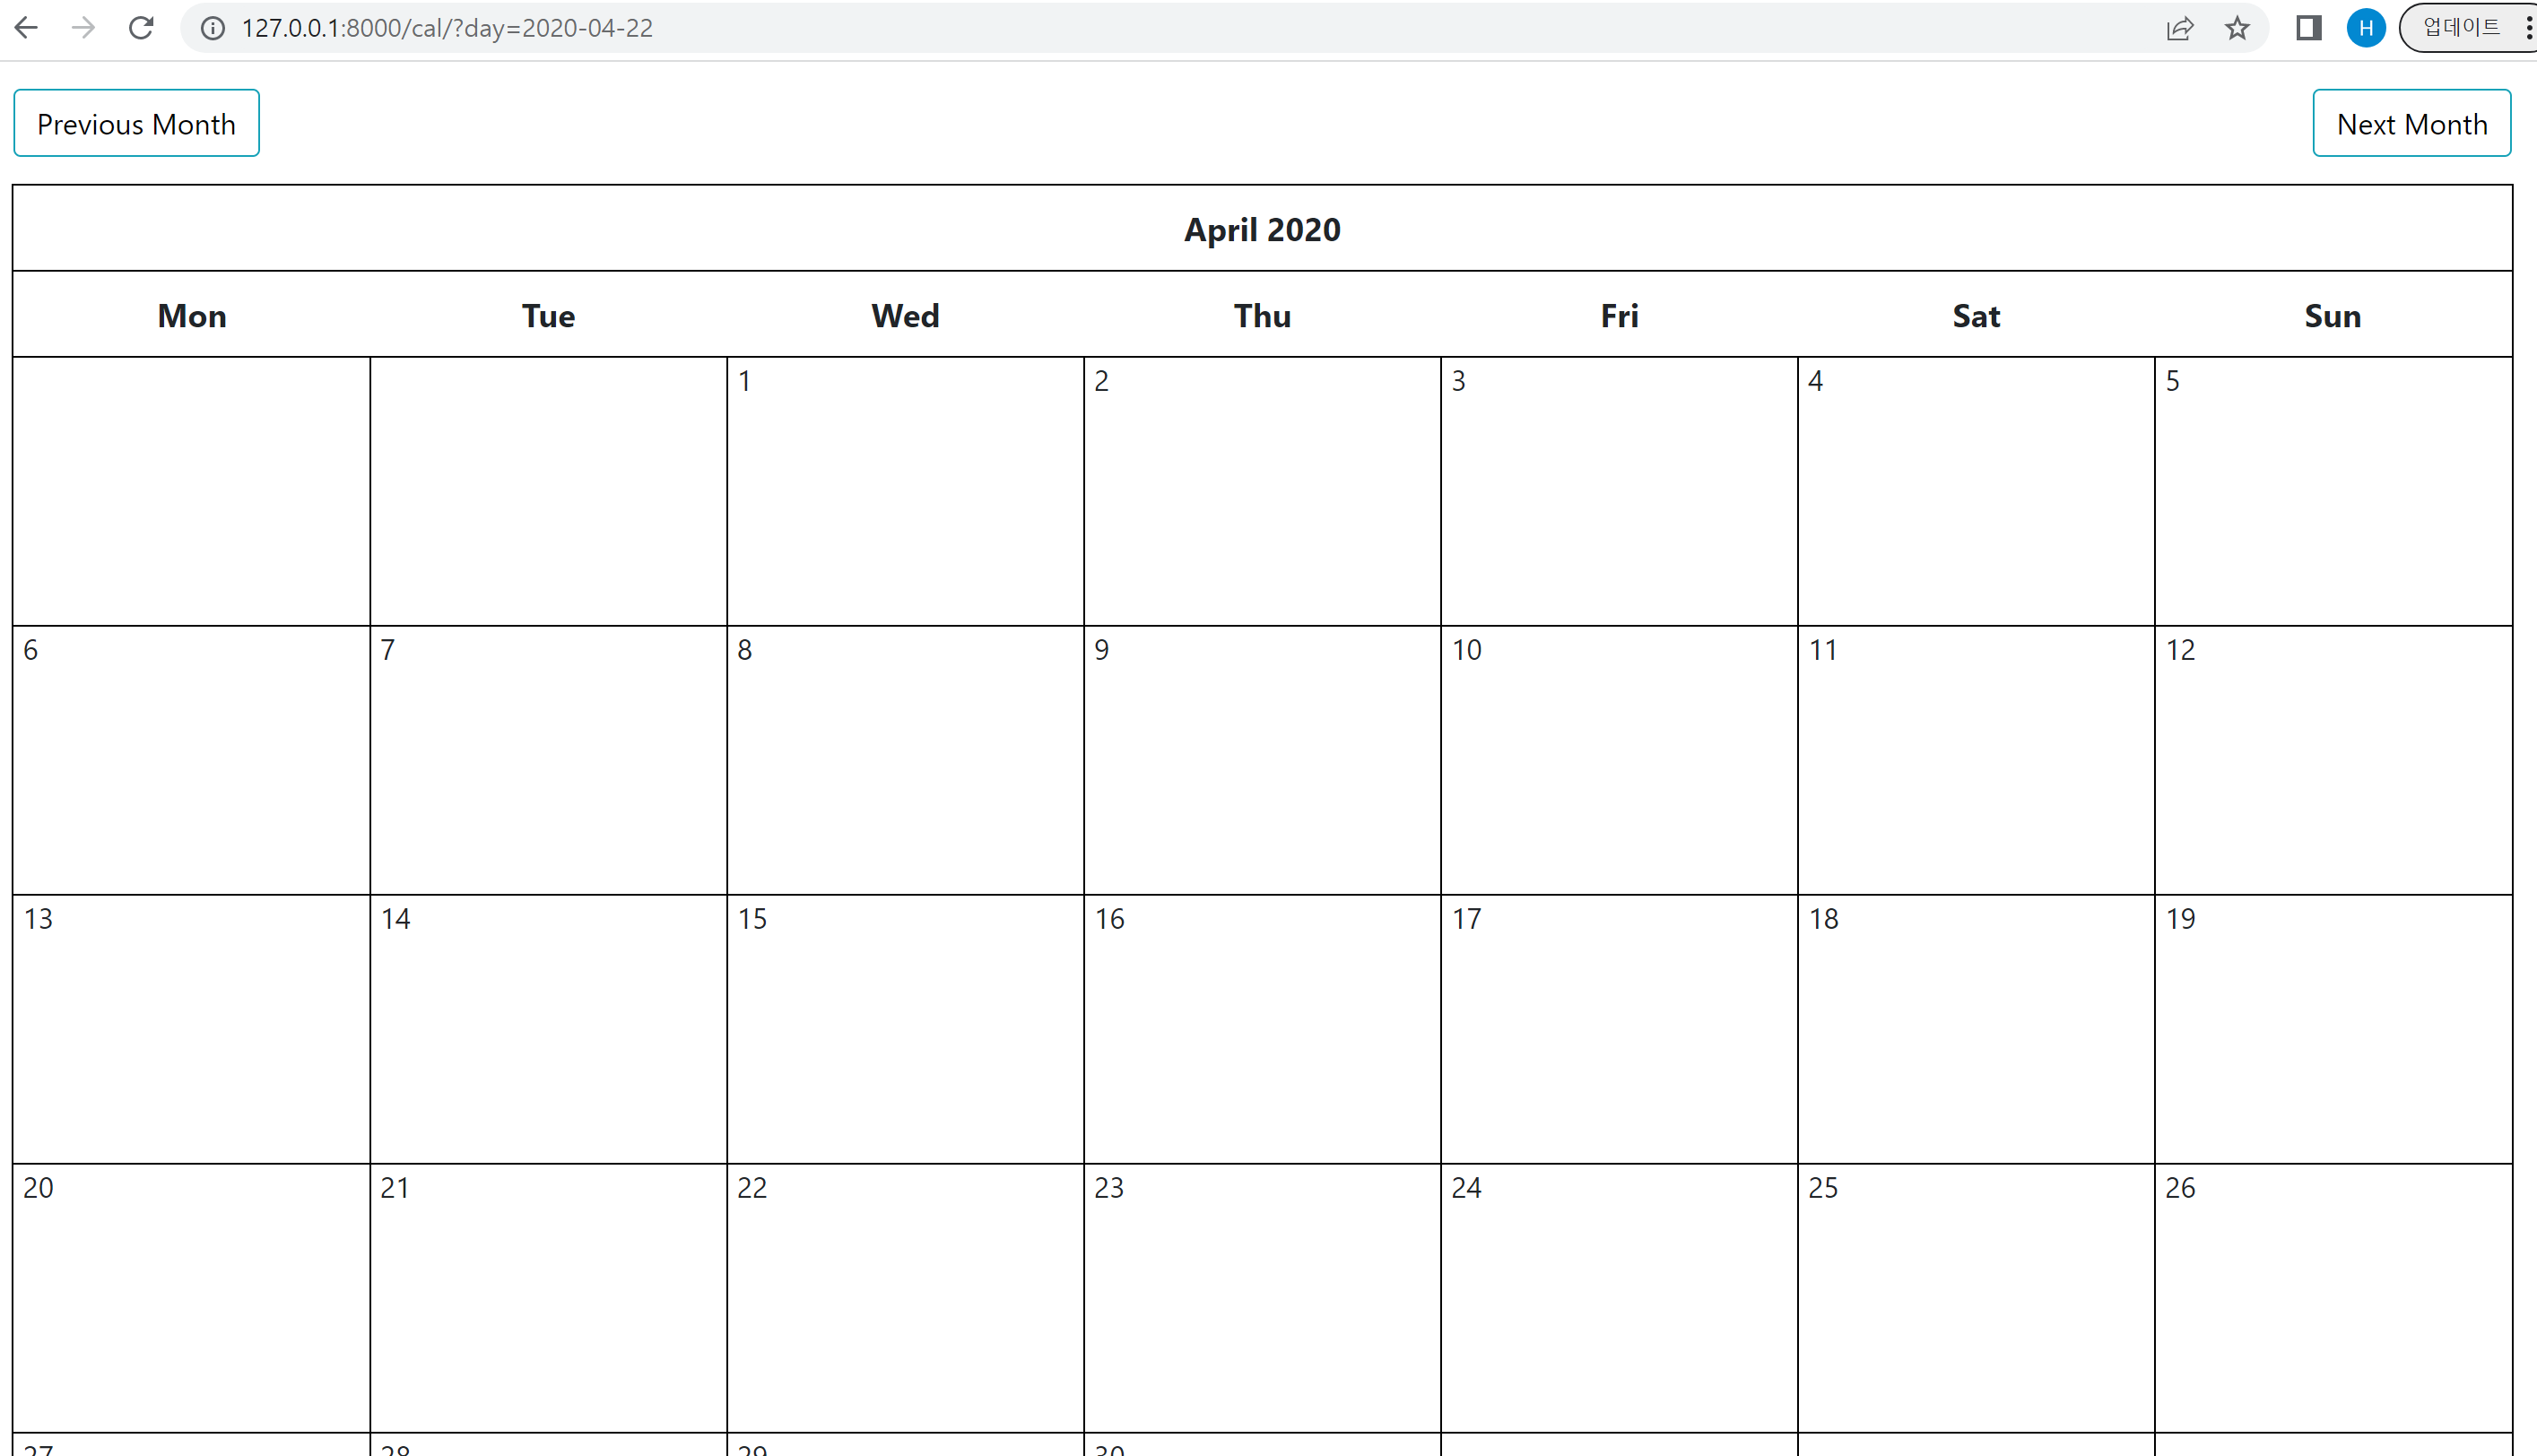
이런식으로 day 매개변수 안에 원하는 날짜 값을 넣어줘도, 그 날짜에 해당하는 달력이 뜨는 것을 확인할 수 있다 !!!

2개의 댓글

1편, 2편 따라 많은 도움을 받고 있는 또 다른 1인입니다. 그런데 이 후속편은 안올려주시나요? 인터넷 소설보다 이게 더 재미가 있는데 말입니다. ^^;;;; 후편이 무지 마렵습니다~ 재능기부 부탁드립니다!
안녕하세요! 장고로 캘린더를 구현하는 데 작성해주신 1편 2편이 많은 도움이 되었습니다 ㅎㅎ 감사해요! 한가지 질문이 있는데요, 달력이 화면에 렌더링 될 때 영어로 표기가 되더라구요(July 2023, Sun, Mon, Tue, ...). 이걸 한글로 바꿀 수 있는 방법이 무엇인지 아시나요..? settings.py에는 한국어로 잘 설정되어 있는데 이 달력에서만 영어로 표기되어서요!