[ 목표 ]
1. 사용자가 입력한 값을 매개변수로 하는 API 사용
2. API로부터 받아온 데이터를 굳이!! RecyclerView에 넣고 화면에서 보여주기
[전제 사항]
openweathermap 에서 제공하는 API 사용
Retrofit2 사용
RecyclerView 사용
1st. API 연동
0-1. gradle
build.gradle (Module :app)

// implementation 추가하기
dependencies {
...
	implementation 'com.squareup.retrofit2:retrofit:2.9.0'
    implementation 'com.squareup.retrofit2:converter-gson:2.9.0'
    implementation 'androidx.lifecycle:lifecycle-runtime-ktx:2.4.0'
    }
0-2. Manifest
AndroidManifest.xml

// permission 추가
<uses-permission android:name="android.permission.INTERNET" />- Model
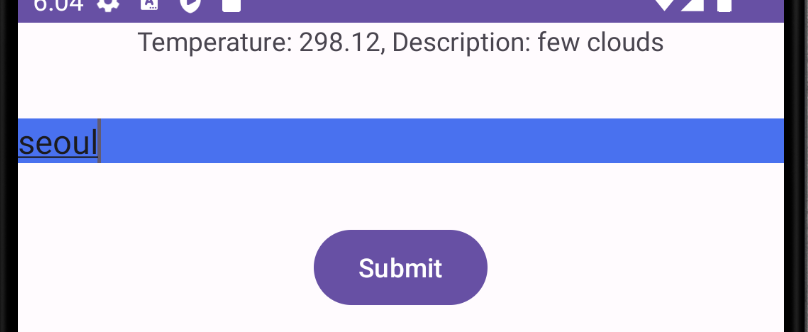
seoul이라는 값을 넣었을 때 출력 결과

WeatherModel.kt

data class WeatherModel (
    val weather: List<Weather>,
    val main: Main,
    val name: String
    )

data class Weather (
    val main: String,
    val description: String
)

data class Main (
    val temp: Double,
    val MinTemp: Double,
    val MaxTemp: Double
)- layout
activity_main.xml

<?xml version="1.0" encoding="utf-8"?>
<LinearLayout xmlns:android="http://schemas.android.com/apk/res/android"
    xmlns:app="http://schemas.android.com/apk/res-auto"
    xmlns:tools="http://schemas.android.com/tools"
    android:layout_width="match_parent"
    android:layout_height="match_parent"
    android:orientation="vertical"
    tools:context=".MainActivity">


    <TextView
    	android:id="@+id/weatherTextView"
        android:layout_width="wrap_content"
        android:layout_height="wrap_content"
        android:layout_gravity="center_horizontal"
        android:layout_marginBottom="32dp"
        android:text="날씨야 나와랏" />


    <EditText
        android:id="@+id/editText"
        android:layout_width="match_parent"
        android:layout_height="wrap_content"
        android:layout_gravity="center_horizontal"
        android:layout_marginBottom="32dp"
        android:background="#4971EF"
        android:inputType="text" />

    <Button
        android:id="@+id/submitButton"
        android:layout_width="wrap_content"
        android:layout_height="wrap_content"
        android:layout_gravity="center_horizontal"
        android:layout_marginBottom="32dp"
        android:text="Submit" />

</LinearLayout>- Retrofit2
Api.kt

// 반드시 인터페이스로 만들어줘야 함
// @Query : API 엔드포인트의 매개변수와 연결하여 동적인 값을 전달하는 데 사용
interface Api {
    // https://api.openweathermap.org/data/2.5/weather?q=입력값&appid=API키값 의 형식을 가짐
    @GET("weather")
    suspend fun getWeatherByCityName(@Query("q") cityName: String, @Query("appid") apiKey: String) : Response<WeatherModel>
    }

// Response 객체는 Retrofit에서 API 요청에 대한 응답을 나타내는 클래스, 비동기적으로 처리
// 하지만 API의 처리가 다 끝나고 난 후에 다음 단계로 진행하는 것이 맞는 수순이므로
// 비동기를 동기로 처리하기 위해 suspend를 붙여줌
MainActivity.kt

class MainActivity : AppCompatActivity() {
    private lateinit var submitButton: Button
    private lateinit var weatherTextView: TextView
    private lateinit var editText: EditText

    override fun onCreate(savedInstanceState: Bundle?) {
        super.onCreate(savedInstanceState)
        setContentView(R.layout.activity_main)

        submitButton = findViewById(R.id.submitButton)
        weatherTextView = findViewById(R.id.weatherTextView)
        editText = findViewById(R.id.editText)

        submitButton.setOnClickListener {
            val cityName = editText.text.toString()
            val apiKey = "본인의 키 입력"

            val retrofit = Retrofit.Builder()
                .baseUrl("https://api.openweathermap.org/data/2.5/")
                // Retrofit은 JSON 데이터를 자동으로 변환하여 사용자가 정의한 데이터 모델 객체로 매핑
                .addConverterFactory(GsonConverterFactory.create())
                .build()

            // Retrofit 객체를 사용하여 Api 인터페이스의 구현체를 생성
            val apiService = retrofit.create(Api::class.java)
            // response 객체를 통해 API 응답에 접근하고 필요한 데이터를 추출

            // 액티비티나 프래그먼트가 활성 상태일 때만 Coroutine이 실행되고, 액티비티나 프래그먼트가 파괴되면 Coroutine도 자동으로 취소됩니다. 이로써 메모리 누수나 의도치 않은 동작을 방지함
            lifecycleScope.launch {
                val result= apiService.getWeatherByCityName(cityName, apiKey)
                val weatherData = result.body()
                val temperature = weatherData?.main?.temp
                // 리스트의 구조 : [{0번째},{1번째}, ...]
                val description = weatherData?.weather?.get(0)?.description

                weatherTextView.text = "Temperature: $temperature, Description: $description"
        }
    }
}- 중간 점검
-
구동 시
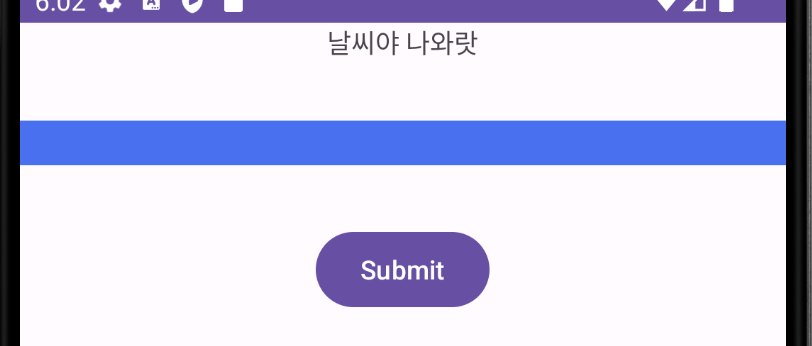
-
데이터 입력 후 submit 버튼 클릭
2nd. RecyclerView
리스트 = Data + ItemView + RecyclerView
- xml 파일 만들기
: 리사이클러뷰는 먼저 메인(=activity_main.xml)에서 큰 틀의 리사이클러뷰를 생성하고 그 안에 들어갈 항목(=itemView)을 xml 파일(=recyclerview_item.xml)로 만들어서 연결시켜줘야 한다.
activity_main.xml

<?xml version="1.0" encoding="utf-8"?>
<LinearLayout xmlns:android="http://schemas.android.com/apk/res/android"
    xmlns:app="http://schemas.android.com/apk/res-auto"
    xmlns:tools="http://schemas.android.com/tools"
    android:layout_width="match_parent"
    android:layout_height="match_parent"
    android:orientation="vertical"
    tools:context=".MainActivity">

    <EditText
        android:id="@+id/editText"
        android:layout_width="match_parent"
        android:layout_height="wrap_content"
        android:layout_gravity="center_horizontal"
        android:layout_marginBottom="32dp"
        android:background="#4971EF"
        android:inputType="text" />

    <Button
        android:id="@+id/submitButton"
        android:layout_width="wrap_content"
        android:layout_height="wrap_content"
        android:layout_gravity="center_horizontal"
        android:layout_marginBottom="32dp"
        android:text="Submit" />

    <!-- RecyclerView 추가 -->
    <androidx.recyclerview.widget.RecyclerView
        android:id="@+id/myRecyclerView"
        android:layout_width="match_parent"
        android:layout_height="match_parent" />

</LinearLayout>
recyclerview_item.xml
<?xml version="1.0" encoding="utf-8"?>
<LinearLayout xmlns:android="http://schemas.android.com/apk/res/android"
android:orientation="vertical"
android:layout_width="match_parent"
android:layout_height="match_parent">
<LinearLayout
android:orientation="horizontal"
android:layout_width="match_parent"
android:layout_height="wrap_content"
android:padding="20dp">
<TextView
android:id="@+id/nowWeather"
android:layout_width="wrap_content"
android:layout_height="wrap_content"
android:text="날씨"
android:textSize="30sp"
android:layout_marginStart="20dp"
/>
<TextView
android:id="@+id/nowTemp"
android:layout_width="wrap_content"
android:layout_height="wrap_content"
android:text="온도"
android:textSize="30sp"
android:layout_marginStart="40dp"
android:layout_gravity="right"
/>
<TextView
android:id="@+id/nowLocal"
android:layout_width="wrap_content"
android:layout_height="wrap_content"
android:text="지역"
android:textSize="30sp"
android:layout_marginStart="40dp"
android:layout_gravity="right"
/>
</LinearLayout>
</LinearLayout>- ViewHolder
: ViewHolder는 UI와 관련된 일들을 처리한다.
즉 화면에 보여줘야 하는 것들은 여기서 작성하면 된다.
리사이클러뷰 안의 항목(=itemView)을 ViewHolder로 연결시켜준다.
RecyclerViewHolder.kt

class RecyclerViewHolder(itemView: View) : RecyclerView.ViewHolder(itemView) {

    private val weatherTextView = itemView.findViewById<TextView>(R.id.nowWeather)
    private val tempTextView = itemView.findViewById<TextView>(R.id.nowTemp)
    private val localTextView = itemView.findViewById<TextView>(R.id.nowLocal)

	// 텍스트뷰와 실제 텍스트 데이터를 묶는다.
    fun bind(weatherModel: WeatherModel) {
        weatherTextView.text = weatherModel.weather[0].description
        tempTextView.text = weatherModel.main.temp.toString()
        localTextView.text = weatherModel.name
    }
}- Adapter
: 리사이클러뷰를 관리하는 제일 큰 역할을 한다.
onCreateViewHolder, getItemCount, onBindViewHolder 이 3개는 필수로 오버라이드해야한다.
class RecyclerAdapter() : RecyclerView.Adapter<RecyclerViewHolder>() {

    // List에 데이터를 추가 수정 삭제 하려면 MutableList를 사용해야 한다.
    var weatherModelList : MutableList<WeatherModel> = mutableListOf()

    //  RecyclerView의 각 아이템을 표시하기 위한 뷰를 생성하고 이를 ViewHolder에 바인딩하여 반환
    override fun onCreateViewHolder(parent: ViewGroup, viewType: Int): RecyclerViewHolder {
        // 연결할 레이아웃 설정
        // parent: ViewHolder를 생성할 부모 ViewGroup입니다. 즉, RecyclerView입니다.
        // attachToRoot는 생성된 뷰를 부모 ViewGroup에 자동으로 첨부할지 여부를 결정
        // false :  ViewHolder가 RecyclerView에 바인딩되기 전에 각 아이템의 뷰를 개별적으로 수정하고 설정하고자 하는 경우
        // 대부분의 경우에는 false를 사용하여 반환한 후, onBindViewHolder()에서 뷰를 수정하는 방식을 선호
        return RecyclerViewHolder(LayoutInflater.from(parent.context).inflate(R.layout.recyclerview_item, parent, false))
    }

    // 목록의 아이템 수
    override fun getItemCount(): Int {
        return this.weatherModelList.size
    }

    // RecyclerView의 각 아이템에 대한 데이터를 바인딩하는 역할
    // position : itemView의 위치 번호
    override fun onBindViewHolder(holder: RecyclerViewHolder, position: Int) {
        // bind() 메서드는 ViewHolder 클래스에 추가하여 구현
        holder.bind(this.weatherModelList[position])
    }
}- 연결하기
class MainActivity : AppCompatActivity() {

    private lateinit var submitButton: Button
    private lateinit var editText: EditText

    private lateinit var weatherTextView : TextView
    private lateinit var tempTextView : TextView
    private lateinit var localTextView : TextView

    private lateinit var recyclerAdapter: RecyclerAdapter

    override fun onCreate(savedInstanceState: Bundle?) {
        super.onCreate(savedInstanceState)
        setContentView(R.layout.activity_main)

        submitButton = findViewById(R.id.submitButton)
        editText = findViewById(R.id.editText)

        submitButton.setOnClickListener {
            val cityName = editText.text.toString()
            val apiKey = "본인의 키 입력"

            val retrofit = Retrofit.Builder()
                .baseUrl("https://api.openweathermap.org/data/2.5/")
                // Retrofit은 JSON 데이터를 자동으로 변환하여 사용자가 정의한 데이터 모델 객체로 매핑
                .addConverterFactory(GsonConverterFactory.create())
                .build()

            // Retrofit 객체를 사용하여 Api 인터페이스의 구현체를 생성
            val apiService = retrofit.create(Api::class.java)
            // response 객체를 통해 API 응답에 접근하고 필요한 데이터를 추출

            // 설명 다시 적기
            lifecycleScope.launch {
                val result= apiService.getWeatherByCityName(cityName, apiKey)

                val weatherData = result.body()
                val temperature = weatherData?.main?.temp
                // 리스트의 구조 : [{0번째},{1번째}, ...]
                val description = weatherData?.weather?.get(0)?.description

                // API에서 받은 데이터를 weatherModelList에 넣어주기
                recyclerAdapter.weatherModelList = mutableListOf(weatherData!!)

                // 데이터에 변동사항이 생겨도 어댑터는 모른다.
                // 변동사항이 생기면 알려주는 코드 필수적으로 넣어야 함.
                recyclerAdapter.notifyDataSetChanged()
            }
        }

        // 연결
        val recyclerView: RecyclerView = findViewById(R.id.myRecyclerView)

        recyclerAdapter = RecyclerAdapter()

        recyclerView.layoutManager = LinearLayoutManager(this@MainActivity, LinearLayoutManager.VERTICAL, false)

        recyclerView.adapter = recyclerAdapter

    }
}- 최종
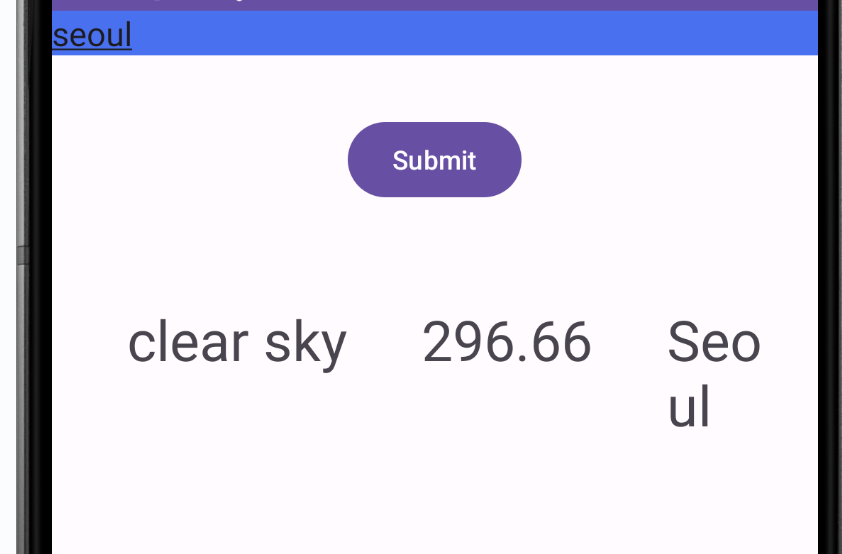
[결론]
이번에 사용한 API가 제공하는 데이터는 리스트 형식으로 나타내기 어려운 것이라서 굳이 RecyclerView를 사용하지 않아도 됐지만 이 과정을 통해서 RecyclerView를 많이 알게됐고 곁들여서 Retrofit도 사용해 볼 수 있어서 좋았다. 겸사겸사 비동기에 대해서도 확실히 정리했다. 굿굿

재밌당

대단한데요! 좋은 정보 잘 배워갑니다!