
1101
이전 포스트에서는 간단하게 CRUD API를 Node.js로 구현하고, Postman으로 그 값을 확인해보았습니다.
이번에는 Node.js로 POST요청을 보내 단일 파일 업로드와 다중 파일 업로드를 구현해보고 Postman으로 확인해보도록 하겠습니다.
0. 기초 세팅 - multer
multer란?: 파일 업로드를 위해 사용되는 multipart/form-data 를 다루기 위한 node.js 의 미들웨어
npm install multer로 multer를 다운로드 해줍니다.
0.1. multer를 사용하는 이유
앞서 multer는 Content-Type이 mulipart/form-data로 왔을 때, body 파일에 있는 데이터를 읽어주는 것이라고 말했습니다.
- application/x-www-form-urlencoded : 파일이 포함되지 않았을 때
- mutipart/form-data: 파일이 포함되었을 때
form은 기본적으로 Content-Type이 application/x-www-form-urlencoded입니다. 하지만 multer는 mutipart/form-data이 아닌 폼에서는 동작하지 않습니다.
그런데 앞선 게시글에서 body의 데이터는
body-parser가 읽어온다고 했는데 왜body-parser를 쓰지 않나요?
Content-Type이 mutipart/form-data일 때, body-parser는 body의 값을 읽어오는 기능을 지원하지 않습니다. 따라서 body의 데이터를 읽어올 다른 것이 필요한 겁니다.
따라서 multer는 mulipart/form-data로 왔을 때의 파일을 읽어주는 역할인 것이죠!
0.2. (참고) 파일의 끝 (boundary=---)
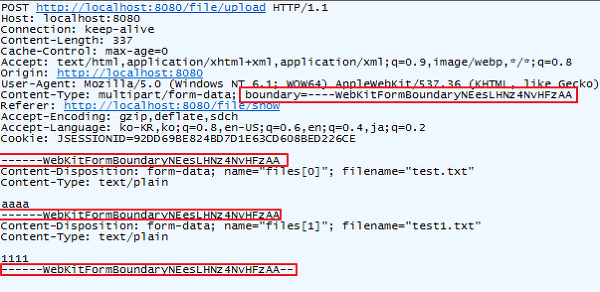
boudary=——webKitFormBoundaryNEesLHNz4NvHFzAA가 이 파일의 끝이 여기라는 것을 알려주는 것
0.3. multer로 코드 기초 세팅하기
const express = require('express')
const multer = require('multer')

const port = 3000

// 얘가 파일을 받아서 저장함
// 그럼 어디다가 저장하는지 컴퓨터가 물어볼거임
// 그 경로를 지정해주는 것

// multer 미들웨어 설정
const storage = multer.diskStorage({
    // 어디에 저장할지 경로 설정
    destination: function (req, file, cb) {
        cb(null, './uploads')
    },
    // 파일 이름을 바꾸는 설정
    // 안 바꾸고 싶으면 originalname을 filename으로 주면 됨
    filename: function( req, file, cb) {
        console.log(file.originalname)
        console.log(file.mimetype)
        const filename = Date.now() +"_"+file.originalname
        cb(null, filename)
    }
})

const upload = multer({storage})// 미들웨어를 만들어주는 것
// storage: storage와 같음
const app = express()// 우리가 어디에 저장해야 하는지에 대한 정보를 전달하고 있음

app.listen(port, () => {
    console.log(`Example app listening on port ${port}`)
})
이제 파일 업로드를 구현하러 가봅시다.
1. 단일 파일 업로드
const express = require('express')
const multer = require('multer')
const port = 3000
// 얘가 파일을 받아서 저장함
// 그럼 어디다가 저장하는지 컴퓨터가 물어볼거임
// 그 경로를 지정해주는 것
// multer 미들웨어 설정
const storage = multer.diskStorage({
// 어디에 저장할지 경로 설정
destination: function (req, file, cb) {
cb(null, './uploads')
},
// 파일 이름을 바꾸는 설정
// 안 바꾸고 싶으면 originalname을 filename으로 주면 됨
filename: function( req, file, cb) {
console.log(file.originalname)
console.log(file.mimetype)
const filename = Date.now() +"_"+file.originalname
cb(null, filename)
}
})
const upload = multer({storage})// 파일 업로드 처리에 사용되는 미들웨어를 만든다
// {storage: storage}와 같다.
const app = express()// 우리가 어디에 저장해야 하는지에 대한 정보를 전달하고 있다.
// POST메서드. "/upload" 엔드포인트 정의
// upload.single("my_file") => 파일 업로드 처리를 위한 미들웨어 등록
// my_file => 업로드된 파일의 body key값
app.post("/upload", upload.single("my_file"), (req, res) => {
console.log(req.file)// 업로드 파일 정보
console.log(req.body)// 요청 데이터
res.send("ok")
})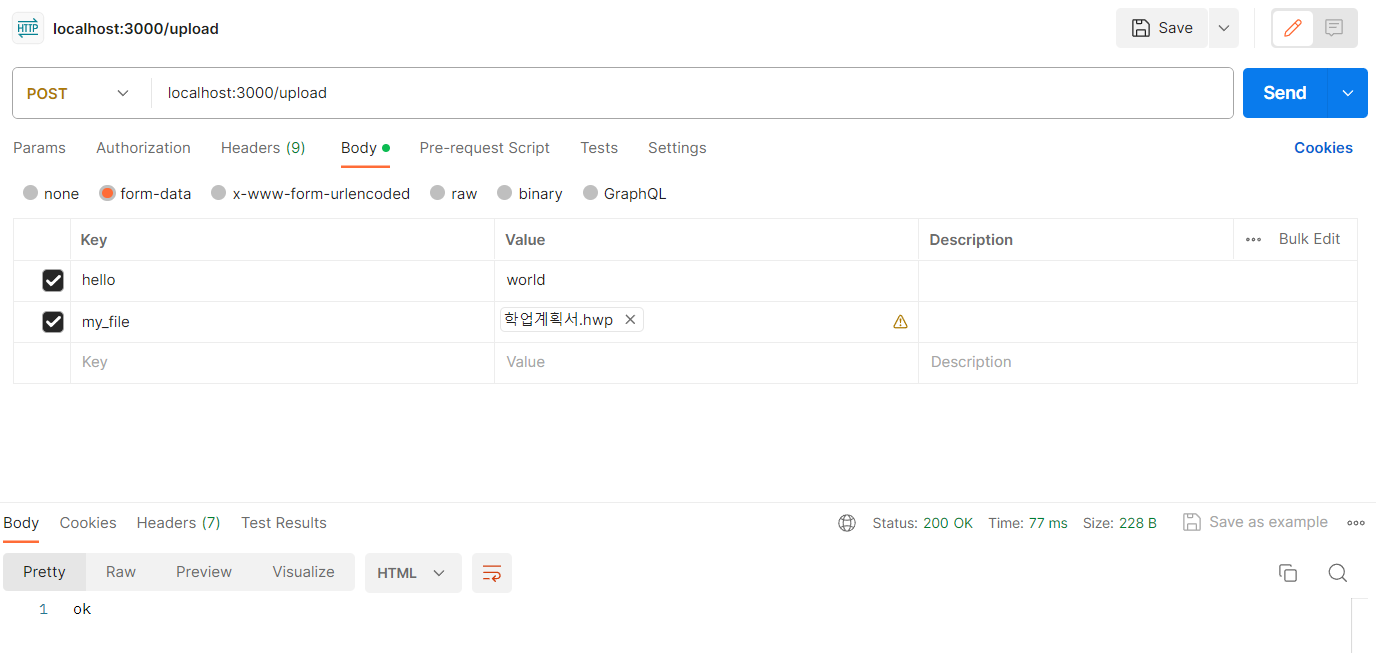 Postman에서 메서드를 POST로 바꾸고 주소를 입력합니다.
Body > form-data로 들어가 파일을 업로드할 때, key값은 upload.single()괄호 안의 것을 사용해야 합니다.
key에서 type을 text -> file로 변경하는 것도 확인해주세요!
send를 누르면
 이렇게
이렇게 storage의 destination에서 cb에 주었던 /uploads폴더 안에 파일이 업로드 된 모습을 확인할 수 있습니다.
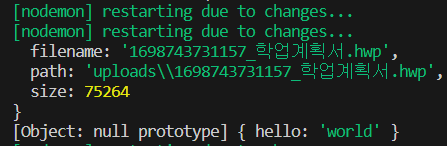 콘솔창에는
콘솔창에는 console.log(req.file)와console.log(req.body)의 출력 결과가 나타납니다.
언급은 하지 않았지만 아까 넣었던 key가 hello이며 value가 world인 type이 text인 데이터가 출력된 모습도 확인할 수 있네요
2. 다중 파일 업로드
const express = require('express')
const multer = require('multer')
const port = 3000
// 얘가 파일을 받아서 저장함
// 그럼 어디다가 저장하는지 컴퓨터가 물어볼거임
// 그 경로를 지정해주는 것
// multer 미들웨어 설정
const storage = multer.diskStorage({
// 어디에 저장할지 경로 설정
destination: function (req, file, cb) {
cb(null, './uploads')
},
// 파일 이름을 바꾸는 설정
// 안 바꾸고 싶으면 originalname을 filename으로 주면 됨
filename: function( req, file, cb) {
console.log(file.originalname)
console.log(file.mimetype)
const filename = Date.now() +"_"+file.originalname
cb(null, filename)
}
})
const upload = multer({storage})// 파일 업로드 처리에 사용되는 미들웨어를 만든다
// {storage: storage}와 같다.
const app = express()// 우리가 어디에 저장해야 하는지에 대한 정보를 전달하고 있다.
// POST메서드. "/photos" 엔드포인트 정의
// upload.single("photo") => 파일 업로드 처리를 위한 미들웨어 등록
// photo => 업로드된 파일의 body key값
app.post("/photos", upload.array("photo"), (req, res) => {
console.log(req.files)// "다중" 파일 업로드이기 때문에 files라는 점 기억하기
res.send("ok")
})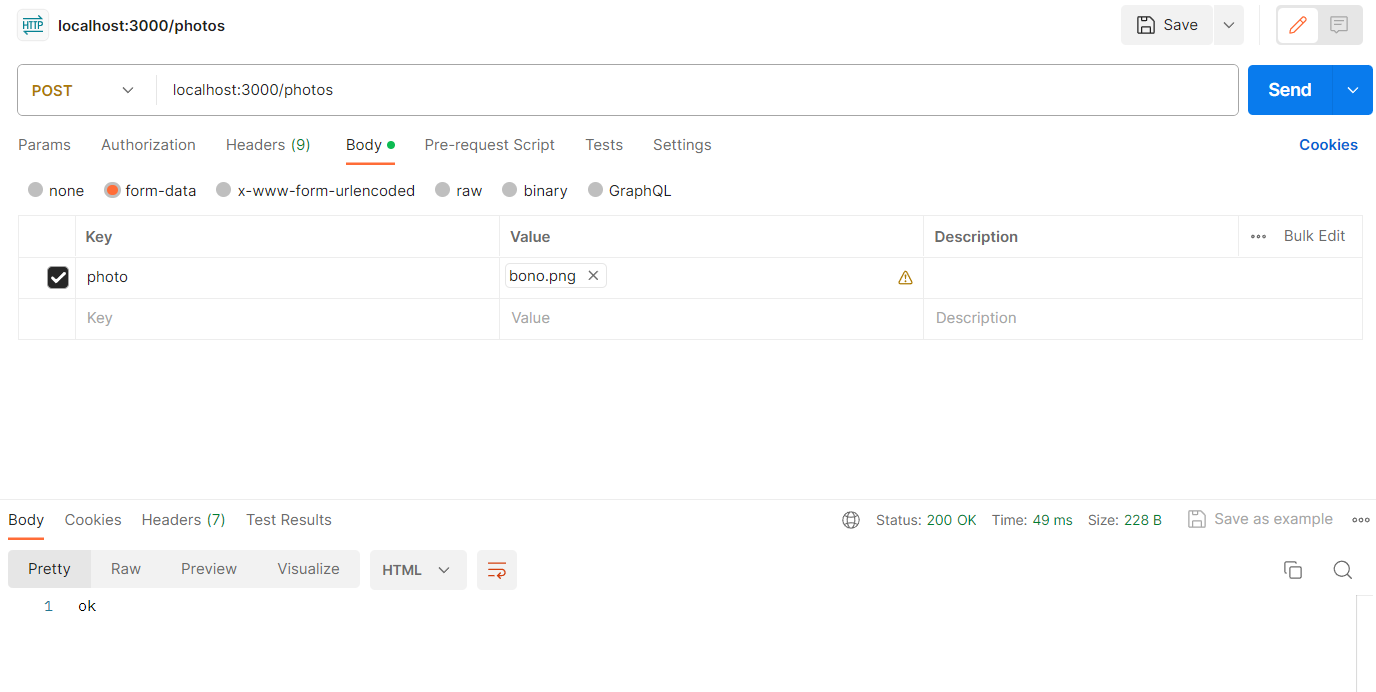 이번에는 사진을 업로드 해볼 겁니다.
위와 동일한 방식으로 진행하는데, key가 photo로 바뀐 것을 확인할 수 있습니다.
사진에서는 1개만 업로드했는데 2개 이상의 사진을 업로드해도 아무 문제가 없습니다.
send를 누르게 되면
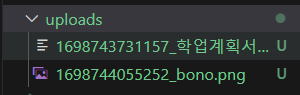 이렇게 똑같이
 uploads에 파일 업로드가 완료되며
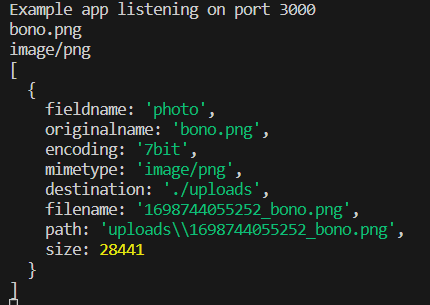 파일정보가 출력된 것을 확인할 수 있습니다.
이렇게 간단하게 파일 업로드를 구현해봤습니다.
부족한 정보는 알려주시면 감사하겠습니다.