
미니블로그 만들기 실습
자바스크립트 내부 코드가 아닌 웹사이트에서 DB에 연결해야 함.
일반 방문자는 코드의 실행결과만을 볼 수 있어야 하지만 javascript에서 처리할 경우 개발자모드를 이용해 개발자가 아닌 사용자가 직접 코드를 수정하여 DB에 접근할 수 있게 되기 때문.
DB구조 계획하기
- Posts -
Id
Title
Summary
Body
Date
AuthorId

- Authors -
Id
Name
Email
CREATE SCHEMA `blog` ;
CREATE TABLE `blog`.`authors` (
`id` INT NOT NULL AUTO_INCREMENT,
`name` VARCHAR(255) NOT NULL,
`email` VARCHAR(255) NOT NULL,
PRIMARY KEY (`id`));
CREATE TABLE `blog`.`posts` (
`id` INT NOT NULL AUTO_INCREMENT,
`title` VARCHAR(255) NOT NULL,
`summary` VARCHAR(255) NOT NULL,
`body` TEXT NOT NULL,
`date` DATETIME NULL DEFAULT current_timestamp,
`author_id` INT NOT NULL,
PRIMARY KEY (`id`));
express와 DB 연결하기
MySQL과 연결하기 위해 서드파티패키지 사용.
ctrl+c로 실행중인 서버를 중지한 후 아래의 명령을 입력하여 패키지설치.
npm install --save mysql2
mysql2패키지는 promise를 지원함.
- app.js -
const path = require('path');
const express = require('express');
const blogRoutes = require('./routes/blog');
const app = express();

// Activate EJS view engine
app.set('view engine', 'ejs');
app.set('views', path.join(__dirname, 'views'));

app.use(express.urlencoded({ extended: true }));
app.use(express.static('public'));

app.use(blogRoutes);

app.use(function (error, req, res, next) {
  console.log(error);
  res.status(500).render('500');
});

app.listen(3000);
- post-list.ejs -
const express = require('express');
const db = require('../data/database');
const router = express.Router();

router.get('/', function (req, res) {
  res.redirect('/posts');
});
- database.js -
const mysql = require('mysql2/promise');

const pool = mysql.createPool({
  host: 'localhost',
  database: 'blog',
  user: 'root',
  password: '0000',
});

module.exports = pool;
이때 password는 database를 설치할때 설정한 계정비밀번호를 입력해야 한다.
전체 포스트 조회하기
- blog.js -
router.get('/posts', async function (req, res) {
  const query = `
    SELECT posts.*, authors.name AS authors_name
    FROM posts INNER JOIN authors
    ON posts.author_id = authors.id
  `;
  const [posts] = await db.query(query);
  res.render('posts-list', { posts: posts });
});res.render는 기본주소/post-list로 response를 보내는데 이때 객체를 이용해 전체 포스트를 보냄. posts:posts는 키:값객체의 형태를 response에 담아 보내는 것.
- post-list.ejs -
<body>
  <%- include('includes/header') %>
  <main id="all-posts">
    <h1>All Posts</h1>
    <% if (!posts || posts.length ===0) {%>
    <p>No posts found - maybe start creating some?</p>
    <a class="btn" href="/new-post">Create a new post</a>
    <% } else { %>
    <ol id="posts-list">
      <% for (const post of posts){ %>
      <li><%- include('includes/post-item', {post:post})%></li>
      <% }%>
    </ol>
    <% } %>
  </main>
</body>
for문을 이용해 post키에 대응하는 배열post의 값을 화면에 모두 나열한다.
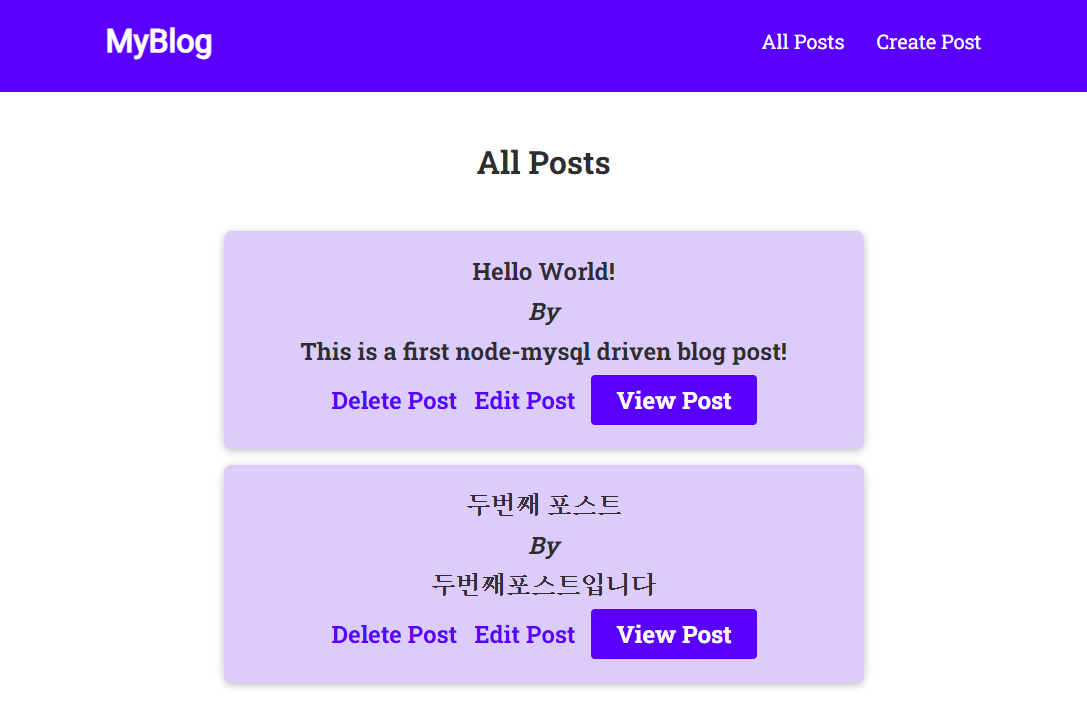
두 개의 포스트를 작성해두었을 때의 화면.
영문폰트를 기준으로 css작업이 되어있어 한글폰트가 적용되는 폰트로 변경이 필요함.
개별 포스트 조회하기
- blog.js -
// 개별post 조회
router.get('/posts/:id', async function (req, res) {
  const query = `
    SELECT posts.*, authors.name AS author_name, authors.email AS author_email FROM posts
    INNER JOIN authors ON posts.author_id = authors.id
    WHERE posts.id = ?
  `;

  const [posts] = await db.query(query, [req.params.id]);

  if (!posts || posts.length === 0) {
    return res.status(404).render('404');
  }

  // 사용자가 시간을 보기좋게 출력
  const postData = {
    ...posts[0],
    date: posts[0].date.toISOString(),
    humanReadableDate: posts[0].date.toLocaleDateString('en-US', {
      weekday: 'long',
      year: 'numeric',
      month: 'long',
      day: 'numeric',
    }),
  };

  res.render('post-detail', { post: postData });
});
사용자가 클릭한 post의 id를 이용해 조회쿼리를 만듦.
사용자가 보기 편하도록 시간출력방법을 수정.
- post-detail.ejs -
<body>
  <%- include('includes/header') %>
  <main id="post-detail">
    <h1><%= post.title %></h1>
    <section id="post-meta">
      <address><a href="mailto:<%= post.author_email %>"><%= post.author_name %></a></address>
      |
      <time datetime="<%= post.date %>"><%= post.humanReadableDate %></time>
    </section>
    <hr />
    <section>
      <p id="body"><%= post.body %></p>
    </section>
  </main>
</body>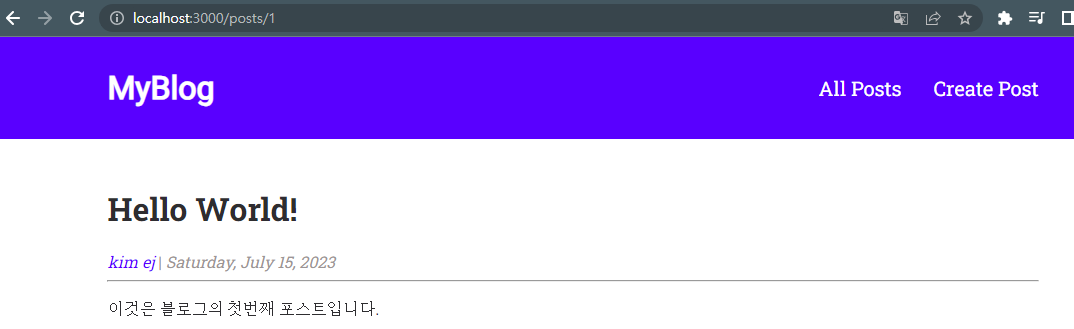

천 리 길도 가나다라부터