📌 전체적인 흐름
-
회원가입 : 서비스 DB에 email, password 전송
-
로그인 :
1) 서비스 DB에서 전송했던 email, password를 기억하고 token 보냄
2) token + 원하는 요청을 하면 알맞은 응답을 보냄.
(개발자도구 > 헤더에서 토큰 확인 가능)

Firebase : 쉽고 빠르게 서버(백엔드)를 구축할 수 있는 서비스
-> 프론트엔드 개발만으로도 서비스를 만들 수 있다!
Firebase에서 제공하는 기능 :
- cloud storage : 문서, 사진 저장
- hosting : 브라우저에서 웹사이트 확인
- cloud messaging : 유저에게 알림 보낼 수 있음
- cloud firestore : 실시간 소통, 유저 정보 관리
- authentication : 회원가입, 로그인
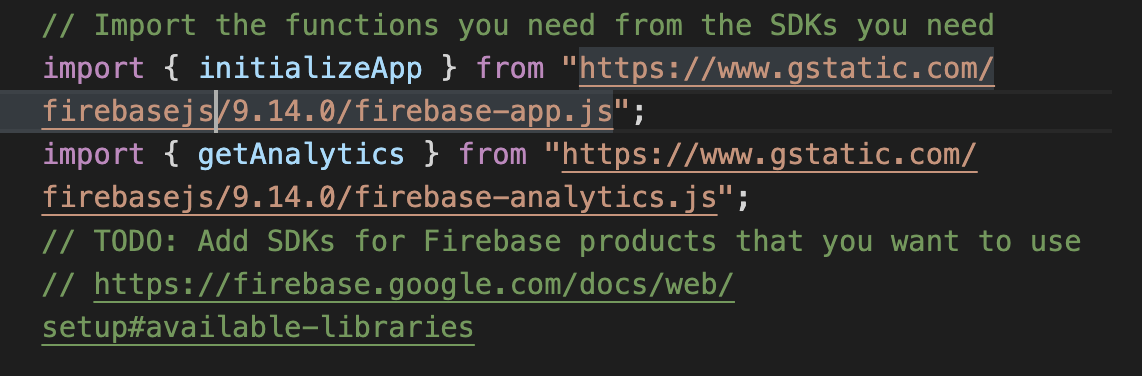
1. Firebase & html 연결 :
프로젝트 설정 > CDN 선택 > 코드 복사해서 html 하단 script에 붙여넣기

Firebase가 잘 연결됐으면 html에서 console.log(app) 입력시 개발자 도구 콘솔창에 아래처럼 뜬다.

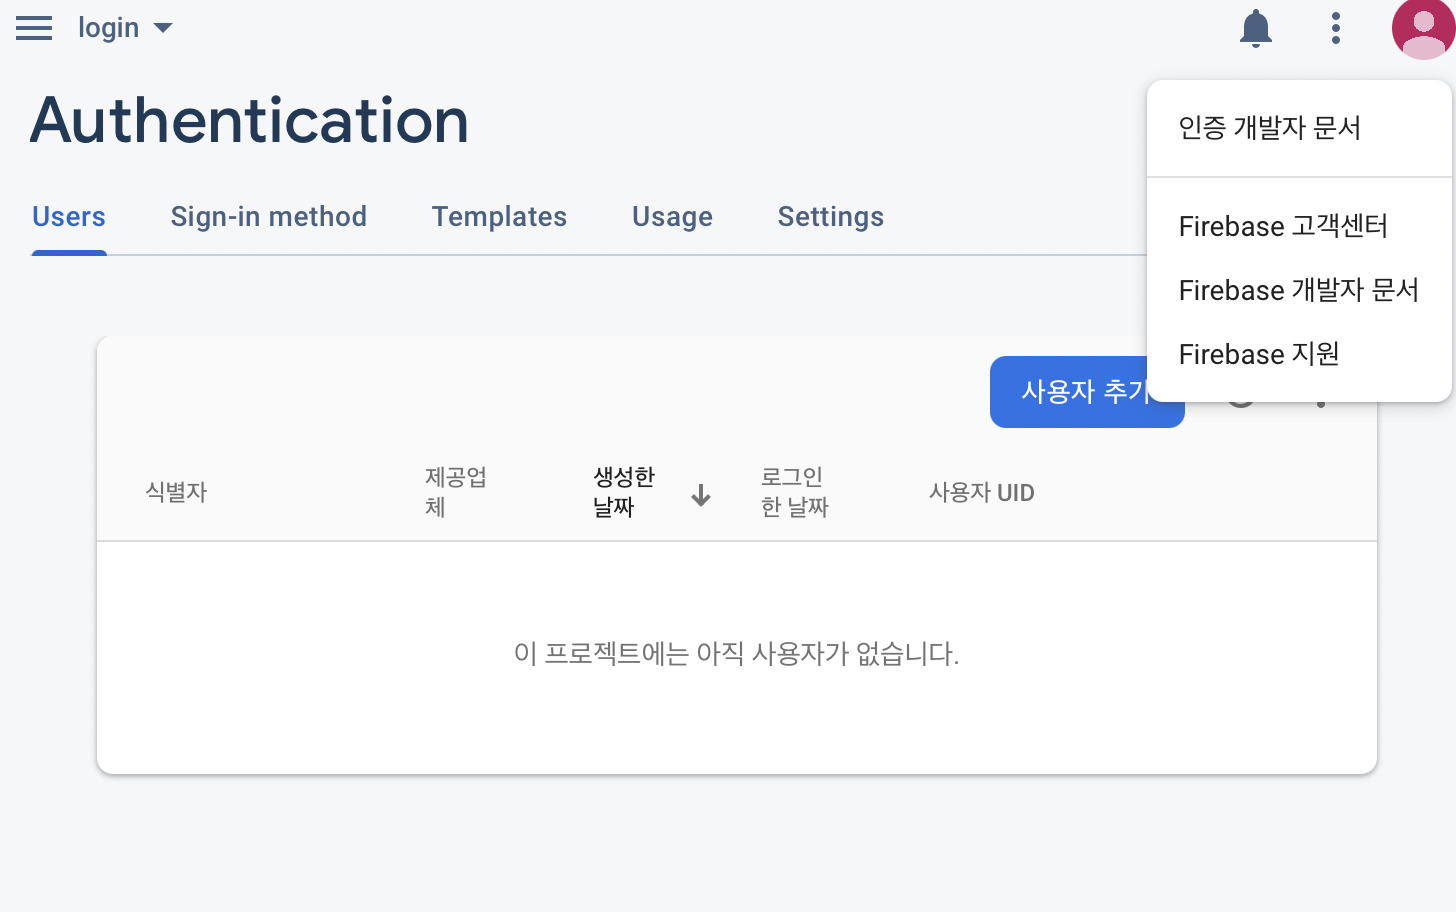
2. Authentication 기능 연결
Authentication 페이지 > 도움말(?표시) > 인증 개발자 문서
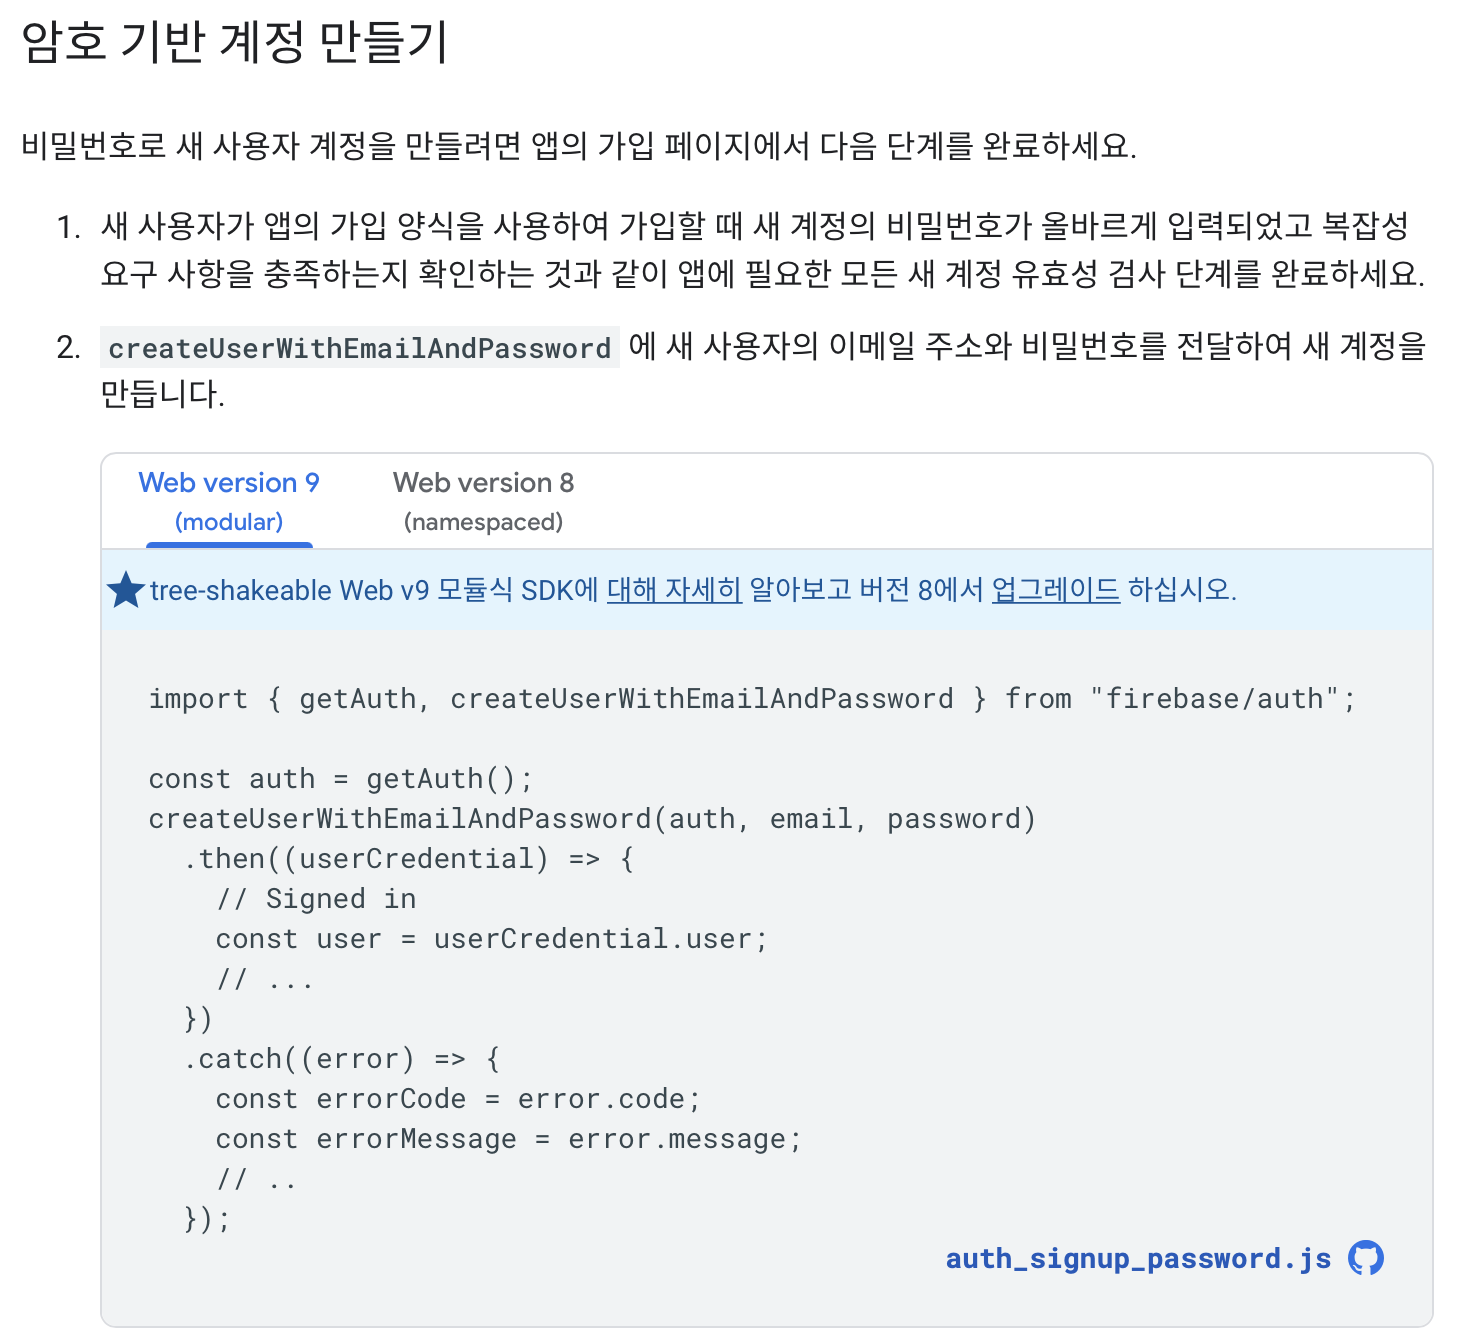
아래 코드를 html script 하단에 복붙한다.
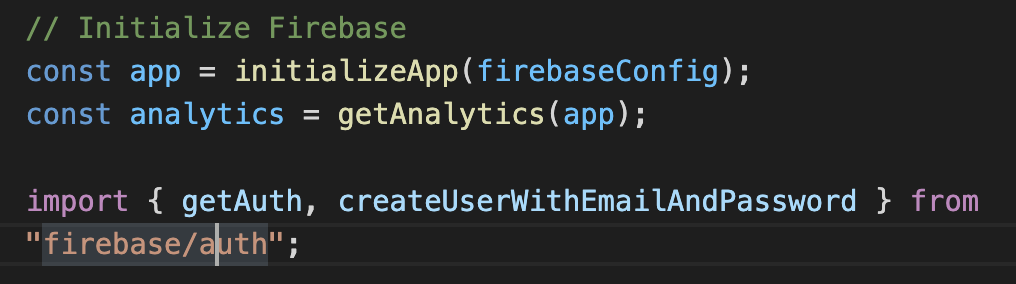
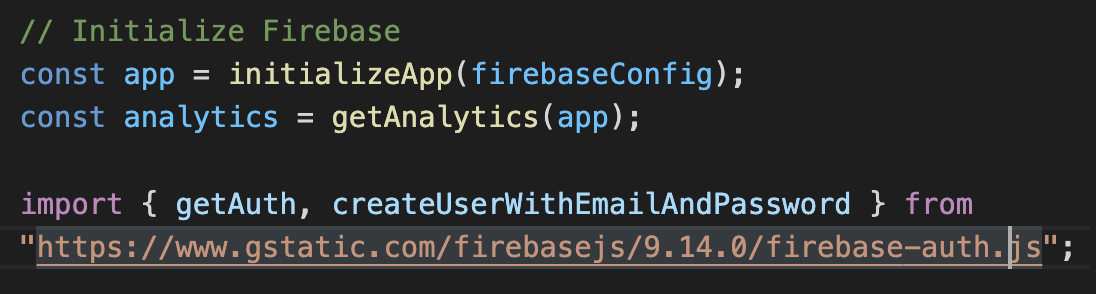
아래 import 주소를 기본 설정되어 있는 것에서 바꾸어 준다.
주소 복사
붙여넣기 (주의 : app 부분을 auth로 수정해준다.)
3. 회원가입 기능 구현
html
<form action="">
        <h1>회원가입</h1>
        <div> email : <input type="email" id="signUpEmail"/></div>
        <div> password : <input type="password" id="signUpPw"></div>
        <button type="submit" id="signUpBtn">회원가입 하기</button>
        <button>로그인 하러 가기</button>
</form>
script
 // 위의 부분 생략(firebase 연결 부분)
 // 회원가입
    document.getElementById('signUpBtn').addEventListener('click', (event) => {
        event.preventDefault(); // 새로고침 막음
        const email = document.getElementById('signUpEmail').value
        const password = document.getElementById('signUpPw').value
        const auth = getAuth();
        createUserWithEmailAndPassword(auth, email, password)
        .then((userCredential) => {
            console.log(userCredential)
            // Signed in
            const user = userCredential.user;
            // ...
        })
        .catch((error) => {
            console.log(error)
            const errorCode = error.code;
            const errorMessage = error.message;
            // ..
        });

})- 버튼에 이벤트리스너 달아서 클릭 이벤트 캐치
- 새로고침 막아주고 email, password value 가져오기
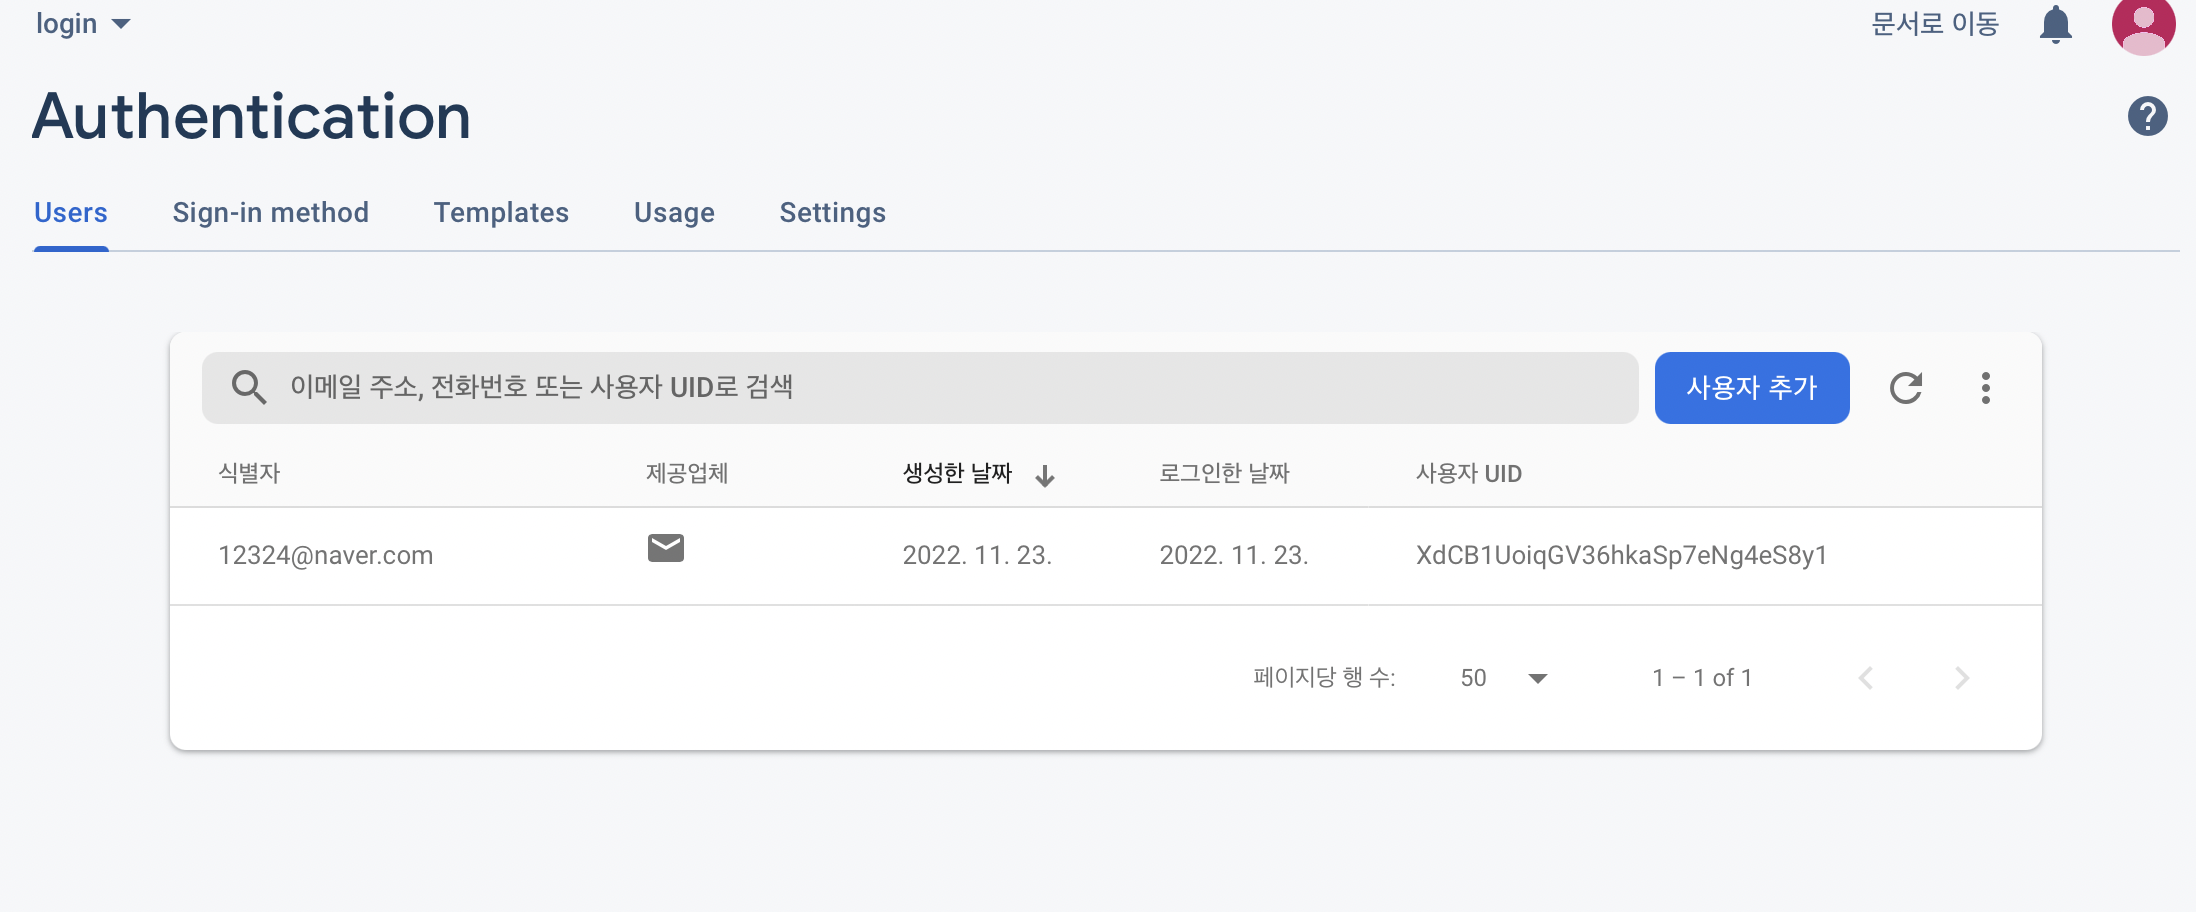
- 아래는 firebase에서 제공하는 코드로, 실제 회원정보를 입력해보면 firebase에서 회원정보를 확인할 수 있음.
4. 로그인 기능 구현
html - 회원가입 폼 복붙(id는 중복되면 안되므로 수정해줌)
 <form action="">
        <h1>로그인</h1>
        <div> email : <input type="email" id="signInEmail"/></div>
        <div> password : <input type="password" id="signInPw"></div>
        <button type="submit" id="signInBtn">로그인 하기</button>
        <button>회원가입 하러 가기</button>
</form>
js (형식 거의 유사함)
// 로그인
 document.getElementById('signInBtn').addEventListener('click', (event)=> {
        event.preventDefault();
        const signInEmail = document.getElementById('signInEmail')
        const signInPw =  document.getElementById('signInPw')
        signInWithEmailAndPassword(auth, signInEmail, signInPw)
        .then((userCredential) => {
            // Signed in
            console.log(userCredential)
            const user = userCredential.user;
            // ...
        })
        .catch((error) => {
            console.log('로그인 실패')
            const errorCode = error.code;
            const errorMessage = error.message;
        });
    })
⚠️ 에러
Failed to load resource: the server responded with a status of 400 ( )
-> firebase에서 자체적으로 비밀번호 길이를 6글자 이상으로 제한해두어서 비밀번호를 6자 이내로 작성할시 이런 에러가 발생한다.

모든게 새롭고 재밌는 프론트엔드 새싹